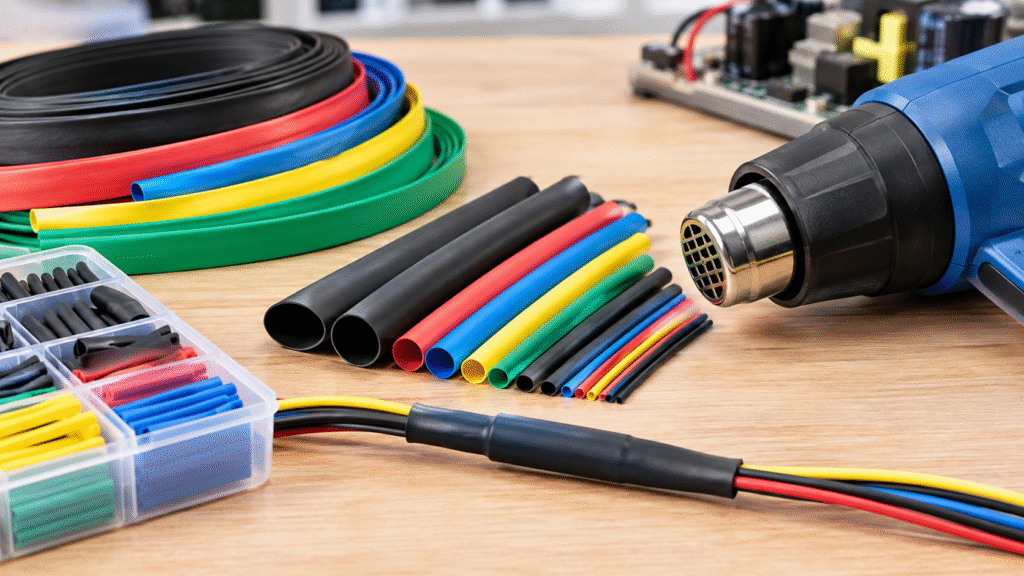
Heat shrink tubing sizes are quoted as a supplied inside diameter and a recovered diameter, and the two are not the same number. The size you buy is the one that slides over the joint; the size that matters is the one the tube reaches after shrinking, because that is what has to grip the wire and seal the joint. This tag holds the site's guide to the size range and how to choose within it.
What the guide here answers
What size does heat shrink tubing come in works through the size range and the selection rule: find the recovered diameter needed, double it to get the supplied diameter in the 2:1 range, then check that the supplied diameter still slides over whatever has to pass inside it. It also covers the cases where a 2:1 tube cannot do the job and a higher shrink ratio is needed.
The 2:1 relationship
In the standard 2:1 range the tube shrinks to roughly half its supplied inside diameter, and the wall thickens as it does. That gives a two-step check: the supplied diameter has to clear the largest part of the joint, and half of it has to be smaller than the smallest part the tube must grip. If those two conditions cannot both be met with one size, the joint needs a higher ratio rather than a compromise.
| Model (mm) | Inside dia. (mm) | Wall before (mm) | Wall after (mm) | Length per roll (m) |
|---|
| 1 | 1.5 ± 0.2 | 0.185 ± 0.03 | 0.37 ± 0.05 | 200 |
| 3 | 3.5 ± 0.2 | 0.20 ± 0.03 | 0.40 ± 0.05 | 200 |
| 5 | 5.5 ± 0.4 | 0.22 ± 0.03 | 0.42 ± 0.05 | 100 |
| 10 | 10.5 ± 0.5 | 0.24 ± 0.03 | 0.48 ± 0.05 | 100 |
| 16 | 16.5 ± 0.5 | 0.29 ± 0.04 | 0.58 ± 0.07 | 100 |
| 25 | 26.0 ± 0.5 | 0.35 ± 0.04 | 0.70 ± 0.07 | 25 |
| 50 | ≥ 50 | 0.41 ± 0.05 | 0.80 ± 0.10 | 25 |
Wall thickness after recovery
The fourth column is the one that decides electrical and mechanical performance. Two tubes with the same recovered diameter but different recovered wall are not the same part: the thicker wall insulates better and resists abrasion, and it also resists bending, which matters on a harness that has to flex. On a joint that will be inspected, the thinner wall shows the conductor outline through the tube, which is useful for checking and bad for abrasion.
Specification reference
The full size range, with supplied and recovered dimensions, is on the heat shrink tubing product page.
How do I choose a heat shrink size?
Start from the diameter the tube has to grip after shrinking, and work back to a supplied diameter that will also slide over the joint. In the 2:1 range that means the supplied diameter is about twice the size you need it to reach.
What does 2:1 mean on heat shrink?
It is the shrink ratio: the tube recovers to about half its supplied inside diameter, with the wall thickening in proportion. A 3:1 tube recovers to a third and covers a wider range with one part.
Can I use a larger tube on a small wire?
Only down to the recovered diameter. A tube that cannot reach the wire diameter will sit loose, and a loose tube neither seals nor grips, whatever adhesive is inside it.

 EN
 AR
 ES
 PT
 FR
 RU
 DE
 KO
 JA
 IT
 NL
 TR