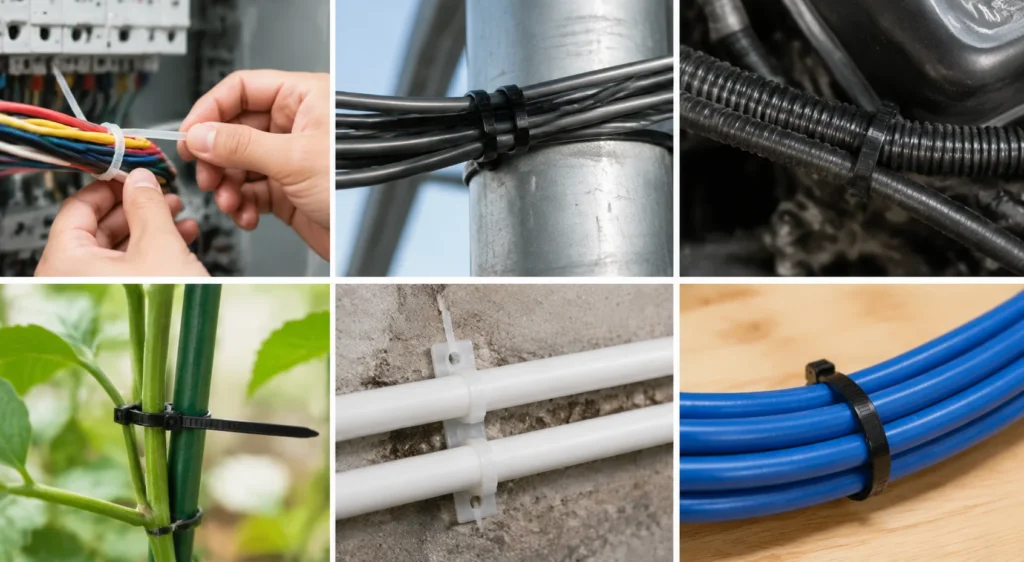
Whether you call them zip ties, wire ties, or hose fasteners, cable ties are the unsung heroes of modern organization. Used globally across automotive, industrial, and residential sectors, these simple fasteners provide incredibly secure binding with minimal effort. As a premier wiring accessories manufacturer and supplier, WANDU engineers these components to withstand demanding environments, ensuring your routing remains immaculate and secure.
The Main Components of a Zip Tie
A standard cable tie consists of three primary sections engineered for maximum efficiency:
The Head: The housing at one end of the tie containing the locking mechanism.
The Strap: The flexible nylon band featuring gear racks (serrated teeth) along its inner or outer surface.
The Tail: The pointed, often serrated tip designed for quick, easy insertion into the head.
How the Locking Mechanism Works
The locking mechanism relies on a simple, one-way ratchet design:
The Pawl: Inside the head is a small, flexible pawl (or tooth) that acts as a ratchet.
The Engagement: When you insert the tail into the head, the pawl rides over the sloped teeth of the strap.
The Lock: Once pulled tight, the pawl catches against the flat back of the strap’s teeth. This prevents the strap from slipping backward, securing the loop under constant tension.
Are Cable Ties Permanent or Reusable?
Choosing the right fastener depends entirely on your project requirements:
Feature
Permanent Cable Ties
Reusable Cable Ties
Design
Features a one-way locking pawl that cannot be easily backed out without a tool.
Features an integrated release tab or a trigger on the head to disengage the pawl.
Best For
Heavy-duty industrial routing, permanent construction, and high-vibration environments.
Temporary setups, prototyping, and cable bundles requiring frequent additions or changes.
Longevity
Maximum zip tie strength and tamper resistance.
Cost-effective and highly sustainable for evolving setups.
Choosing the right tie isn’t just about grabbing the first plastic strap you see. To get a secure, lasting hold, you must match the tie’s specifications to your specific job. When you look to choose the right nylon cable tie manufacturer, understanding these core factors saves both time and money.
Tensile Strength and Weight Capacity
The cable tie tensile strength (also referred to as zip tie strength) dictates the maximum weight load a tie can handle before failing. For demanding environments or heavy bundling, you must rely on high tensile strength zip ties to prevent snapping.
Tie Classification
Average Zip Tie Tensile Strength
Primary Applications
Miniature
18 lbs (8 kg)
Light electronics, delicate wire sorting
Standard
50 lbs (22 kg)
Everyday DIY, basic household cable organization
Heavy-Duty
120–175 lbs (54–79 kg)
Automotive runs, industrial bundling, construction
Extra Heavy-Duty
250+ lbs (114+ kg)
Heavy machinery rigging, commercial utilities
Material Types and Environmental Ratings
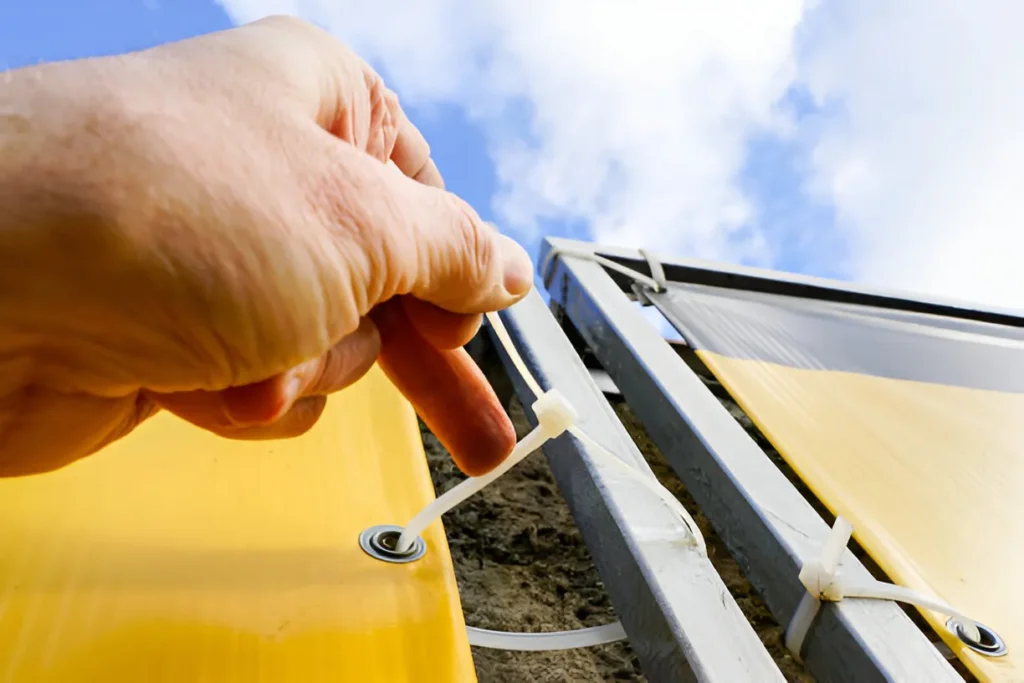
Material selection directly impacts how well your ties withstand heat, UV exposure, and chemical contact. Standard Nylon 6,6 performs exceptionally well indoors, but outdoor applications require UV-stabilized nylon or stainless steel to prevent weathering. Before purchasing, it is highly recommended to evaluate the durability of nylon cable ties against your specific operating environment to prevent premature cracking and degradation.
Standard vs. Specialty Cable Ties
Selecting the right design ensures your installation remains safe and functional:
Standard Ties: These are budget-friendly, single-use, self-locking fasteners perfect for general everyday routing.
Special Cable Ties: These special zip ties are engineered for highly specific environments. Examples include metal-detectable ties for the food industry, push-mount ties for automotive chassis panels, and chemical-resistant ETFE fluoropolymer ties for harsh industrial plants.
How to Fasten and Tighten a Cable Tie Correctly
Fastening a cable tie may seem straightforward, but doing it correctly ensures a secure hold that won’t damage your cables or slip under tension. Whether you are bundling home theater wires or organizing industrial wiring harnesses, getting the tension right is key.
Step-by-Step Installation by Hand
For most everyday tasks, fastening a standard nylon zip tie by hand is quick and highly effective.
Wrap and Align: Loop the cable tie around the bundle of wires with the ribbed side facing inward toward the cables.
Thread the Tail: Insert the pointed tip (the tail) into the locking head. Make sure it goes into the side with the locking pawl.
Pull and Tighten: Pull the tail through the head. You should hear a distinct clicking sound as the teeth slide past the pawl. Pull until the loop is snug against the bundle.
Using Cable Tie Tensioning Tools
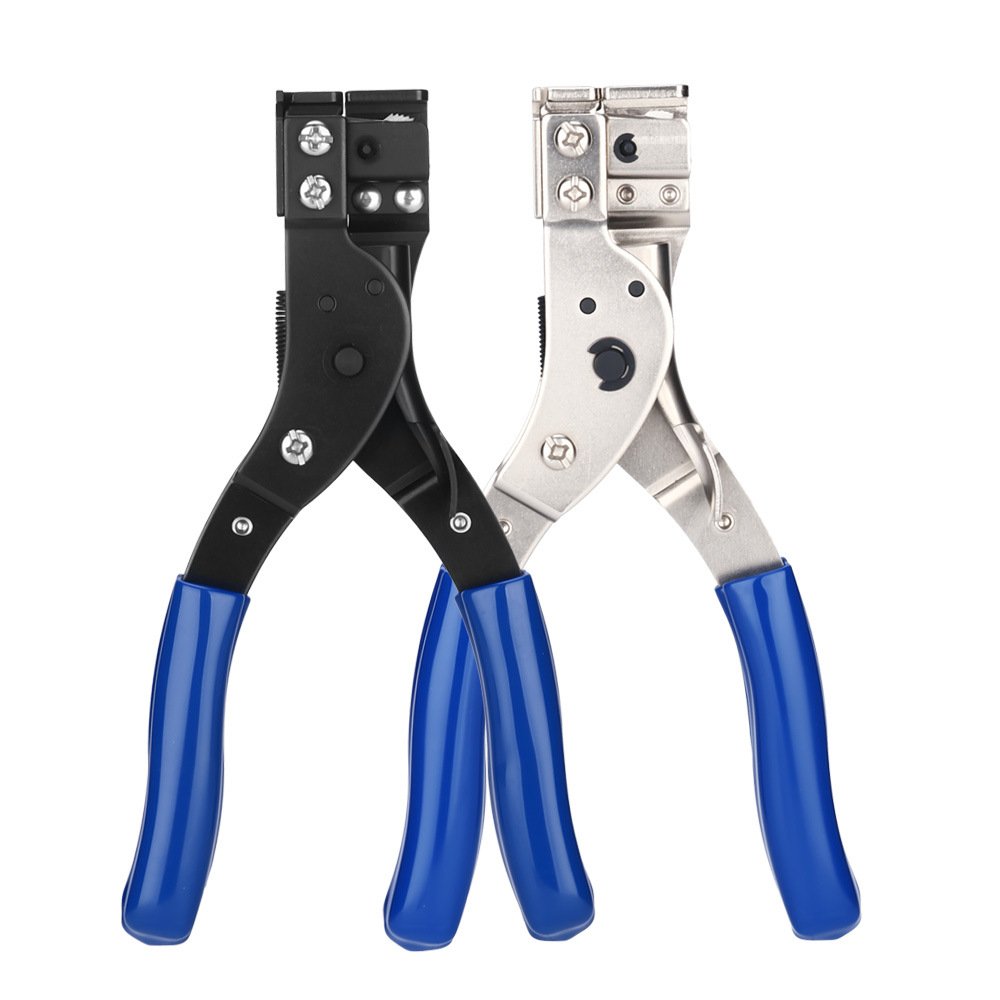
When working on large-scale installations or using high-tensile fasteners, tightening by hand can lead to hand fatigue and inconsistent tension. A professional cable tie tension tool (or wire tie tool) solves this problem by pulling the tie to a preset tension and automatically cutting the excess tail flush.
Nylon Tension Guns: These tools allow you to dial in the exact tension setting required for your bundle, preventing over-tightening.
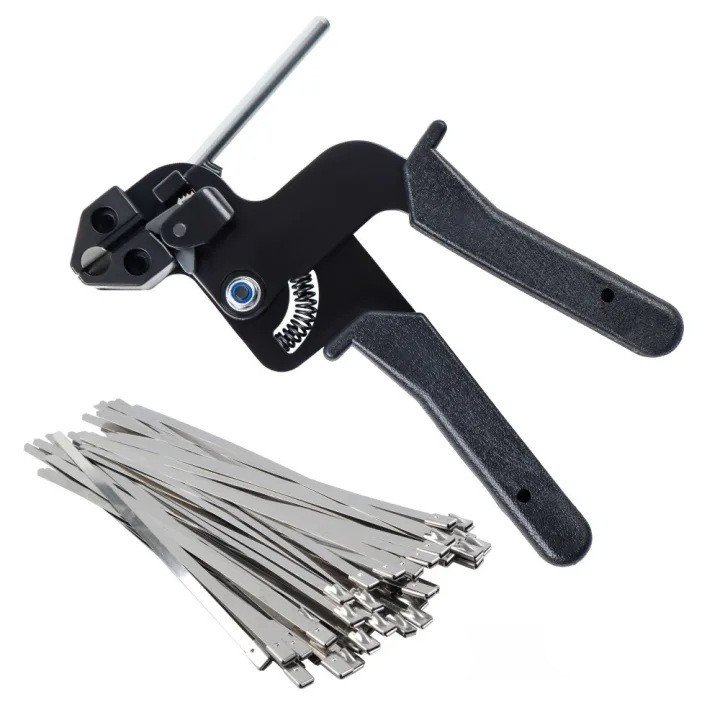
Metal Tie Tools: If you are working with heavy-duty steel fasteners, manual tightening is virtually impossible. In these cases, learning how to tighten metal tie wraps with a dedicated steel tensioning tool is essential for a secure, slip-free hold.
How Tight Should a Cable Tie Be?
Finding the right balance of tightness is crucial for protecting your wiring.
The Golden Rule: The tie should be snug enough to prevent the cables from sliding or rubbing, but loose enough that you can still rotate the tie slightly around the bundle with your fingers.
Avoid Pinching: Over-tightening can crush wire insulation, pinch delicate copper strands, and degrade signal quality in data cables (like Cat6).
Account for Expansion: Heavy-duty electrical cables generate heat and expand slightly under load. Leave a small amount of breathing room to accommodate this thermal expansion.
How to Properly Cut and Trim Cable Ties
After learning how to tie cable ties securely, the final step is trimming the excess tail. Leaving a jagged, half-cut tail is a safety hazard and looks highly unprofessional. Proper trimming ensures your cable bundles remain neat, secure, and safe to handle.
Why Flush Cutting Matters for Safety
Cutting a zip tie improperly leaves a sharp, razor-like edge on the remaining tail. This exposed plastic protrusion can easily slice through skin, snag clothing, or damage adjacent wiring over time.
For high-quality wire management, a flush cut is non-negotiable. If you are working in tight spaces or high-traffic panels, clean-cut tails prevent painful scratches during routine maintenance. Additionally, cutting them correctly ensures the structural integrity of the locking head remains intact.
Recommended Tools for a Clean Cut
To achieve a professional, flush finish, you need the right gear. Standard household scissors or heavy-duty wire cutters often leave sharp diagonal points.
Instead, use one of these dedicated cable tie tools:
Flush Cutters (Micro Shears): These tools feature a completely flat cutting face. They allow you to cut the tie perfectly level with the locking head, leaving zero sharp edges behind.
Cable Tie Tension Tools: These specialty tools pull the tie to your pre-set tension and automatically snip the tail flush in one swift motion.
Utility Knives (with caution): If a flush cutter isn’t handy, a sharp utility blade can shave the tail off flat against the head, though it requires a steady hand to avoid damaging the bundle.
Avoiding Common Trimming Mistakes
Even experienced installers make simple mistakes when cleaning up their work. Here is what you should avoid to keep your installations clean and secure:
Twisting the Tail Off: Using pliers to twist and snap the tail damages the locking pawl inside the head, significantly reducing the cable tie tensile strength.
Leaving “Dagger” Tails: Cutting at an angle with standard diagonal cutters creates a razor-sharp plastic point. Always cut perpendicular to the tie.
Damaging Wire Insulation: Rushing the cut can result in nicking the surrounding wire jackets. If you accidentally nick a wire, you must remove the tie safely and repair the insulation. For tips on how to do this without ruining your setup, see our guide on how to remove cable ties safely and efficiently.
Best Practices for Cable Management and Wire Organization
Proper wire organization isn’t just about making things look clean; it extends the lifespan of your wiring and prevents costly maintenance issues. Learning how to tie cable ties correctly ensures your installations remain safe, organized, and reliable over time.
How to Group and Route Electrical Cables
Grouping cables systematically prevents clutter and reduces signal interference. Follow these core routing rules:
Separate Power and Data: Run power cables and data lines in separate bundles to eliminate electromagnetic interference (EMI).
Bundle by Destination: Group wires that travel to the same device or terminal block to keep your pathways clear and logical.
Leave Some Slack: Avoid pulling cables taut. Allow a slight bend near connectors to relieve strain on the ports.
Saddles, Mounts, and Cable Tray Support
Relying solely on loose wire bundles can lead to sagging and damage. Use structured supports to secure your runs:
Adhesive Mounts: Best for securing lightweight bundles to flat, smooth surfaces like control panel walls.
Screw-Fix Saddles: Essential for heavy-duty routing on rough surfaces or overhead pathways where gravity is a factor.
Cable Trays: Fasten your bundles securely along the tray lines. For chemical-heavy or highly moisture-prone routing environments, specialized polypropylene cable ties provide the chemical resistance needed to keep bundles secure.
Understanding NEC Compliance and Safety Standards
To meet professional standards and pass building inspections, your cable tie application must comply with local regulations like the National Electrical Code (NEC):
Plenum Spaces: Only use certified plenum-rated ties (typically red or maroon) in environmental air-handling spaces to prevent toxic smoke in a fire.
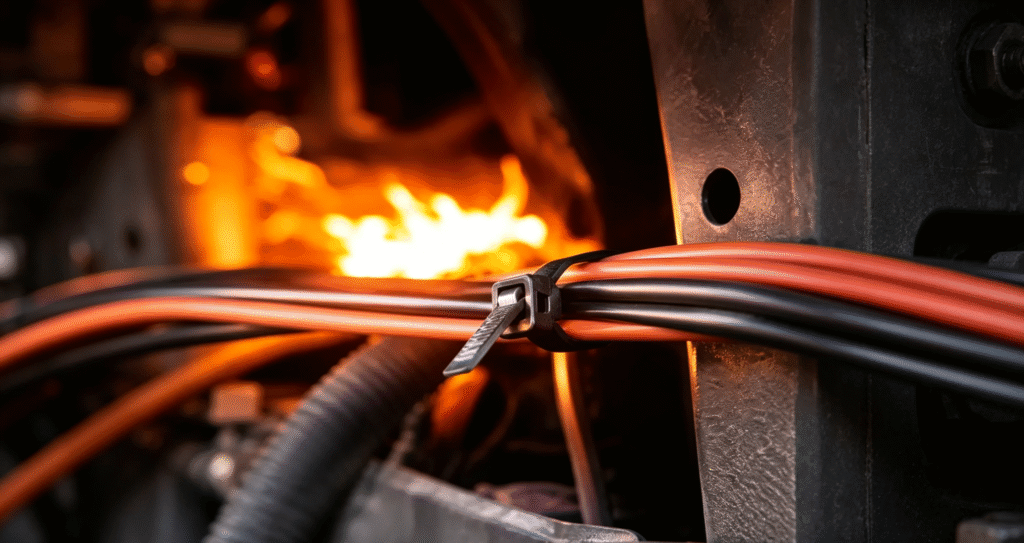
Thermal Limits: Standard nylon degrades under extreme heat. Always verify the temperature limits of your components, paying close attention to cable tie heat resistance and material properties before mounting them near hot machinery or lighting ballasts.
Load Capacity: Ensure the total weight of the wire bundle does not exceed the certified tensile strength of the ties used. Use intermediate supports to distribute weight evenly.
How to Undo or Remove a Cable Tie Without Cutting It
Standard tie wraps are often treated as single-use, but you do not always have to cut them off. Knowing how to open them saves time, reduces plastic waste, and protects your bundled wires. If you want to save money and keep your setup flexible, learning how to reuse zip ties safely is a game-changer for any cable management project.
Unlocking Standard Cable Ties with a Pin
You can unlock a standard, non-reusable tie using a small, stiff tool like a pin, sewing needle, or small flathead screwdriver:
Locate the locking pawl: Look inside the square head where the strap inserts.
Release the mechanism: Insert the pin between the locking pawl (the tiny tab) and the ribbed strap.
Depress and pull: Press the pawl down to release its grip on the teeth, then gently back the strap out of the head.
How to Use Reusable Release Tabs
Using dedicated reusable cable ties is much easier than hacking standard ones. These specialty ties feature a built-in release trigger:
Press the trigger: Locate the extended lever or button on the locking head.
Release the tension: Push down on the lever with your fingernail or thumb.
Slide it out: Pull the strap free.
These heavy-duty reusable zip ties are perfect for temporary setups, prototyping, or areas where you frequently add or remove wires.
Safely Removing Ties to Avoid Wire Damage
When you must cut a tie, doing it improperly can easily nick or slice the underlying cables. Follow these safety rules:
Avoid utility knives: A slipping blade is the fastest way to ruin expensive copper wiring.
Use flush cutters: Snip the locking head directly rather than trying to cut the tensioned loop over the wires.
Pry gently: If you are trying to manually release cable ties, never pull so hard that you bend or strain the copper conductors inside the jacket.
Frequently Asked Questions
How long do cable ties typically last?
The service life of cable ties depends heavily on their material composition and the environment where they are installed. Standard nylon ties used indoors typically last between 2 to 5 years. If you install them outdoors, UV exposure and temperature fluctuations will degrade standard plastics quickly. For long-term outdoor use, UV-resistant or stainless steel ties are required to achieve a lifespan of 10 to 20+ years.
What is the difference between standard and plenum-rated ties?
The primary difference lies in fire safety and building code compliance. Air handling spaces (plenums) require materials that do not contribute to the spread of fire or release toxic fumes.
Feature
Standard Cable Ties
Plenum-Rated Cable Ties
Primary Material
Standard Nylon 6/6
Flame-retardant Nylon or Fluoropolymer
Flame Resistance
Low to moderate
High (Self-extinguishing)
Smoke Emission
Generates smoke when burned
Minimal smoke and low toxicity
Common Use Case
General bundling, indoor wire management
Air ducts, drop ceilings, raise floors
Can you use zip ties to support heavy cables?
Yes, you can use zip ties to support heavy cables, but you must select heavy-duty ties with a high cable tie tensile strength.
Light-duty bundling: 18 lbs to 40 lbs tensile strength.
Heavy-duty cable support: 120 lbs to 250+ lbs tensile strength.
For extreme industrial loads, we recommend using stainless steel zip ties or heavy-duty nylon options to prevent sagging, slipping, or sudden failure under stress.
In modern domestic and industrial environments, the role of nylon cable ties cannot be underestimated. This seemingly simple tool is widely used in wire management, gardening, mechanical maintenance and even bundling of daily items due to its economical and practical use. However, when faced with the dazzling array of nylon cable tie choices on the […]
At What Temperature Do Zip Ties Melt? Standard polymer zip ties begin to melt at 255°C (491°F), while high-performance metallic ties can withstand extreme thermal environments up to 1370°C (2498°F). However, physical melting is the ultimate point of complete destruction. Structural degradation, loss of tensile strength, and locking failure occur long before a tie reaches […]
Why Choose the Right Cable Tie Straps? In modern electrical, industrial, and communication installations, cable tie straps are indispensable for organizing, securing, and protecting wires, cables, and hoses. The right strap cable tie not only improves workplace safety and aesthetics but also extends the service life of your equipment by preventing cable damage and accidental disconnections. At wanducn.com, […]
We use cookies to enhance your browsing experience, serve personalised ads or content, and analyse our traffic. By clicking "Accept All", you consent to our use of cookies.
Looking For High Quality Nylon Cable Ties At A Great Price?
Order now to experience cost-effective cable tie products that provide convenience and protection for your work and life.


 EN
EN  AR
AR  ES
ES  PT
PT  FR
FR  RU
RU  DE
DE  KO
KO  JA
JA  IT
IT  NL
NL  TR
TR