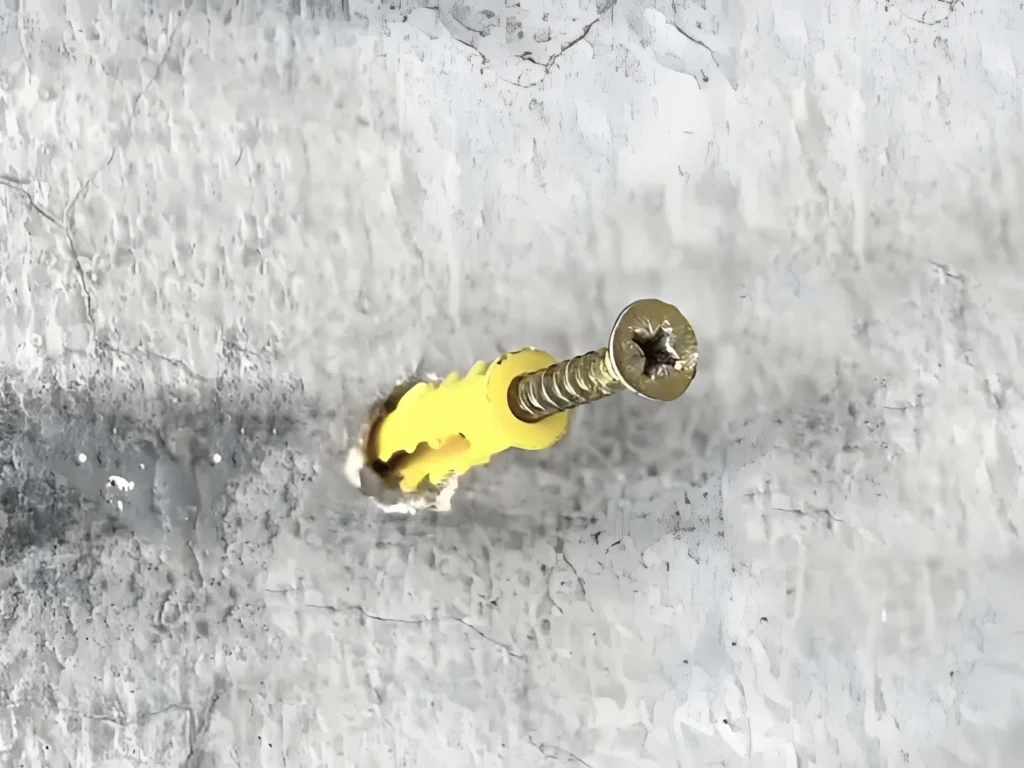
A plastic wall anchor, often referred to as a plastic wall plug, is a specialized inserting sleeve designed to provide a secure fastening point in weak or hollow substrates like drywall, plaster, and masonry. Standard screws cannot grip these materials effectively on their own, as the brittle gypsum or plaster simply crumbles under tension.
When you drive a screw into a plastic wall plug anchor, the anchor expands, wedges, or toggles behind the wall surface. This structural transformation creates a tight, high-friction bond that locks the fastener firmly in place, transforming a fragile wall into a reliable mounting surface.
When and Why You Need to Use Wall Anchors
You must use plastic screw wall anchors whenever you are mounting objects directly to drywall or plaster without hitting a structural wooden stud.
The Problem: Drywall is made of compressed gypsum. Screws driven directly into it will quickly loosen, sag, and eventually tear out under the weight of an object, causing significant wall damage.
The Solution: Knowing plastic wall anchors how to use prevents this failure. The anchor distributes the load across a wider surface area, ensuring the fixture stays safely attached to the wall over time.
Pro Tip: Always check your mounting location with a stud finder first. If a wooden stud is present, drive the screw directly into the wood. If you find only hollow space, a wall screw plastic anchor is absolutely mandatory.
Weight Capacity and Limitations of Plastic Anchors
While types of plastic wall anchors are incredibly versatile, they are engineered for light- to medium-duty applications. Understanding their limits prevents costly mounting failures.
Anchor Type
Common Sizes
Safe Weight Capacity (Per Anchor)
Best Applications
Light-Duty Expansion
3/8 plastic wall anchors, blue plastic wall anchors
5 – 15 lbs (2.2 – 6.8 kg)
Small picture frames, calendars, lightweight smoke detectors
Static vs. Dynamic Loads: Weight ratings apply strictly to static (stationary) loads. Objects that experience movement, pulling, or downward tugging—such as towel racks or coat hooks—require stronger plastic wall anchor sizes than their actual weight suggests.
Ceiling Limitations: Never use standard expansion plastic screw plugs in ceilings. Gravity pulls directly downward, meaning you must use specialized toggle variations for overhead fixtures.
Choosing the Right Type of Plastic Wall Anchor
Selecting the correct plastic wall anchor types is the difference between a secure mount and a ruined piece of drywall. Since different projects carry different loads, I always recommend matching the anchor design to the specific tension it will face.
Standard Expansion Plastic Anchors
These are the most common plastic wall plugs you’ll find in a standard hardware kit. Often referred to as blue plastic wall anchors (though they come in many colors), they work by expanding against the sides of a pre-drilled hole as the screw is driven in.
Best for: Concrete, brick, or thick plaster.
Common Sizes: 3/8 plastic wall anchors and 1/4 inch plastic plugs.
Pro Tip: These require a precise pilot hole; if the hole is too big, the anchor will just spin.
Self-Drilling Plastic Anchors
If you want to skip the drill bit, screw-in plastic wall anchors are your best bet. These feature sharp, wide threads that bite directly into the drywall.
Installation: Simply use a screwdriver to drive the plastic screw wall anchors directly into the wall.
Strength: They offer better “pull-out” resistance in hollow drywall than standard expansion plugs.
Utility: Perfect for hanging smoke detectors or lightweight shelving where a stud isn’t available.
Plastic Toggle Anchors
For heavier items, plastic toggle anchors provide a mechanical grip. Once inserted through a pilot hole, the “wings” fold out behind the drywall, distributing the weight across a larger surface area.
Capacity: Higher weight limits than basic plastic wall screw anchors.
Typical Uses: Heavy mirrors, curtain rods, and coat hooks.
Anchor Type
Best Wall Material
Drill Required?
Expansion Plug
Concrete / Brick
Yes
Self-Drilling
Drywall
No
Toggle Anchor
Hollow Walls
Yes
When organizing your workspace or securing wiring near your installation site, using reliable wire nuts ensures your electrical connections are as secure as your wall mounts. Whether you are using a 1 1/2 plastic plug or a small 3 8 plastic plug, picking the right hardware ensures the job stays done for good.
Tools and Materials Needed for Installation
Having the right gear on hand makes all the difference when figuring out how to install plastic wall anchors properly. Using the wrong tools will only ruin your drywall and leave you with a loose, sagging mount.
Essential Tools for the Job
Before starting, clear a small workspace and grab these basic hand tools:
Plastic Wall Anchors: Choose the right types of plastic wall anchors (like expansion plugs or self-drilling options) based on your wall type.
Matching Screws: Usually included in a screw and plastic plug combo pack.
Power Drill or Screwdriver: A standard cordless drill works best for boring pilot holes.
Correctly Sized Drill Bit: Critical for creating a snug fit.
Hammer: To gently tap the plastic wall plug flush with the drywall.
Measuring Tape and Pencil: For marking your mounting points accurately.
Safety Gear: Dust mask and safety glasses to protect against drywall dust.
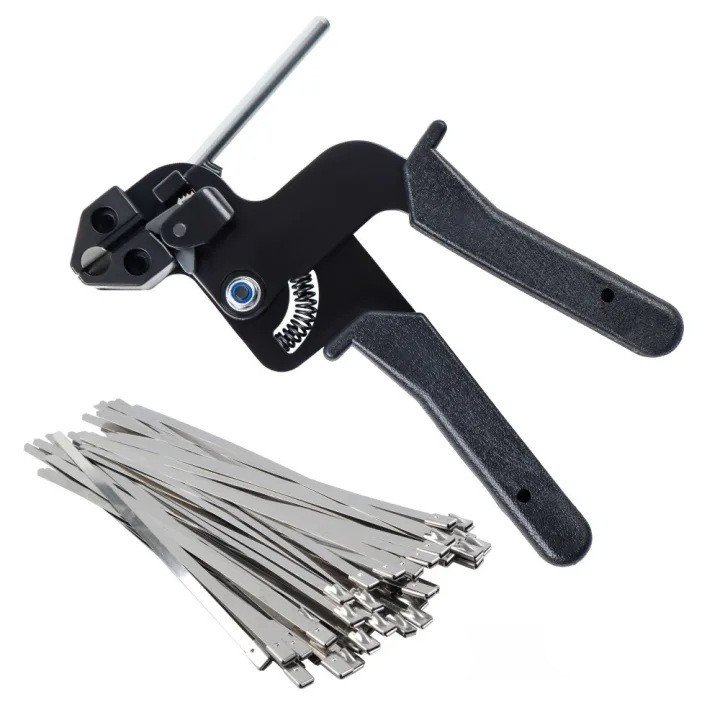
Pro Tip: Keep your workspace organized and secure small mounting hardware or bundled wiring out of the way using reliable products like heavy-duty ties to maintain a clean, professional installation environment.
Matching the Right Drill Bit to Your Anchor
The most common mistake when installing a plastic wall plug anchor is drilling a hole that is too big or too small. If the hole is too wide, the anchor will spin freely; if it is too narrow, the plastic wall screw anchors will bend or break during insertion.
Anchor Size / Type
Recommended Drill Bit Size
Best Use Case
Small blue plastic wall anchors
3/16 inch
Light picture frames, small calendars
Standard 3/8 plastic wall anchors
3/8 inch
Medium wall shelving, towel bars
Heavy-duty 1 2 plastic plug
1/2 inch
Heavy mirrors, wall-mounted hooks
Always check the packaging for the exact plastic wall anchor sizes to match your drill bit perfectly. When in doubt, choose a drill bit that matches the diameter of the front tip of the wall plug plastic, excluding the wider collar or sleeve.
Step-by-Step Guide to Installing Plastic Wall Anchors
Getting a clean, secure hold starts with precision. Whether you are hanging a heavy mirror or securing a shelf, following a standardized process ensures your plastic wall plug anchor won’t pull out or damage the drywall.
Step 1: Mark and Prep the Installation Site
I always start by pinpointing exactly where the screw needs to go. Use a pencil to mark the spot, then double-check for any hidden obstructions. If you are working on a project that requires multiple mounting points, using a level is non-negotiable to ensure your final result isn’t slanted.
Step 2: Drill the Pilot Hole Correctly
The most common mistake is drilling a hole that is too large. Check the side of your plastic wall screw anchors for the required drill bit size—usually, a 1/4 inch plastic plug requires a 1/4 inch bit. Hold the drill perfectly level and apply steady pressure. For specialized applications where you need a wider grip behind the wall, using a butterfly anchor plastic design can provide significantly more stability than a standard plug.
Step 3: Insert and Tap the Anchor Flush
Once the hole is clear of dust, push the plastic wall plug into the hole by hand. If it resists, do not force it with a heavy hammer immediately. Instead:
Ensure the hole is deep enough.
Gently tap the head of the anchor with a rubber mallet or the handle of a screwdriver.
Stop once the rim of the screw plastic plug is perfectly flush with the wall surface.
Step 4: Mount the Object and Drive the Screw
Position your bracket or object over the installed wall screw plastic anchor. Insert the screw through the object and into the anchor. As you drive the screw in, the plastic will expand against the drywall, creating a high-friction “bite.” Tighten until the screw is snug, but avoid over-torquing, which can strip the plastic threads inside the plastic wall plug anchor.
How to Install Plastic Wall Anchors Without Damaging the Wall
Installing plastic screw wall anchors seems simple, but a rushed job can easily ruin your drywall. Keeping the wall intact requires the right technique, steady pressure, and a bit of prep work.
Tips for Avoiding Drywall Cracking and Crumbling
Drywall is fragile and prone to blowing out if you apply too much force. To keep your walls clean and undamaged, use these professional tips:
Start with a Dimple: Use a nail or an awl to tap a tiny indentation into the wall before drilling. This keeps your drill bit from walking and scratching the paint.
Let the Drill Do the Work: Do not push hard against the drywall. Maintain a steady, light forward pressure and let the sharp edges of the bit slice through the gypsum.
Run the Drill at High Speed: Low speeds tend to catch and tear the drywall paper, leading to major crumbling. High speeds ensure a clean, crisp circle.
Clear the Dust: Pull the drill bit in and out of the hole a few times while it is spinning to clear out loose debris before inserting your plastic wall plug anchor.
How to Avoid Drilling into Studs or Wires
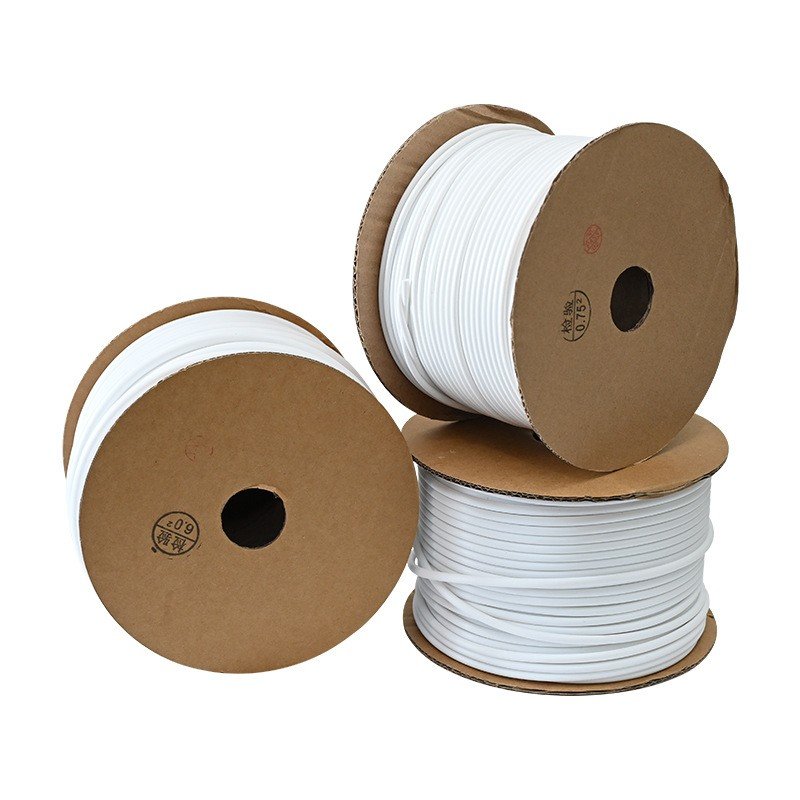
Plastic wall plug anchors are designed for hollow walls; hitting a wooden stud or a live electrical wire can ruin your project or create a serious safety hazard. If you are also running cables behind the wall, using protective gear like corrugated conduit can safeguard your wiring from future accidental punctures.
To avoid hidden obstacles entirely, follow these safety steps:
Step
Action
Why It Matters
1
Use a Quality Stud Finder
Scan the area thoroughly. If the tool indicates a stud, standard plastic expansion anchors will not work—you will need to drive a wood screw directly into the stud instead.
2
Check Around Outlets and Switches
Electrical wires run vertically or horizontally from boxes. Avoid drilling directly above, below, or next to any light switches and wall outlets.
3
Use a Drill Stop
Wrap a piece of painter’s tape around your drill bit to mark the exact length of the blue plastic wall anchors. Only drill as deep as the anchor to avoid hitting deep-set pipes or wires.
Troubleshooting Common Installation Problems
Even with careful planning, installing plastic screw wall anchors can occasionally run into a few snags. Drywall can crumble, or an anchor might bend if it hits an unexpected obstruction. Here is how to quickly fix the two most common mishaps without ruining your wall.
What to Do If the Drill Hole Is Too Large
If your drill bit slipped or the drywall crumbled, leaving a hole too big for the plastic wall plug, do not panic. The anchor will simply spin or slip inside a loose hole, meaning it cannot hold any weight.
You can fix a loose hole using these quick methods:
Switch to a larger anchor size: This is the easiest fix. If your 3/8 plastic wall anchors are slipping, step up to a slightly larger size or a heavy-duty toggle anchor that can bridge the wider gap.
The toothpick trick: For slightly oversized holes, insert a few wooden toothpicks or a piece of a wooden matchstick into the hole alongside the plastic wall plug anchor. Trim them flush with the wall, then drive the screw in. The extra wood forces the anchor to expand tightly against the drywall.
Apply joint compound: Fill the oversized hole completely with joint compound or spackling paste. Let it dry completely, sand it flat, and re-drill a precise pilot hole using the correct plastic wall anchor sizes.
How to Fix a Bent or Broken Plastic Anchor
Standard expansion plastic anchors can bend or collapse if they encounter too much resistance, usually from a hidden stud or poor-quality plastic wall plugs.
Follow these steps to handle a damaged anchor:
Stop screwing: If you notice the anchor twisting, bending, or failing to seat flush, stop immediately. Forcing it will only chew up your drywall.
Extract the damaged anchor: Insert a screw a few turns into the broken plastic wall screw anchors—just enough to grab the plastic—and pull straight out with pliers.
Check for obstructions: Probe the hole with a thin nail or wire to see if you hit a wooden stud or a metal plate protection bracket.
Replace and re-insert: Clean any loose debris out of the hole and tap in a fresh, sturdy wall screw plastic anchor. If you hit a stud, switch to a standard wood screw instead of using a plastic anchor.
How to Correctly Remove or Discard Wall Anchors
When it is time to take down your shelving or decor, you cannot just paint over an old plastic wall anchor. You need to remove or discard it properly to keep your drywall looking flawless. Depending on how stubborn the anchor is, you can either pull it out completely or push it into the wall cavity before patching.
Steps for Pulling Out Plastic Anchors
Removing a plastic wall plug anchor entirely leaves the cleanest surface for a fresh patch. If the anchor is loose or slightly exposed, use this quick method to extract it:
The Screw Method: Insert a matching screw a few turns into the plastic wall plug. Do not drive it all the way in. Grip the screw head firmly with a pair of needle-nose pliers and pull straight out.
The Pliers Method: If the lip of the wall plug plastic is sitting slightly proud of the drywall, grab the edge firmly with needle-nose pliers and gently wiggle it free.
The Utility Knife Snipping Method: For stubborn anchors that refuse to budge, use a sharp utility knife to carefully score and slice off the exposed outer rim. This allows the remaining sleeve to sit below the drywall surface.
How to Push Anchors Into the Wall and Patch the Hole
If trying to pull out plastic screw wall anchors risks tearing a huge chunk of your drywall, pushing them in is the smarter, cleaner alternative. This method keeps the surrounding wall intact and speeds up the repair process.
Push the Anchor: Place a Phillips-head screwdriver or a blunt punch tool directly against the mouth of the plastic wall screw anchors. Tap the end of the tool gently with a hammer until the anchor pops through the drywall and drops inside the wall cavity.
Prep the Hole: Use your utility knife to scrape away any loose paper or crumbling drywall debris around the edges of the hole.
Apply Spackle: Press a high-quality joint compound or spackle into the hole using a putty knife. Pack it tightly, leaving a slight mound on top to account for natural shrinkage as it dries.
Sand and Paint: Once completely dry, sand the area flat with fine-grit sandpaper until it matches the texture of the surrounding wall, then apply a coat of matching paint.
Ever wrapped a massive bundle of cables, pulled them tight by hand, and ended up with sore fingers and a jagged, sharp tail that’s just waiting to slice someone open? There’s a better way. Whether you are managing a massive industrial wiring overhaul or just trying to clean up a messy server rack, a zip […]
What Are Plastic Snow Chains and How Do They Work? Zip tie snow chains are lightweight, emergency traction aids engineered from high-tensile nylon polymers. Designed as a rapid-response alternative to heavy steel chains, these specialized cable ties wrap directly around the tire tread through the wheel rims, providing instant bite on slippery, snow-covered roads. Understanding […]
Moisture significantly impacts nylon wire ties. This article explores the nature of nylon 6.6, its hygroscopic properties, and how humidity affects nylon tie wire performance. The Nature of Nylon 6.6 Nylon 6.6 is a high-performance synthetic polymer made from the polymerization of hexamethylenediamine and adipic acid. It has excellent mechanical strength, heat resistance and dimensional […]
We use cookies to enhance your browsing experience, serve personalised ads or content, and analyse our traffic. By clicking "Accept All", you consent to our use of cookies.
Looking For High Quality Nylon Cable Ties At A Great Price?
Order now to experience cost-effective cable tie products that provide convenience and protection for your work and life.



 EN
EN  AR
AR  ES
ES  PT
PT  FR
FR  RU
RU  DE
DE  KO
KO  JA
JA  IT
IT  NL
NL