Ever shrunk a sleeve over the wrong wire, or had to repair a spliced connection underneath one?
Figuring out how to remove heat shrink tubing without nicking the insulation — or slicing the copper strands inside — is where most rework jobs go wrong. One slip of a utility blade and you are rebuilding the whole connection.
The good news is that it comes off. Not by sliding, and not by reheating it back to size, but by cutting it open in a controlled way.
The short answer: heat shrink tubing can always be removed, but it can never be slid off or re-expanded. It has to be scored and split, or softened and peeled. How you make that first cut decides whether the wire underneath survives.
This guide covers the tools, the three working methods, the two-pass cut for tubing trapped behind a connector, and the adhesive clean-up that dual-wall tube leaves behind.
Can Heat Shrink Tubing Be Removed?
Yes, but not by undoing what installation did. Once heat shrink tubing recovers, it forms a permanent mechanical grip that follows the profile underneath — around a splice, over a crimp barrel, into the shoulder of a ring lug. The polymer has cross-linked and cooled in its contracted state, so it holds that shape for good.
That leaves two removal routes: cut it open, or soften it and peel it back. Everything else in this guide is a variation on those two.
Common Reasons for Removal
Wiring modifications and rework — changing a pinout, repairing a solder joint, or extending a cable run.
Component inspection — checking a crimp terminal, splice integrity, or corrosion without cutting the harness apart.
Damaged insulation — replacing an outer jacket worn through by abrasion, flexing, or chemical exposure.
Assembly errors — a heat shrink tube installed in the wrong position, at the wrong diameter, or in the wrong color code during production.
Differences Between Single-Wall and Adhesive-Lined Tubing
The construction of the sleeve, not its diameter, decides which method you use.
Feature
Single-Wall Heat Shrink Tubing
Adhesive-Lined (Dual-Wall) Tubing
Bonding mechanism
Radial friction and compression only
Radial friction plus a hot-melt adhesive layer
Removal complexity
Low to moderate; a clean score releases it
Higher; the adhesive bond has to be softened first
Heat required
Usually none; cold-slit and peel
Yes; the inner glue must be warmed before it releases
Clean-up
None; the sleeve lifts off clean
Residual adhesive must be wiped from the wire
Single-wall heat shrink tubing holds only through recovery tension. Score it lengthwise and that tension disappears along the cut, so the wall opens on its own. Dual-wall heat shrink tubing is bonded chemically as well as mechanically — the hot-melt lining melted into every void during installation and set around the wire jacket. Cutting it without heat usually tears the jacket underneath instead of releasing the tube.
Essential Tools for Removing Heat Shrink Tubing
You need three things: an edge you can control, a heat source you can move, and a grip that keeps your hands out of the cut line. Everything else is optional.
Cutting Tools: Utility Knives, Razor Blades, and Slitting Tools
Precision edges do the actual work, and the difference between a good and a bad cut is almost always blade geometry rather than sharpness.
Utility knives and precision craft knives — rigid blade support and fine angle control, so you can shave a shallow groove instead of driving the tip inward. A fresh blade matters more than an expensive handle; a dull edge skates and then suddenly bites.
Single-edge razor blades — the thinnest edge available, and the easiest to hold nearly flat against the sleeve. Best for single-wall tubing and short exposed runs where you can see the whole cut.
Cable slitters and seam rippers — a guided blade that follows the longitudinal axis and keeps depth constant. Worth the cost on thick jackets and on any job where you make the same cut twenty times a shift.
One rule covers all three: expose no more than 2–3 mm of edge beyond your thumb, and keep the blade nearly parallel to the wire. A blade pointed at the conductor is a blade that will eventually reach it.
Heating Tools: Heat Guns and Controlled Heat Sources
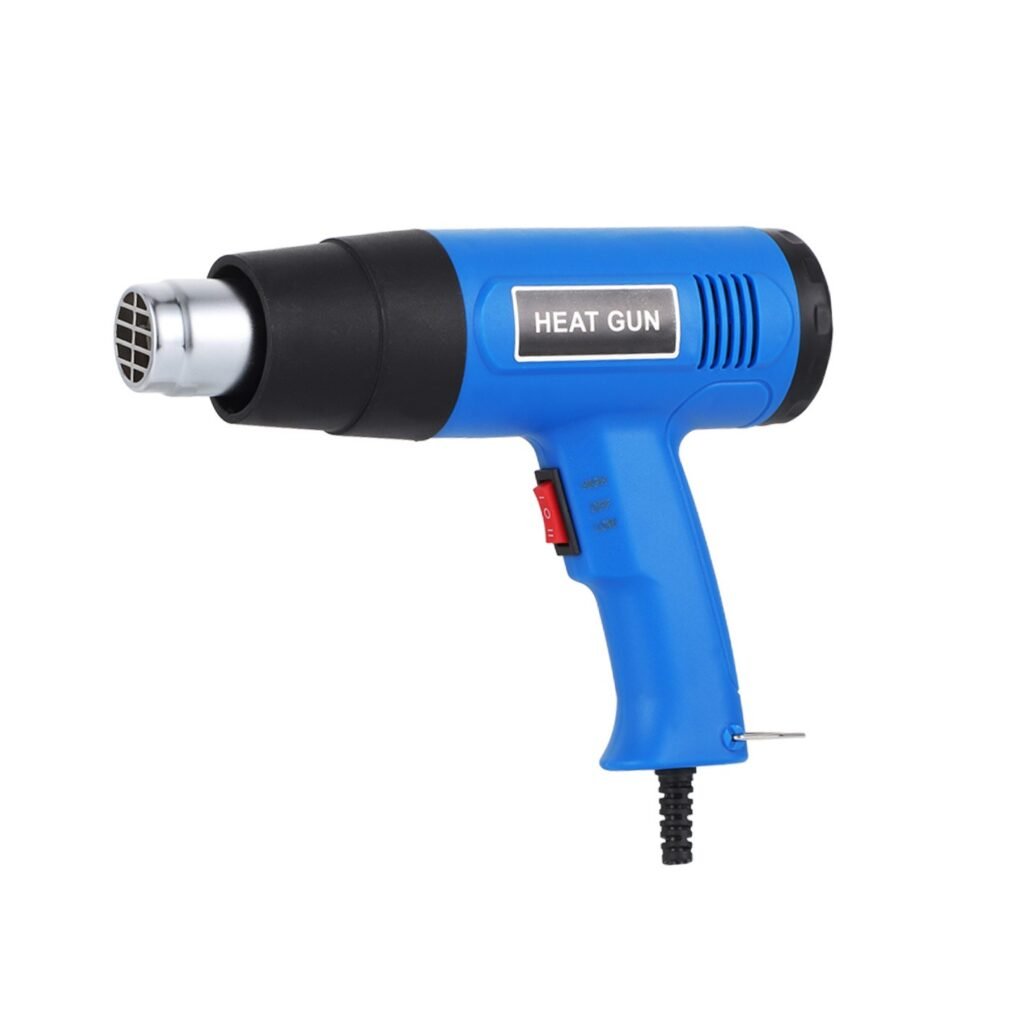
A heat gun is mandatory for dual-wall tubing and useful for stiff, tightly recovered single-wall sleeves. What matters is not the dial number but the distance and the dwell time — most guns put out 250–450°C at the nozzle on any setting, which is far above what the tube or the wire jacket can take.
Work at 15–20 cm from the sleeve, keep the nozzle moving, and test the wall every few seconds instead of counting. A reducer nozzle concentrates the airflow so you can soften a small area without spreading heat into a terminal block. If you are new to the tool, our guide on how to use a heat gun safely covers settings, nozzle types, and the scorch marks that tell you to back off.
Safety and Handling Tools: Needle-Nose Pliers and Work Gloves
Once the sleeve is hot or half-cut, your fingers should not be the thing holding it.
Needle-nose pliers — the core removal tool. Grip the scored lip, roll it outward, and keep your hand clear of the blade path.
Precision tweezers — for picking adhesive remnants off micro-gauge harnesses where pliers would crush the bundle.
Heat-resistant work gloves — a nitrile or cut-resistant glove on the hand holding the wire. Not on the blade hand, where you need feel.
Safety glasses — a scored polyolefin wall stores tension and springs apart without warning. This is the one item people skip and the one that matters most.
How to Remove Heat Shrink Tubing Without Damaging Wires
Everything below assumes one thing: you are trying to save the wire, not the sleeve. That reframes the whole job. Slow is not a style preference here — the damage almost always happens in the last few millimeters of a cut that was going fine.
Before You Cut: Four Checks
Isolate the circuit and verify it is dead. A sleeved splice can still be live, and heat shrink hides the conductor completely. Test with a meter at the exposed ends before any blade touches the sleeve.
Identify what is under the tube. A butt splice, a crimp barrel, a ring lug, and a bare conductor all demand different cut stops. If you cannot tell, cut shorter and look before continuing.
Support the wire so it cannot roll. Tape it to the bench, hold it in a vise with soft jaws, or pin it with your non-cutting hand. Movement, not pressure, causes most slips.
Ventilate the area. Warming a dual-wall sleeve releases hot-melt adhesive vapor. A bench with extraction, or at minimum an open workspace, is not optional in production.
Method 1: Cutting with a Razor Blade or Utility Knife
This is the fastest and cleanest route for standard single-wall tubing, and the one most likely to go wrong if you rush the last centimeter.
Stabilize the wire. Lay it flat against a solid, non-slip surface, or clamp it in a bench vise with soft jaws.
Lay the blade nearly flat. Rest the flat of the blade against the sleeve at a shallow angle — around 10–20° to the surface. Never point the tip down into the cable.
Score lengthwise, not deeply. Draw the blade along the sleeve in one steady pass. Stop when the blade begins to catch and a pale stress line appears along the cut. The wall should still hold together at that point. If you can see wire through the groove, you have gone too deep — stop and start a new score line beside it.
Split and peel. Work a fingernail or a flat plastic pry tool into the score and pull the two halves apart. The line you cut acts as a stress riser, so the sleeve opens along it with no further blade contact.
If the heat shrink tubing does not open on the first pass, add a second shallow score in the same groove rather than pressing harder. Two light passes are always safer than one deep one.
Method 2: Softening with Heat and Peeling with Pliers
When the tubing is stiff, heavily recovered, or bonded with adhesive, heat reduces how much force you need — and force is what damages wires.
Warm the sleeve, do not cook it. Hold the gun 15–20 cm away and sweep across the sleeve for 3–5 seconds. Stop and test whether the wall flexes under a fingernail.
Keep the air moving. A stationary nozzle will scorch a PVC jacket long before the tube softens. Sweep continuously, and rotate the wire rather than the gun where you can.
Grip an exposed lip. As soon as the wall turns pliable, take the edge with needle-nose pliers — not fingers.
Roll outward. Roll the pliers away from the wire axis. The softened sleeve stretches, separates, and peels back along the cable.
Note what heat does and does not do: it softens the wall so it can be deformed and pulled. It will not make heat shrink tubing expand back over a connector, and heating it further only shrinks it tighter.
Method 3: Snipping Short Sections with Flush Cutters
For sensor leads, ribbon cable, and any spot where you cannot draw a blade safely, flush cutters let you remove the heat shrink tubing in small bites instead of one long cut.
Seat the flat jaw against the end rim. The flush side goes against the sleeve edge, with the cutting edge facing away from the wire.
Take 1–2 mm bites. Snip along the rim in small increments. Never try to close the jaws across the full wire diameter.
Spread the collar. After three or four bites, use the jaw tips or tweezers to lever the plastic wings apart.
Work around the circumference in steps. Keep nibbling and peeling until the heat shrink tubing loses tension and lifts free.
This is slower than a knife and deliberately so. On a 30 AWG lead, a controlled 1 mm bite is the difference between a repair and a re-termination.
Removing Heat Shrink Tubing That Won’t Slide Off
Heat shrink tubing that recovered over a stepped profile — a spade terminal, a ring lug, a harness plug — is mechanically locked. The contracted section is smaller than the shell in front of it, and cross-linked polymer does not stretch back. Pulling harder only transfers the load into the conductor, the pin retention clip, or the terminal crimp.
The way out is to stop treating it as a sleeve to slide and start treating it as a shell to open.
Why Tubing Gets Trapped Behind Connectors and Terminals
Heat shrink contracts uniformly around its diameter, so it follows whatever is underneath — including a step change. Where the sleeve recovers over a connector shoulder, it forms a permanent hoop that is tighter than the hardware behind it. That geometry is one-way.
Cooling locks the hoop tension in place. Our explainer on how heat shrink works covers the cross-linking and recovery mechanism in detail; the practical consequence is that the sleeve will never pass back over the shape it just moulded itself to, no matter how much heat you apply.
Two-Pass Cutting: Score First, Follow Second
The two-pass method keeps the blade out of the conductor by never asking it to cut the full wall in one movement.
Pass 1 — surface score. Hold the blade nearly flat against the sleeve and run a straight, shallow groove along its length. Use the same stop as Method 1: score until the blade catches and a pale line appears, with the wall still holding. Blade parallel to the wire, zero downward pressure.
Pass 2 — controlled split. Do not go deeper with the knife. Insert the tips of needle-nose pliers into the groove and twist outward. The score is a deliberate stress riser, so the remaining wall snaps along it instead of tearing.
Peel and release. Grasp one side of the split wall and pull outward, away from the cable axis. The sleeve opens into a clamshell and comes free from behind the connector without dragging across the insulation.
Where the sleeve is trapped at both ends — a short length of heat shrink tube caught between a lug and a strain relief, for example — score from the middle outward in both directions and open it in the centre first.
How to Remove Adhesive-Lined (Dual-Wall) Heat Shrink Tubing
Dual-wall tubing is harder to remove for a reason that has nothing to do with wall thickness. The inner hot-melt lining melted into every void during installation and set around the wire jacket, so you are no longer fighting friction — you are fighting a bond.
That means two operations: break the outer polyolefin wall, then release the adhesive underneath.
Softening the Inner Hot-Melt Adhesive
Cold-cutting adhesive-lined heat shrink tubing usually tears the wire jacket, because the blade has to drag the bonded lining with it. Warm the adhesive first and the same cut releases.
Use a reducer nozzle. A concentrated airflow lets you heat the sleeve without spreading heat into a terminal block or a neighbouring lead.
Work at 15–20 cm and keep moving. The hot-melt lining softens in roughly the 120–150°C range, which a gun reaches quickly at that distance. Rotate the wire continuously rather than parking the nozzle.
Watch for the change, not the clock. The wall turns glossy and flexible, and small beads of clear adhesive may appear at the ends. That is the signal the bond has released — stop heating at that point.
Overheating does not speed this up. It carbonizes the adhesive into a hard amber film that is far harder to remove than the original glue, and it softens the wire jacket underneath at the same time.
Peeling and Cleaning Residual Glue from Wires
Work while the assembly is still warm — the adhesive re-solidifies within seconds of the gun moving away.
Grip and roll. Take the softened edge with needle-nose pliers and roll it outward, away from the conductor.
Peel in a slow spiral. A spiral pull lifts the outer sleeve and most of the adhesive in one continuous movement, instead of leaving a ring of glue behind at every stop.
Wipe the residue with isopropyl alcohol. A tacky film usually remains on the jacket. Dampen a lint-free cloth with IPA and wipe the warm wire firmly. Do not use acetone — it attacks PVC insulation and many printed markings.
Inspect before re-sleeving. Look for pinholes, thinned spots, or a jacket that has gone glossy from heat before you install the replacement.
Tips to Prevent Wire Damage During Removal
Most removal damage is not caused by a bad method. It is caused by a good method applied at the wrong moment — too much pressure at the end of a cut, or too much heat on a jacket that was already thin.
Make Longitudinal Cuts Instead of Circumferential Cuts
Never cut in a ring around a wire. A circumferential cut has no depth feedback: the blade passes through the sleeve, then through the jacket, then into the strands, all within the same millimeter of travel, and you feel nothing until it is done.
Keep the blade angle low. Nearly parallel to the wire run, not pointed inward.
Score along the length. A straight longitudinal groove splits the heat shrink tubing along a seam you control.
Peel sideways, not deeper. Once scored, open the sleeve outward with pliers instead of chasing the last of the wall with the blade.
Avoid Overheating Wire Insulation
Standard PVC jackets are rated far below the output of any heat gun, which is why distance and movement matter more than the setting.
Sweep continuously. Never hold the nozzle on one spot, even briefly — a stationary gun will mark a jacket in a couple of seconds.
Heat only what you need to move. You are softening the adhesive or the outer wall, not the conductor jacket underneath.
Stop at the first sign of pliability. If the heat shrink tubing flexes easily, you are done. Additional heat only transfers downward into the insulation.
Test on an offcut. If you are using an unfamiliar gun or tube, sacrifice a 20 mm piece first and see how fast it reacts.
Inspecting and Repairing the Conductor After Removal
Inspect before you cover anything up. New tubing over a damaged conductor hides a fault that will surface later as a hot joint or an intermittent circuit.
Check for nicks under good light. Even a partial cut into a strand reduces current capacity and creates a fatigue point.
Check the jacket, not just the copper. Look for shaved sections, compression marks, and heat gloss along the area you worked.
Repair rather than conceal. If strands are cut or the splice is damaged, cut the compromised section back clean and re-terminate, then re-insulate with new heat shrink tubing sized to the actual conductor bundle. If the jacket is only scuffed, a short adhesive-lined sleeve over the damage restores the seal.
Can You Reuse Heat Shrink Tubing?
No. Once heat shrink tubing is cut away it is finished — and even an intact one that has already recovered cannot be returned to its original diameter. Heat shrink is a single-use component by design.
Why Heat Shrink Tubing Cannot Be Re-expanded
Heat-activated tubing works on polymer memory. During manufacture the polyolefin is extruded, cross-linked — chemically or by radiation — then expanded under heat and cooled while stretched. That expanded state is frozen in.
Heating during installation lets the chains relax back toward the extruded dimension. Three things then make the process irreversible:
Permanent structural change. Once the chains contract and cool, they lock. A second heating cycle will not swell them back out.
Thermal degradation. Repeated heating does not expand the polymer — it oxidizes, embrittles, and eventually chars it.
Physical destruction. The only practical way to get the sleeve off is to cut it, and a cut sleeve has lost the continuous barrier that made it useful.
The same logic explains why a heated sleeve tightens rather than loosens when you try to salvage it: you are re-running the recovery step, not reversing it.
Choosing and Installing Replacement Tubing
Because nothing can be salvaged, the replacement decision matters more than the removal. Match the tube to the joint, not to the old sleeve.
Shrink ratio. Use 2:1 for straight inline splices where the tube can slide on before termination. Step up to 3:1 or 4:1 when the sleeve has to pass over a connector, a wide lug, or a multi-conductor joint — the higher ratio is what makes it fit over the hardware and still seal down to the wire. Our heat shrink tubing size guide covers the full range of diameters and the ratio each one recovers to.
Wall construction. Single-wall for indoor insulation and color coding. Dual-wall adhesive-lined for automotive, marine, and exterior joints where moisture ingress is the real failure mode.
Install order. Always slide the new heat shrink tubing onto the conductor before soldering or crimping the terminal. This is the step that turns a five-minute repair into a full re-termination when it is missed.
Controlled recovery. Centre the heat shrink tubing over the joint and shrink from the middle outward with a shrink heat gun, so trapped air escapes at both ends instead of forming a pocket under the wall.
When Heat Shrink Tubing Is the Wrong Choice
Heat shrink earns its place on permanent joints. It is the wrong answer on anything that will be opened again — a prototype harness, a test rig, a panel that gets reconfigured, a field-service connection that may need a probe on it next month.
The cost is not the tubing. It is the twenty minutes of careful cutting every time someone needs access, plus the standing risk that one of those cuts goes too deep.
Reusable Alternatives: Spiral Wrap and Split Loom
Where access matters as much as protection, use something that opens by design.
Spiral cable wrap. Wraps around an existing bundle and lets individual leads break out anywhere along the run. Nothing has to be disconnected to add or remove a wire. Our guide on how to use spiral cable wrap covers tensioning and breakout technique, and we manufacture spiral wrap specifically for harnesses that get modified.
Split loom tubing. A continuous pre-cut seam along its length, so wires snap in and out without tools. Corrugated split loom trades a sealed joint for abrasion and impact protection plus full access — the right trade wherever the joint is inspected more often than it is immersed.
Neither replaces heat shrink where a moisture-tight seal is the requirement. The decision comes down to one question: will anyone need to get back inside this joint? If yes, do not seal it with something that has to be cut.
Frequently Asked Questions
Can You Remove Heat Shrink Tubing Without Cutting It?
In almost every practical case, no. Once heat shrink tubing recovers it holds the wire through friction, and adhesive-lined tube adds a chemical bond on top of that. It cannot pass back over a terminal, lug, or connector, because the recovered diameter is smaller than the hardware behind it. Slitting or scoring along the length is what releases the grip — there is no heat-only method that returns heat shrink tubing to its original size.
Does Heating Make Heat Shrink Tubing Expand Again?
No. The polymer has one memory: the extruded dimension it recovers toward. Reheating recovered heat shrink tubing only continues that recovery or softens the wall — it never reverses the expansion that happened at the factory. Push the temperature far enough and the wall chars or melts instead of relaxing outward.
Can You Use a Hair Dryer Instead of a Heat Gun?
Usually not. A household hair dryer delivers roughly 50–90°C at the nozzle and loses much of that to airflow, which sits below the 100–110°C recovery range of most polyolefin tubing. It may soften a low-temperature adhesive slightly, but it is slow and unreliable on dual-wall tube. A heat gun reaches 250–450°C at the nozzle, so the same job takes seconds at 15–20 cm instead of minutes.
How Do You Remove Tubing From a Wire That’s Already Connected?
Cut it in place along the longitudinal axis:
Support the wire so there is no strain on the terminal or splice.
Make one shallow lengthwise score with a razor or utility blade, blade nearly flat, edge barely exposed.
Grip the scored edge with needle-nose pliers and peel it outward around the conductor.
If the sleeve will not pass the connector at either end, use the two-pass method: score, then split with pliers instead of cutting deeper.
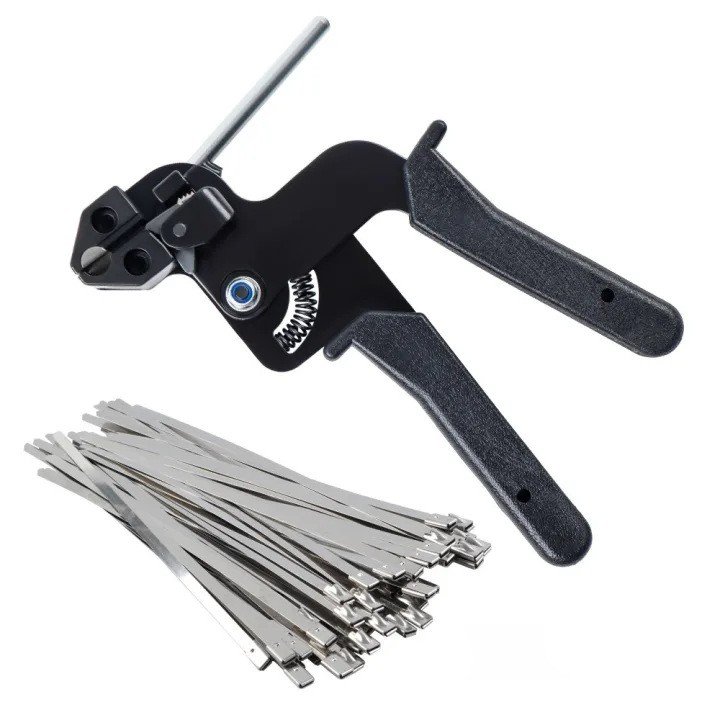
Once the repair is done, re-bundle the harness with fresh ties — understanding how a cable tie gun works keeps tension consistent and the cut ends flush.
Does Removing Heat Shrink Tubing Damage the Wire?
Not if the cut stays longitudinal and shallow. Damage comes from two habits: cutting circumferentially, where the blade has no depth feedback before it reaches the strands, and pressing harder when the sleeve resists. Slice parallel to the conductor, stop at the first sign of the blade catching, and the wire underneath stays intact and ready to inspect or re-sleeve.
How Do You Remove Thick-Wall Heat Shrink Tubing?
Use several shallow scoring passes rather than one deep cut. Heavy-wall tubing encourages more pressure because the first pass barely marks it, and that is exactly how blades reach conductors. Score the same groove repeatedly until it opens, or run a guided cable slitter down the length if you have one. Warming the wall slightly also helps — thick material is stiffer cold.
How Do You Remove Heat Shrink Tubing From a Terminal?
Start away from the metal. Place the first score on the sleeve section furthest from the crimp, open it there, then peel the sleeve toward the terminal rather than pushing a blade into it. Cutting across a crimp barrel can deform the crimp or shear the terminal off the wire. After removal, check the crimp for movement, deformation, and corrosion before re-insulating.
Can Heat Damage the Wire Underneath Heat Shrink Tubing?
Yes, and it is easy to miss because the damage happens under an opaque sleeve. PVC jackets soften well below the output of a heat gun, and a stationary nozzle will mark one in seconds. Keep the gun moving, work from 15–20 cm, and stop as soon as the sleeve flexes. If the jacket looks glossy, discolored, or has taken a print of the tubing wall, treat it as heat-damaged and inspect before re-sleeving.
Ever found yourself reaching for a zip tie, only to realize it’s a few inches too short for the job? It’s a frustrating moment, whether you’re managing a chaotic bundle of cords or tackling a weekend DIY project. But before you throw it away or make a frantic run to the hardware store, there’s a […]
What Is Heat Shrinking Tubes and How Does It Work? A heat shrinking tube (also known as a polymer sleeve) is an expandable plastic tube engineered to insulate, protect, and bundle wires, cables, and electrical components. When exposed to a heat source, the tubing shrinks radially to fit tightly around underlying components, creating a protective […]
Understanding Metal Cable Ties vs Metal Detectable Cable Ties Industrial cable management demands specific solutions tailored to environmental threats and safety standards. At WANDU, we engineer specialized fastening hardware to help facility operators maintain strict compliance, operational safety, and wiring integrity across global markets. What Are Metal Cable Ties? Metal cable ties are heavy-duty fasteners […]
We use cookies to enhance your browsing experience, serve personalised ads or content, and analyse our traffic. By clicking "Accept All", you consent to our use of cookies.
Looking For High Quality Nylon Cable Ties At A Great Price?
Order now to experience cost-effective cable tie products that provide convenience and protection for your work and life.



 EN
 AR
 ES
 PT
 FR
 RU
 DE
 KO
 JA
 IT
 NL
 TR