Knowing how to remove cable clips without damaging walls starts with identifying the fastener mechanism holding your wiring in place. Different types of cable clips interact with painted drywall, plaster, and baseboards in distinct ways. Choosing the right removal strategy depends entirely on the design of the clip.
Cable Clip Type
Fastener Mechanism
Common Wall Surfaces
Primary Removal Risk
Self Adhesive Cable Clips
Foam tape or acrylic adhesive
Drywall, tile, finished wood
Peeling paint or tearing drywall paper
Nail-In Clips
Hardened steel pin/nail
Plaster, baseboards, masonry
Surface crushing or hole blowout
Screw-In Clips
Threaded screw and wall anchor
Drywall, studs, masonry
Enlarged holes or anchor pull-out
At WANDU, we engineer wiring accessories for both durability and clean installation. Understanding the design profile of your clip prevents unnecessary wall repair later.
Adhesive Cable Clips
Self adhesive cable clips rely on pressure-sensitive adhesives, typically backed with high-tack foam or clear acrylic tape. These clips secure lightweight wires like charging cords, audio lines, and small Ethernet runs without drilling.
Bonding characteristics: The chemical bond strengthens over time, especially in warm or humid environments.
Main hazard: Yanking an adhesive clip directly away from the wall shears the top layer of paint or tears into the paper backing of sheetrock.
Nail-In Round and Flat Clips
Nail-in fasteners are traditional wiring accessories suited for running permanent lines. These are manufactured in two standard profiles:
Round cable clips: Often called circle cable clips, these feature a curved saddle molded to grip cylindrical wires such as coaxial or thick power lines.
Flat cable clips: Designed with a squared profile to secure flat telephone, twin-lead, or flat Ethernet wiring tightly against the surface.
Both styles rely on integrated masonry or hardened wire nails driven directly into wood trim, plaster, or drywall. The extraction risk involves leverage pressure; using a tool incorrectly can crush the surrounding wall material.
Screw-In Heavy Duty Clips
Screw-in cable clips are heavy duty cable clips designed for thicker cable bundles, outdoor installations, or high-vibration areas.
Mounting style: These clips use threaded screws driven into wood studs or anchored into hollow drywall with plastic wall anchors.
Main hazard: Attempting to pry these off the wall rather than backing the screw out cleanly will rip the anchor directly through the drywall, leaving a significant repair hole.
Essential Tools for Damage-Free Cable Clip Removal
Removing fasteners without stripping paint or gouging drywall comes down to having the right gear on hand. Whether you are dealing with sticky tape or hardened steel pins, using dedicated tools ensures you execute the job cleanly on the first try.
Tools for Softening and Removing Adhesive Clips
When tackling sticky mounts, your goal is to break the chemical bond before applying any pulling force:
Standard Hairdryer: Delivers controlled, direct heat to soften the glue on self adhesive cable clips without scorching wall paint.
Dental Floss or Thin Fishing Line: Slices cleanly through the softened foam backing behind the mount without touching the wall surface.
Plastic Scraper or Putty Knife: A flexible, non-marring blade that slides beneath loosened clips. Never use sharp metal blades directly on painted drywall.
Isopropyl Alcohol (70% or higher): Dissolves lingering glue residue on painted or tiled surfaces.
Microfiber Cloths: Safely wipe away dissolved residue without abrading the wall finish.
Tools for Extracting Nails and Screws Safely
Mechanical fasteners require straight-line extraction rather than brute force. Knowing how to handle these begins with understanding the structure of different types of cable clips used in modern wiring setups:
Needle-Nose Pliers: Essential for gripping small pins on nail in cable clips and pulling them straight out without twisting.
Claw Hammer or Mini Pry Bar: Provides smooth leverage when easing out stubborn masonry nails or metal pins.
Precision Screwdriver or Multi-Bit Driver: Backs out fasteners from screw in cable clips cleanly without stripping the head or tearing surrounding wall anchors.
Wall Protection Materials to Prevent Surface Scratches
Whenever you use leverage tools like hammers or pry bars, direct contact will crush soft drywall or crack plaster. Always place a barrier between the tool and your wall:
Thin Wood Shim or Scrap Block: Absorbs fulcrum pressure from hammer heads and distributes force evenly across a wider surface area.
Rigid Plastic Putty Knife: Slides flat against the wall beneath your pry bar to protect paint from gouges, scuffs, and pressure dents.
Dense Cardboard or Heavy Felt Pads: Quick, flexible options to slip behind pliers when easing fasteners free.
How to Remove Adhesive Cable Clips Without Peeling Paint
Ripping sticky clips off dry surface finishes is the fastest way to tear drywall paper and pull up paint. When mastering how to remove cable clips without damaging walls, the key is breaking down the bond chemically and thermally before applying any pulling force. Taking an extra two minutes per clip keeps your drywall completely intact.
Step 1: Soften the Adhesive with Gentle Heat
Hardened acrylic and foam glues hold firmly onto painted surfaces. To loosen this grip without scorching your paint:
Set a household hairdryer to medium heat.
Hold the nozzle roughly 2 to 4 inches away from the clip base.
Warm the plastic body and the adhesive backing for 30 to 60 seconds.
The heat relaxes the bond and makes the foam backing pliable, preventing the adhesive from taking the underlying drywall layer with it when detached.
Step 2: Slice Through the Glue Using Floss or Fishing Line
Never yank a clip straight outward from the wall. Instead, slice through the softened foam:
Cut a 12-inch length of dental floss or thin monofilament fishing line.
Wrap the ends around your index fingers for a solid grip.
Position the line behind the top edge of the clip, between the base and the wall surface.
Work the line downward using a gentle, back-and-forth sawing motion to split the foam core.
If you installed high-tack adhesive cable clips with thicker mounting pads, slide a flat, non-marring plastic putty knife behind the base after heating to assist the line. Avoid metal scrapers, which easily gouge soft sheetrock.
Step 3: Clean Residual Sticky Residue Safely
Once the clip falls away, a thin patch of adhesive backing often remains stuck to the wall.
Moisten a clean microfiber cloth with a small amount of isopropyl alcohol or a dedicated adhesive remover.
Hold the damp cloth firmly against the leftover glue for 60 seconds to dissolve the tackiness.
Gently rub the softened residue in light, circular motions until it lifts completely off the paint.
Wipe the spot dry with a clean section of the cloth.
How to Remove Nail-In and Screw-In Cable Clips
Removing mechanical fasteners requires a controlled approach to keep the surrounding drywall or plaster intact. Unlike surface glue, nails and screws exert direct pressure inside the wall material. Learning how to remove cable clips without damaging walls comes down to one core rule: never use the bare wall surface as your leverage point.
Protecting the Wall Base with a Putty Knife
Direct leverage from a hammer or pliers crushes soft drywall paper and leaves deep dents.
Slide a broad shield: Slip a wide, stiff plastic or metal putty knife flat against the wall, placing it directly underneath the fastener head.
Distribute the load: The blade acts as a fulcrum shield. When your tool presses down to pry, the pressure spreads across several square inches of metal instead of digging into the gypsum core.
Add extra padding for delicate finishes: If you are working over fresh paint or delicate wallpaper, place a folded microfiber rag or a thin piece of cardboard between the putty knife and the wall surface.
Gently Prying Out Round and Flat Nail Clips
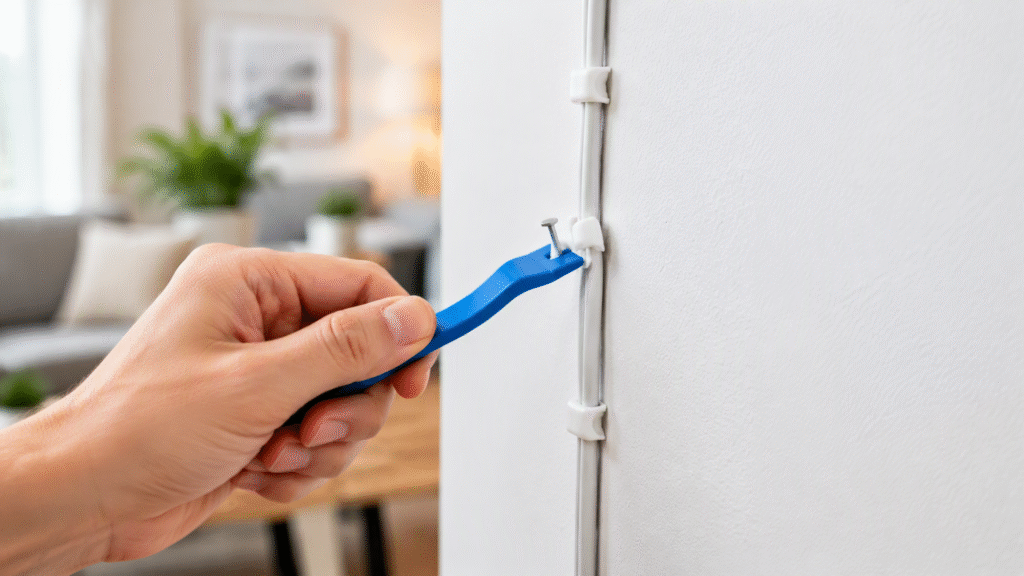
Standard round cable clips and flat cable clips use small hardened masonry or drywall nails that require straight, perpendicular extraction. If you previously followed best practices on how to use cable clips with nails, the pins are seated flush against the plastic saddle.
Grip the pin head: Seat needle-nose pliers or the claw of a small trim pry bar under the exposed nail head, keeping the tool flat against your protective putty knife.
Pull straight out: Pull straight back along the angle of entry. Avoid twisting the tool sideways or rocking it up and down, as lateral force tears the drywall paper and enlarges the entry hole.
Slide the clip free: Once the pin clears the wall by a quarter inch, pull the plastic body away by hand to avoid snapping the clip and scraping the paint.
Backing Out Screws Without Enlarging Drywall Holes
Screw-in cable clips and heavy-duty wall anchors provide solid hold, but backing them out improperly can strip drywall threading and cause chunks of plaster to blow out.
Match the driver bit precisely: Use an exact-fit manual screwdriver rather than a high-speed power drill. A slipping bit strips the screw head and forces unnecessary inward pressure against the wall.
Maintain neutral pressure: Back the screw out smoothly with steady counter-clockwise turns. Let the threads do the work—never push forward into the wall while turning.
Stabilize wall anchors: If the clip is anchored into a plastic wall plug, hold the clip base steady with one hand while turning the screw with the other. This prevents the anchor sleeve from spinning inside the drywall and chewing open an oversized hole.
How to Repair Minor Wall Damage After Removal
Even when you know how to remove cable clips without damaging walls, stubborn hardware can occasionally leave a minor mark. Pulling out old nail in cable clips, dislodging wall anchors, or prying dried foam tape from self adhesive cable clips can leave behind small pinholes, paper tears, or slight indentations. Here is how we restore the surface to factory condition with minimal effort.
Filling Nail Holes and Small Dents with Spackle
Before applying any filler, inspect the hole left by your cable nail clips or screws.
Clear loose debris: Brush away any crumbling drywall dust or loose paper fibers around the hole. If a nail created a raised crater edge, gently press it flat using the back of a putty knife handle.
Apply the compound: Scoop a dime-sized amount of lightweight spackling paste onto the edge of a flexible putty knife.
Press and smooth: Press the paste firmly into the void to fill it completely. Hold the blade at a 45-degree angle and scrape flush across the wall in a single stroke.
Account for shrinkage: For deeper anchor holes, leave a microscopic crown over the center, as standard spackling shrinks slightly as moisture evaporates.
Sanding the Patched Area Flush
Allow the spackling compound to cure fully before attempting to sand—typically 1 to 2 hours depending on room humidity.
Select the right abrasive: Use a fine-grit sanding sponge or 220-grit sandpaper. Avoid coarse grits, which leave noticeable gouges in painted drywall.
Sand with light pressure: Rub gently in circular, feathering motions over the repair. The goal is to make the patch level with the adjacent drywall without rubbing away the surrounding wall texture.
Clean the surface: Run your bare fingertips over the patch. If you feel a ridge, sand lightly again. Once flat, wipe away all fine gypsum dust using a dry microfiber cloth.
Touching Up Paint for a Seamless Finish
Unsealed spackle absorbs paint differently than the rest of your wall, which can cause dull “flashing” spots if painted improperly.
Seal the patch: Apply a thin dab of primer over the dried spackle to seal the porous surface, especially if paper backing was torn during clip removal.
Stipple the paint: Instead of brushing flat, use a small sample roller or dab the tip of a foam brush to apply your matching wall paint. Mimicking the slight orange-peel stipple of the existing roller texture blends the patch instantly.
Feather the outer edges: Work the wet paint outward 1 to 2 inches past the patch to soften the transition line, leaving a completely invisible repair.
Tips to Prevent Future Wall Damage When Securing Cables
Knowing how to remove cable clips without damaging walls saves time, but picking the right routing strategy from the start prevents wall repairs entirely. A clean setup protects your paint and keeps cables neatly organized without permanent surface destruction.
Using Damage-Free Removable Adhesive Strips
Modern wiring setups work best with mounting bases designed for clean release.
Use release-tab technology: Choose self adhesive cable clips with pull-tabs designed to stretch and release without gripping drywall paper.
Switch to modular mounts: Instead of locking heavy cords directly onto painted surfaces, install low-profile adhesive cable tie mounts that distribute tension evenly across the backing pad.
Pre-clean the surface: Always wipe down the wall with light rubbing alcohol before applying clips; clean contact ensures a firm hold without requiring aggressive industrial glues.
Running Cables Along Baseboards and Trim
Drywall tears easily, but solid wood trim and baseboards offer much better durability against fasteners.
Anchor to baseboards: Secure flat cable clips or circle cable clip fasteners directly into baseboard shoe molding or top trim rather than central drywall.
Easier concealment: Tiny puncture marks from cable nail clips on wood trim are simple to fill with matching wood putty, completely skipping drywall spackle and repainting.
Keep cords low: Guiding wires along the floor line reduces visible clutter and avoids pulling tension against vertical wall faces.
Opting for Paintable Surface Mount Cable Raceways
Running several parallel lines using individual heavy duty cable clips often leaves dozens of puncture marks or glue patches.
Single-channel containment: A single surface-mount raceway houses multiple lines together, cutting the number of wall attachment points down significantly.
Seamless visual match: Use raceways with paintable exterior shells to blend cords directly into your existing wall paint.
Hassle-free future upgrades: You can add, adjust, or remove lines inside the latching channel whenever needed without peeling adhesives off the wall.
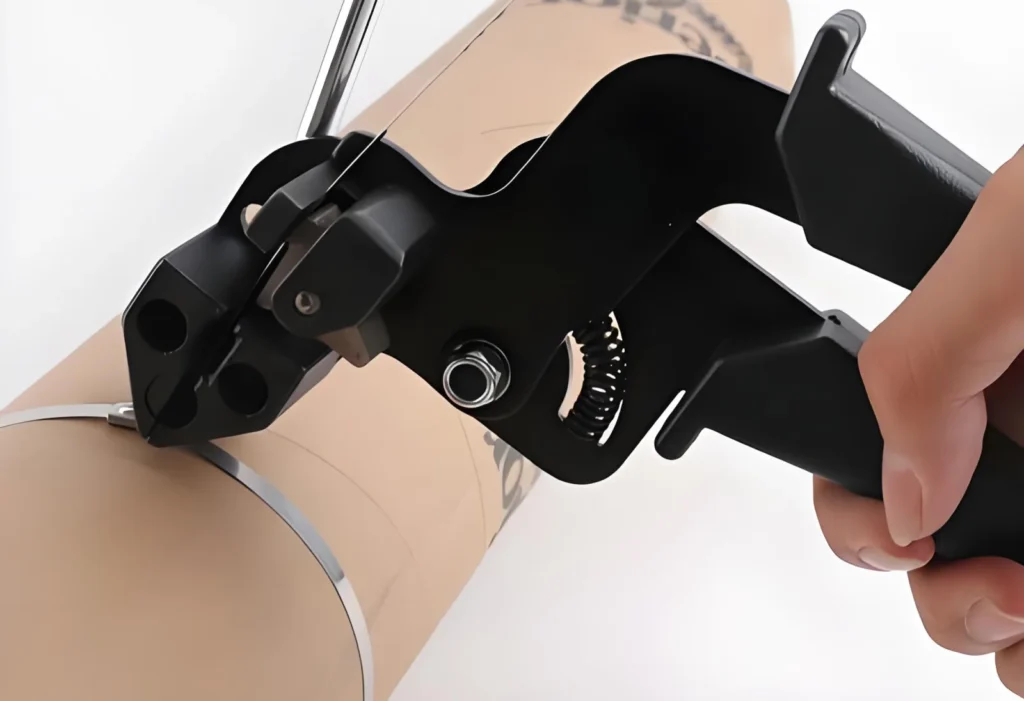
What Are Metal Tie Wraps and How Do They Work? An Overview of Stainless Steel Cable Ties When standard nylon zip ties fall short under extreme conditions, stainless steel cable ties step in as the ultimate heavy-duty bundling solution. Manufactured primarily from high-grade 304 or 316 stainless steel, these metal tie wraps offer unmatched resistance […]
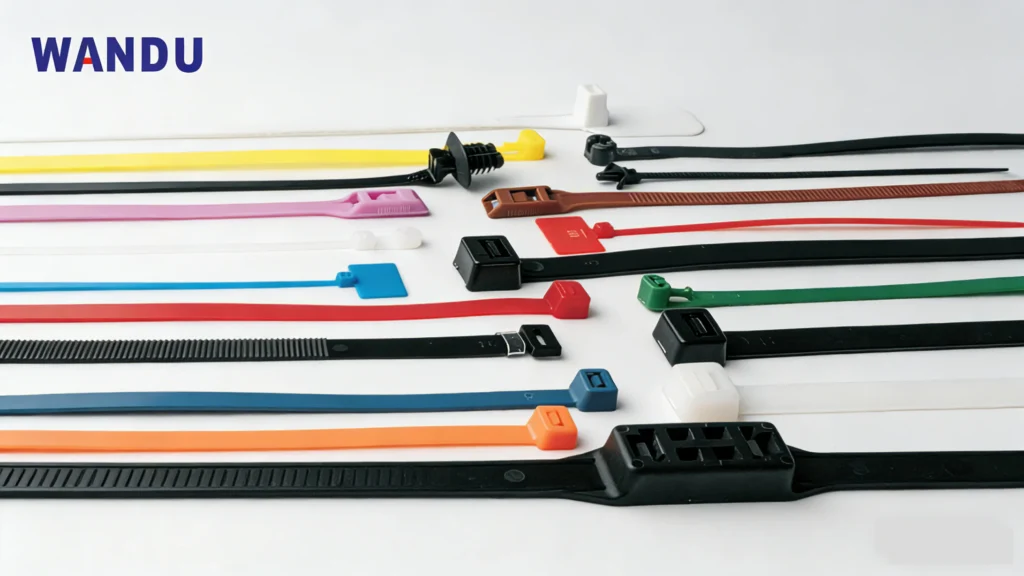
Where to Buy Nylon Zip Ties Finding the right nylon zip ties requires balancing convenience with specific project requirements. Whether you are managing home theater cables or securing industrial equipment, sourcing from reputable suppliers ensures you receive high-quality nylon cable ties with reliable tensile strength. Top Online Retailers and Marketplaces For maximum variety and competitive […]
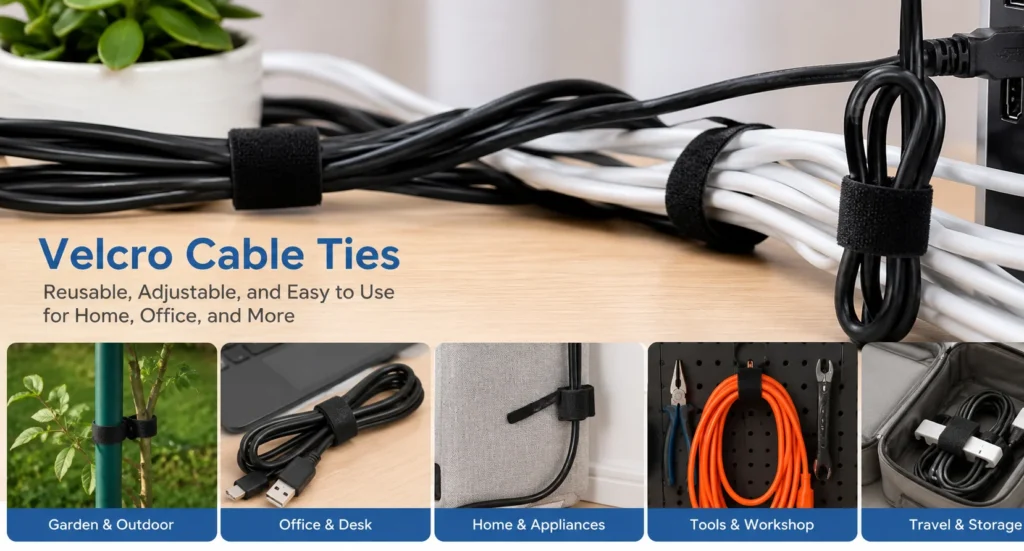
Understanding Velcro Cable Ties and Hook-and-Loop Fasteners What Are Velcro Cable Ties? Velcro cable ties are reusable fastening solutions designed to bundle, organize, and secure wires and cables. Made from durable nylon or polyester fabric, these ties feature a two-sided mechanism that grips itself without the need for adhesive. They are widely used across global […]
We use cookies to enhance your browsing experience, serve personalised ads or content, and analyse our traffic. By clicking "Accept All", you consent to our use of cookies.
Looking For High Quality Nylon Cable Ties At A Great Price?
Order now to experience cost-effective cable tie products that provide convenience and protection for your work and life.

 EN
 AR
 ES
 PT
 FR
 RU
 DE
 KO
 JA
 IT
 NL
 TR