What Are Plastic Snow Chains and How Do They Work?
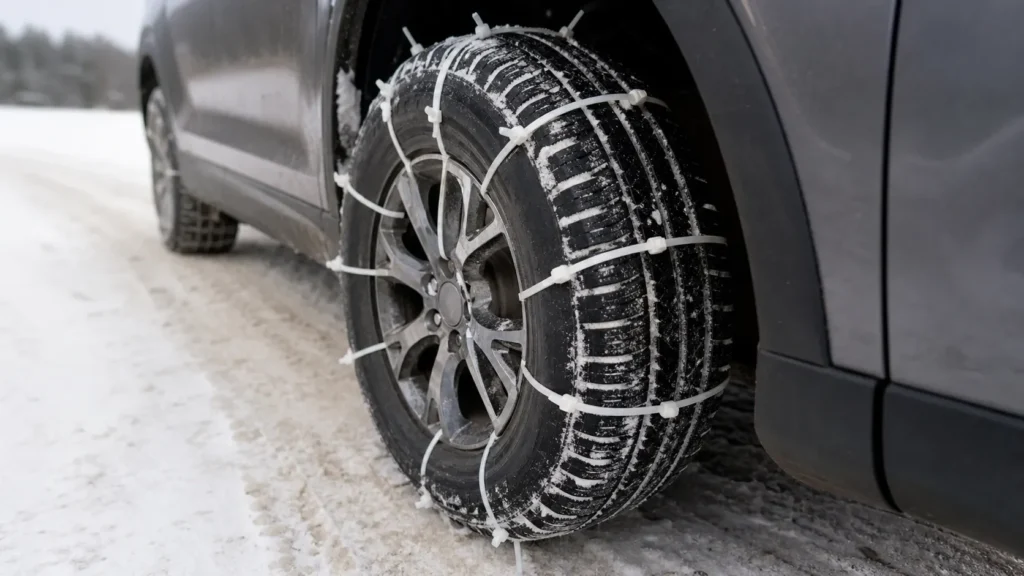
Zip tie snow chains are lightweight, emergency traction aids engineered from high-tensile nylon polymers. Designed as a rapid-response alternative to heavy steel chains, these specialized cable ties wrap directly around the tire tread through the wheel rims, providing instant bite on slippery, snow-covered roads.
Understanding DIY Zip Tie and Plastic Snow Chains
DIY cable tie snow chains operate on a straightforward mechanical principle: friction enhancement. By looping heavy-duty ties through the rim openings and securing them firmly around the tire tread, you create raised mechanical ridges across the rubber surface.
Tread Augmentation: Thick tie heads or integrated plastic cleats dig directly into packed snow and slush.
Rotational Grip: The anti-slip design prevents wheel spin by channeling torque directly into frozen surfaces.
Zero-Jack Installation: Unlike standard chains, installation requires no jacking up the car or rolling the vehicle forward.
Advantages of DIY Plastic Chains Over Metal Chains
While heavy steel chains are built for extreme mountain passes, high-grade plastic snow zip ties offer distinct operational benefits for emergency scenarios:
Feature
DIY Plastic Snow Chains
Traditional Metal Chains
Installation Speed
3–5 minutes per tire
15–30 minutes per tire
Wheel Well Clearance
Requires minimal space
Requires deep wheel clearance
Rim Protection
Zero scratch risk (Soft polymer)
High risk of alloy rim scraping
Portability
Extremely lightweight and compact
Heavy, bulky, and difficult to store
When to Use Emergency Plastic Snow Chains
Plastic snow zip ties are engineered specifically for emergency self-rescue and short-distance traction. They serve as an essential safety layer when traditional equipment is unavailable or impractical:
Getting Unstuck: Ideal for freeing a trapped vehicle from a snowbank, icy parking spot, or unplowed driveway.
Low-Clearance Vehicles: Perfect for modern sedans where traditional metal chains strike suspension components or wheel liners.
Sudden Blizzards: Compact enough to store permanently in the trunk as a reliable backup when flash freezes strike.
Required Materials and Tools for Making Plastic Snow Chains
Before building DIY zip tie snow chains, assembling the right tools and materials is critical for performance and roadside safety. Standard plastic ties snap instantly under freezing stress, so selecting industrial-grade components keeps your vehicle moving safely on slick roads.
Choosing Heavy-Duty Zip Ties and Plastic Cleats
Not all cable ties can handle winter driving. Standard indoor ties quickly become brittle and snap in sub-zero temperatures. For reliable zip tie traction for tires, select materials built specifically for high tension and severe cold:
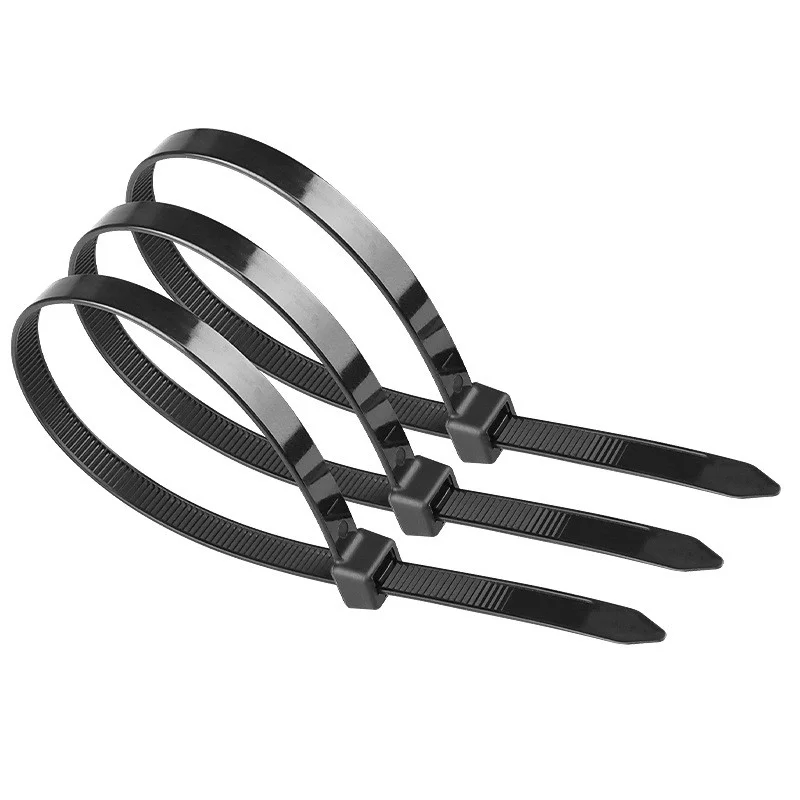
Base Ties (36-Inch): Use 36-inch heavy-duty ties with a minimum tensile strength of 175 lbs. These act as the main harness wrapping around both the tire tread and rim openings.
Grip Ties / Cleats (12-Inch): Use 12-inch heavy-duty ties or textured plastic cleats attached along the base tie to create raised ridges that bite into packed snow and ice.
Cold-Weather Nylon 66: Always choose UV and weather-resistant Nylon 66 rated for freezing environments. Explore our range of heavy-duty zip ties for outdoor use to ensure maximum durability on icy roads.
Having the right hand tools makes assembling snow zip ties for tires fast and accurate, even when working in freezing weather with cold hands.
Flush Cutters: Trim excess tie tails completely flush to prevent sharp plastic ends from slapping wheel wells or scratching paint.
Pliers or Tie Tensioner: Provides leverage to cinch every snow chain cable tie tightly against the tread without slipping.
Utility Knife: Allows quick, clean cuts during final adjustments or removal.
Safety Gear for Winter Installation
Installing emergency plastic snow chains on a frozen roadside requires basic personal protection:
Insulated Waterproof Work Gloves: Protects hands from freezing metal rims and gives you a firm grip when tightening ties.
Foam Kneeling Mat: Keeps your knees dry and insulated from freezing slush, ice, and asphalt.
Headlamp & High-Visibility Vest: Essential for staying visible to oncoming traffic during dark winter road conditions.
Measuring and Preparing Your Tires
Proper preparation ensures your DIY setup works safely without damaging your vehicle. Before installing any zip tie snow chains, you need to check your clearances, calculate how many ties you need, and inspect your wheels.
Checking Tire Size and Rim Clearance
Before strapping car tire zip ties onto your wheels, inspect the clearance around your wheel well and brake assemblies:
Wheel Well Gap: Ensure at least 1 to 2 inches of space between the tire tread and the fender lining.
Brake Caliper Clearance: Check the backside of the rim spoke to make sure the tie buckle won’t snag on the brake caliper or suspension components as the wheel rotates.
Tie Length: Standard tires require heavy-duty ties at least 36 inches long to loop cleanly through the rim and around the tread. Check our cable tie sizes and strength guide to pick the right tensile rating and dimensions for winter conditions.
Calculating Chain Spacing and Quantity
For effective zip ties for tire traction, coverage needs to be even across the drive wheels:
Wheel Size
Recommended Ties Per Wheel
Ideal Spacing
14″ – 16″ Rims
10 to 12 ties
Spaced every 3 to 4 inches
17″ – 19″ Rims
12 to 15 ties
Spaced every 3 to 4 inches
20″+ Rims
15 to 18 ties
Positioned through all available rim openings
Always install diy tire chains on the primary drive wheels (front tires for FWD, rear tires for RWD).
Maintain consistent spacing to prevent uneven wheel hop and ensure continuous bite on packed snow.
Inspecting Rims to Prevent Damage
A few quick precautions keep your wheels safe while using tire zip tie chains:
Avoid Tire Valves: Never run a tie directly over or right next to the tire inflation valve stem. High rotational stress can snap the valve.
Check Spoke Edges: Feel the inner edges of your alloy rim spokes. Sharp casting lines can slice through plastic ties under heavy loads.
Clean the Rim Openings: Wipe away thick slush, ice build-up, and brake dust from the spoke gaps to get a tight, flush fit against the wheel.
DIY the Zip‑Tie Chains
Step 1: Preparing Materials: Using 36″ Long Ties and 12″ Short Grips
Building custom zip tie snow chains requires heavy-duty components that won’t snap under low temperatures or high torque. We use a combination of 36-inch heavy-duty base ties and 12-inch short grip ties to construct each traction unit.
36-Inch Base Ties: Act as the primary harness wrapping around the tire circumference and through the rim. If standard stock runs short, understanding how to make zip ties longer step-by-step guide helps you interlock shorter straps securely for wide SUV or truck tires.
12-Inch Grip Ties: Serve as raised traction cleats across the tire tread to dig into hard-packed snow and ice.
Cold-Weather Rating: Standard nylon gets brittle in freezing temperatures. Before building your tire zip tie chains, check do zip ties break in cold weather to ensure your chosen materials feature cold-impact additives rated for sub-zero operation.
Step 2: Building Each Chain Unit: Securing Short Ties as Grips onto a Long Base Tie
To assemble high-friction snow zip ties for tires, assemble each individual traction segment before placing anything on your vehicle.
Lay out the base: Place one 36-inch heavy-duty zip tie flat on a workbench with the locking head facing up.
Attach the grip ties: Thread 3 to 5 short 12-inch ties perpendicularly across the center section of the 36-inch base strap.
Lock the cleats in place: Pull the short ties tight around the base tie. The thick locking heads of these shorter snow tie wraps form artificial studs that dig directly into ice.
Trim excess length on grips: Cut off the loose tails of the short 12-inch ties, leaving only the sturdy locking blocks resting securely on the base strap.
Step 3: Mounting the Chain: Threading Through Rim Openings and Pulling Around the Tire
Mounting cable ties as snow chains requires open rim slots (alloy wheels). Do not attempt this on solid steel wheels without pass-through openings.
Installation Action
Instructions
Key Safety Check
Position Strap
Pass the tail of the 36-inch base tie through a rim opening from the inside out.
Keep clear of brake calipers and sensor lines.
Wrap Circumference
Guide the base strap up over the outer face of the tire tread.
Ensure the pre-assembled short grips rest squarely on the rubber tread.
Engage Locking Head
Feed the tail into the main 36-inch locking head on the wheel’s exterior side.
Verify the pawl clicks firmly into the strap teeth.
Step 4: Tightening and Centering the Grip Ties on the Tread
Proper tensioning guarantees that your zip tie snow traction units stay in place and deliver maximum bite without damaging vehicle components.
Center the cleats: Manually adjust the short grip ties so they sit directly over the center contact patch of the tire tread.
Crank the tension: Pull the main 36-inch base tie as tight as possible using pliers. A loose zip tie will flap against body panels or shear off instantly under tire rotation.
Flush trim the main tail: Cut the remaining tail of the base tie completely flush with its locking head using heavy-duty flush cutters. Jagged plastic tails can puncture rubber brake lines or ABS sensor wiring inside the wheel well.
2 Tensioning, Testing, and Adjusting Fit
3 Verifying Chain Tension and Fitment Once you install your zip tie snow chains, a thorough manual tension check is critical before hitting the snow. Loose ties shift off-center, reduce traction, and risk snapping against suspension parts or brake lines.
Check the Fit: Grab each zip tie traction for tires near the tread surface and tug firmly. The tie should sit completely flush against the tire carcass with no visible sagging or gaps.
Inspect Clearance: Ensure the locking mechanisms clear the brake calipers, tie rods, and wheel arches with ample room to spin freely.
Ensure High Tensile Hold: Cold temperatures make low-grade plastics brittle. We always recommend using high-quality durable nylon cable ties designed to withstand high tension and freezing conditions without stretching or slipping out of alignment.
3 Performing a Low-Speed Test Drive Never jump straight onto a main road after setting up diy tire chains. A controlled trial run lets you verify that everything stays securely in place under load.
Drive Slowly: Drive 50 to 100 yards on a snow-covered surface at no more than 5 mph (8 km/h).
Avoid Dry Asphalt: Keep the test strictly on ice or packed snow. Roll on bare pavement, and the friction will shear off plastic ties immediately.
Listen and Feel: Pay close attention to wheel vibration, rhythmic slapping, or clicking sounds. Any unusual noise indicates a loose tail striking the wheel well or a tie shifting off-center.
3 Re-tightening and Adjusting Loose Ties Tires flex under vehicle weight during motion, which causes cable tie snow chains to settle deeper into tread grooves and create minor slack.
Inspection Step
Action Required
Tool Needed
Check Slack
Tug each tie manually to find loose loops.
Hands / Work Gloves
Crank Lock Heads
Pull loose main ties through the ratchet mechanism until dead tight.
Needle-nose pliers
Trim Excess Tails
Cut off any newly exposed tail ends flush to the head.
Diagonal flush cutters
Replace Damaged Units
Snip and replace any ties showing stress cracks or slippage.
Spare ties & cutters
Re-checking and adjusting your tire zip tie chains after a brief roll ensures reliable grip when you need to pull your vehicle out of deep snow or icy inclines. For reliable winter performance, check out our selection guide for versatile nylon ties to pick the ideal heavy-duty options for emergency recovery kits.
Safety Rules and Removal Procedures
While learning how to make zip tie snow chains offers a quick emergency backup, safety must always come first. Plastic traction aids behave differently than heavy steel chains and require strict driving habits to prevent sudden failure.
Speed Limits for Plastic Snow Chains
Emergency zip tie snow chains are designed strictly for low-speed recovery, not highway cruising.
Keep Speeds Low: Drive under 15 mph (20 km/h) at all times.
Avoid Wheel Spin: Aggressive acceleration generates extreme friction and heat, which will instantly snap plastic snow tie wraps.
Brake Gently: Avoid hard braking on dry or paved surfaces to keep the straps from tearing away from the tread.
Monitoring Wear and Preventing Breakage
Plastic snow zip ties for tires wear down rapidly when they make direct contact with bare asphalt, concrete, or gravel.
Inspect Frequently: Pull over in a safe location every 2 to 3 miles to check strap tension and physical wear.
Remove Damaged Ties: Snip away frayed or broken plastic immediately before loose tails hit brake lines or wheel wells.
Carry Spares: Keep a extra bundle of heavy-duty zip ties for tire traction in your winter emergency kit for quick roadside replacements.
How to Safely Remove and Dispose of Used Ties
Once you navigate clear of snowbound patches and hit treated roads, pull over immediately to clear your temporary cable tie snow chains. Driving on dry pavement ruins wheel balance and destroys plastic straps in minutes.
To remove them without damaging tire rubber or scratching alloy rims, make sure you remove cable ties safely and efficiently using diagonal cutters or flush snips. Snip right near the locking pawl to release tension cleanly. If you used heavy-duty releasable models, learn how to undo and release zip ties safely so you can clean and store them in your trunk for future emergency situations. Always collect all cut plastic debris—never leave broken straps on the road.
You might already know that industrial cable ties are engineered to be virtually unbreakable… But what happens when you urgently need to know how to safely remove cable tie handcuffs? Whether you are dealing with a survival emergency, removing makeshift restraints, or simply trying to avoid a dangerous injury, knowing the proper escape technique is […]
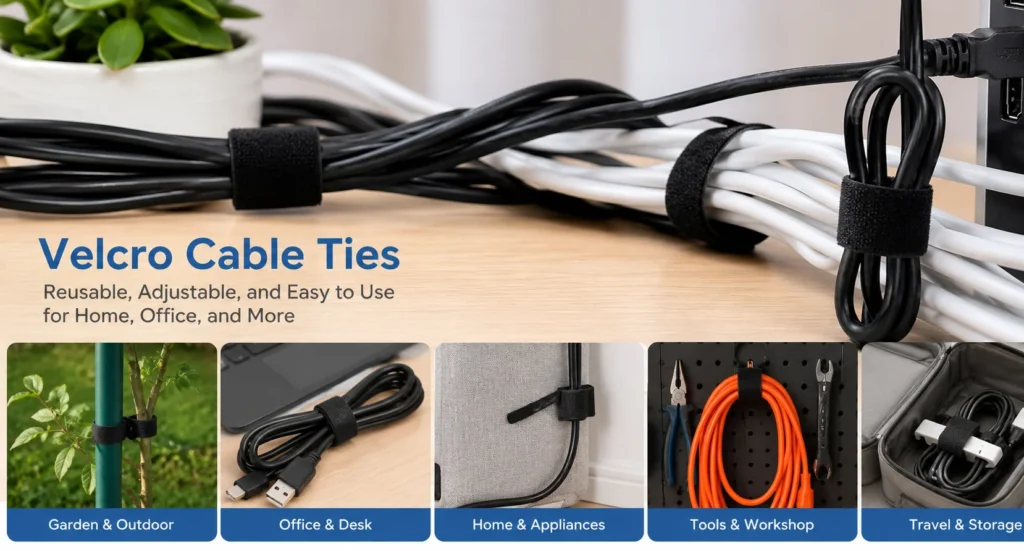
Understanding Velcro Cable Ties and Hook-and-Loop Fasteners What Are Velcro Cable Ties? Velcro cable ties are reusable fastening solutions designed to bundle, organize, and secure wires and cables. Made from durable nylon or polyester fabric, these ties feature a two-sided mechanism that grips itself without the need for adhesive. They are widely used across global […]
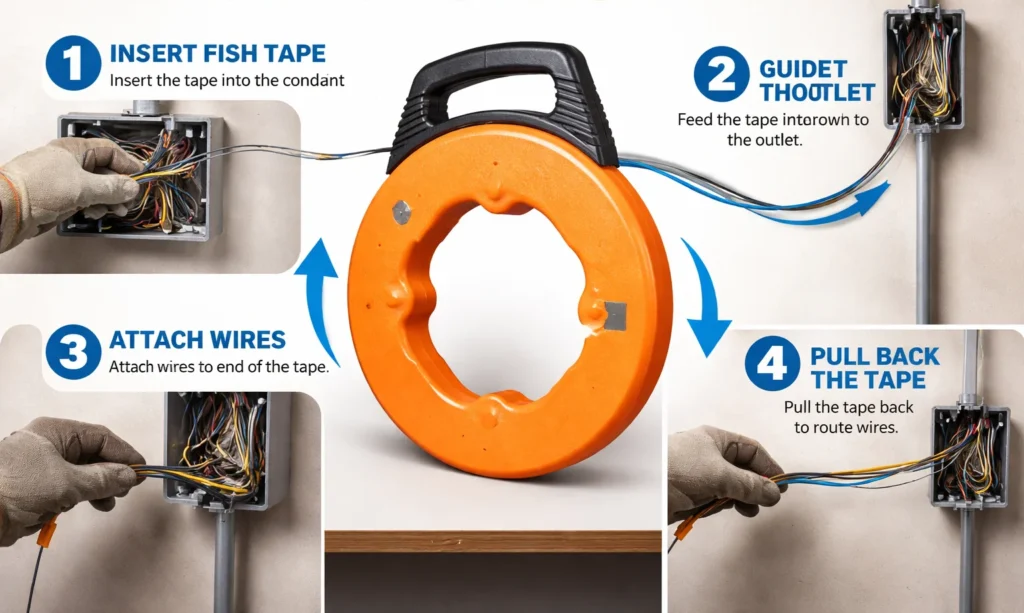
Ultimate Guide: How to Use Fish Tape for Industrial Wiring What is a Fish Tape? A fish tape is an essential electrician’s tool used to route new wiring through walls, electrical conduit, and tight spaces. Understanding how to use fish tape properly ensures safe electrical connections and stable conductivity in industrial and commercial projects. How […]
We use cookies to enhance your browsing experience, serve personalised ads or content, and analyse our traffic. By clicking "Accept All", you consent to our use of cookies.
Looking For High Quality Nylon Cable Ties At A Great Price?
Order now to experience cost-effective cable tie products that provide convenience and protection for your work and life.



 EN
EN  AR
AR  ES
ES  PT
PT  FR
FR  RU
RU  DE
DE