Understanding Cable Ties Handcuffs and Essential Safety
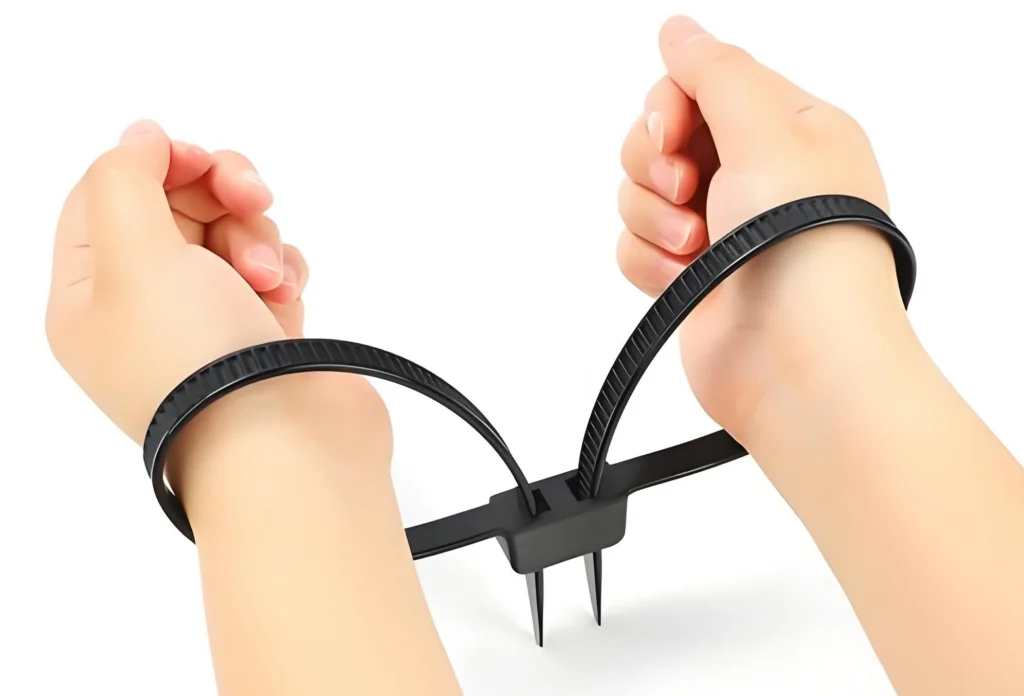
What Are Cable Ties Handcuffs?
Cable ties handcuffs—often referred to as zip tie handcuffs or handcuff zip ties—are temporary physical restraints made from high-strength plastic fasteners. Unlike standard law enforcement metal cuffs, these restraints utilize the interlocking track and locking ratchet mechanism of industrial ties to secure an individual’s wrists. Widely used by military personnel, riot police, and emergency security details, cable ties as handcuffs offer a lightweight, cost-effective, and highly portable security solution for managing multiple subjects simultaneously.
Important Safety Warnings and Legal Considerations
Improper use of zip ties handcuffs carries severe medical and legal risks. Because plastic restraints do not have a built-in double-lock mechanism, they can easily over-tighten if the restrained individual struggles, leading to permanent nerve damage, tissue necrosis, or restricted blood circulation.
Before utilizing a diy zip tie restraint, understand these strict parameters:
Legal Boundaries: Unauthorized restraint of an individual constitutes false imprisonment and assault. These methods must only be deployed for lawful self-defense, citizen’s arrests under applicable local laws, or professional security operations.
Positioning Risks: Never apply restraints tightly against bare skin without checking tension, and never leave a restrained individual unattended.
Positional Asphyxia: Ensure the subject is never placed face-down on a soft surface, as this position can restrict breathing.
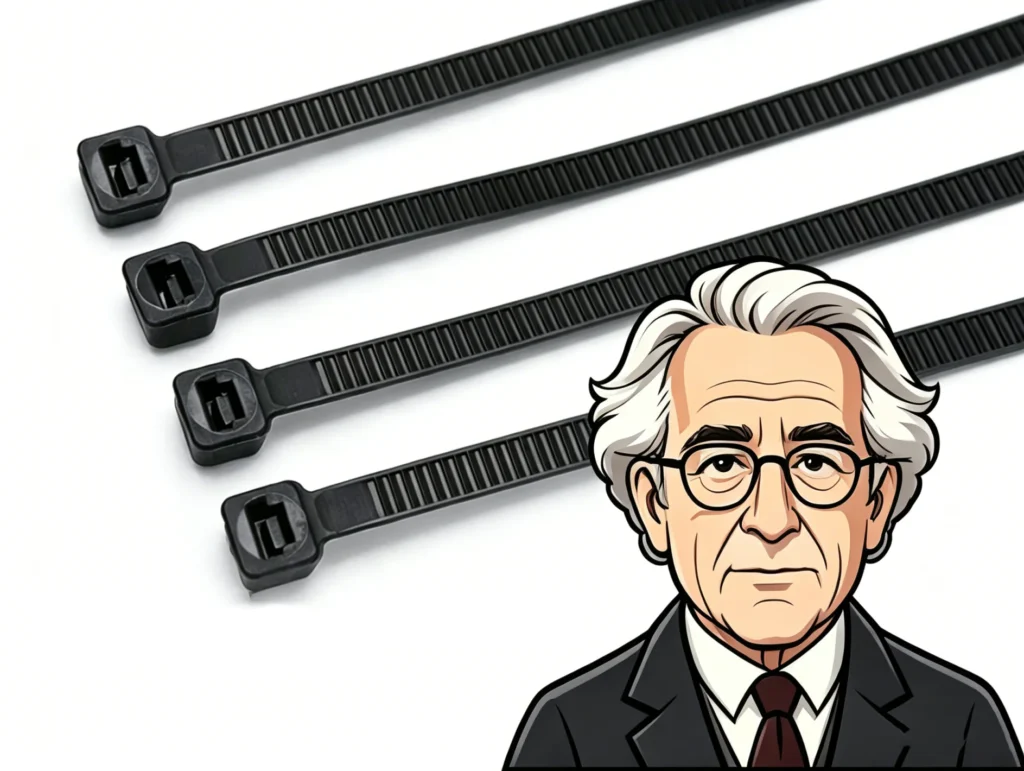
Choosing the Right Type and Size of Zip Ties
Standard tactical operations require specialized zip ties for handcuffs rather than common household variants. Cheap, thin office ties will snap under minimal pressure or cut deeply into the skin.
Feature
Standard Cable Tie
Heavy-Duty Tactical Tie
Tensile Strength
50 lbs or less (Inadequate)
250 lbs to 350 lbs (Recommended)
Width
4.8 mm or narrower
9.0 mm to 12.7 mm (Prevents skin cutting)
Material
Standard Nylon 66
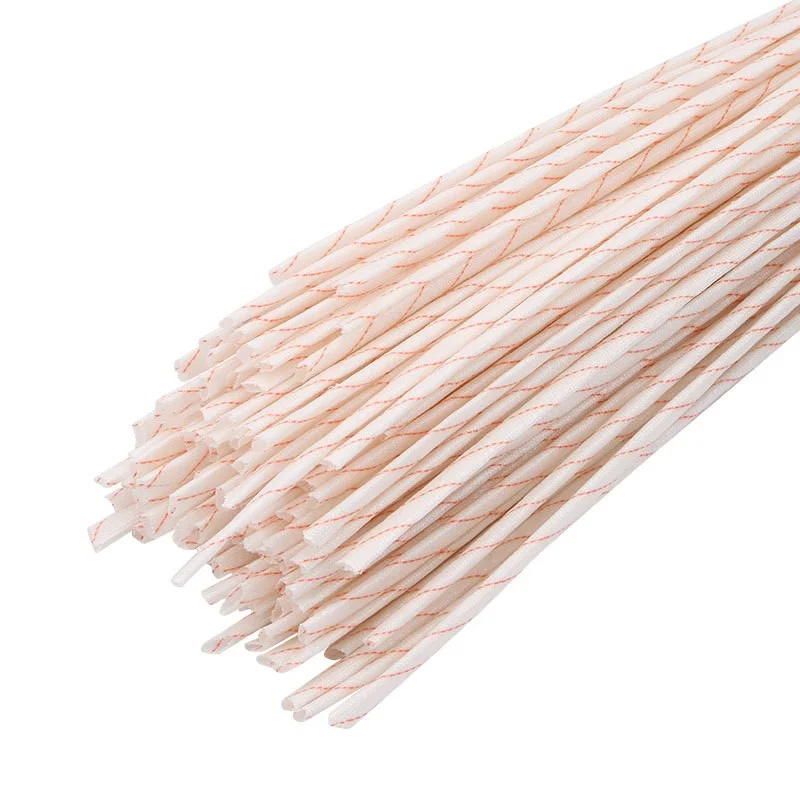
UV-Stabilized or High-Impact Nylon
Length
8 to 12 inches
22 to 36 inches (Required for double-looping)
When selecting materials for diy cable ties applications, always opt for a minimum width of 0.35 inches (9 mm) to properly distribute pressure across the radial and ulnar arteries.
Materials and Tools Needed for DIY Restraints
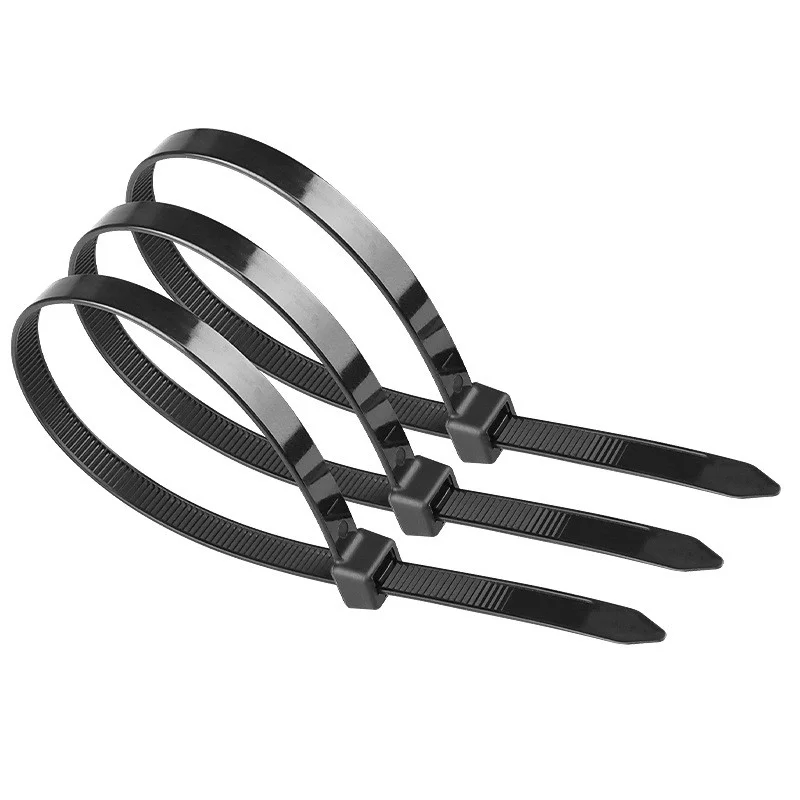
Required Types of Heavy-Duty Cable Ties
To build reliable DIY zip tie handcuffs, standard thin ties will not suffice; they snap easily under tension and can cause severe skin cuts. You must use heavy-duty, high-tensile strength options. Look for ties rated for at least 120 to 250 pounds of tensile strength, typically measuring 12 to 14 inches in length to allow enough room for both wrists.
For applications requiring long-term durability or outdoor storage, utilizing uv-resistant tie wraps ensures the plastic components do not degrade or become brittle over time. If you plan to reuse your setup during training scenarios, sourcing premium releasable tie wraps allows you to unlock the mechanism without destroying the tie.
Essential Safety Cutting Tools for Removal
Safety is the absolute priority when managing makeshift restraints. Never use a standard survival knife or a razor blade to remove handcuff zip ties, as one sudden movement can result in serious injury to the subject.
Always keep the following dedicated tools on hand:
Medic Shears (Trauma Shears): The blunt, rounded tip slides easily between the plastic and the skin without puncturing the wrist.
Flush Cutters: These specialized wire side-cutters snip through heavy-duty plastic cleanly with minimal pressure.
Anvil Pruners: Excellent for thick, industrial-grade ties where standard scissors fail.
Step-by-Step Guide: How to Make Cable Ties Handcuffs
Making a reliable set of restraints requires precision and the right technique. Using standard zip ties for handcuffs is a common practice in security, training, and emergency scenarios. Follow this direct guide to construct a secure double-loop restraint system.
Step 1: Loop and Interlock the Zip Ties
To begin making diy zip tie handcuffs, you need two heavy-duty ties. Take the first tie and feed the tail through its own locking head just enough to create a large, loose loop. Do not tighten it yet. Next, take the second cable tie and thread its tail through the center of the first loop before locking it into its own head. This creates two interconnected loops that form the foundation of your handcuff cable ties.
Step 2: Creating the Double-Loop Configuration
Pull both locking heads toward the center where the two loops meet. The heads should sit back-to-back, acting as a central anchor point. This configuration is crucial for handcuff zip ties because it prevents the two loops from sliding into each other, ensuring that each wrist is isolated in its own secure channel.
Step 3: Pre-Adjusting the Loops for Size
Before deployment, pre-adjust the loops so they are slightly larger than the target wrist size. For optimal efficiency, it helps to understand different cable ties sizes to ensure you have enough tail length left over for pulling. Leave a generous amount of the tail exposed outside of each locking mechanism. This allows you to quickly tighten the zip ties handcuffs once they are applied, ensuring a fast and secure restraint process.
How to Safely Apply Zip Tie Handcuffs
Proper Hand and Wrist Positioning
When applying zip tie handcuffs, proper positioning is critical to prevent severe nerve damage or injury. Have the individual place their hands back-to-back with the wrists touching vertically, or palm-to-palm. Back-to-back positioning is the industry standard for handcuff zip ties because it limits mobility and prevents the person from easily tampering with the locking mechanisms. Ensure the wrists stay straight during application to avoid pinching the skin.
Securing and Tightening the Restraints Safely
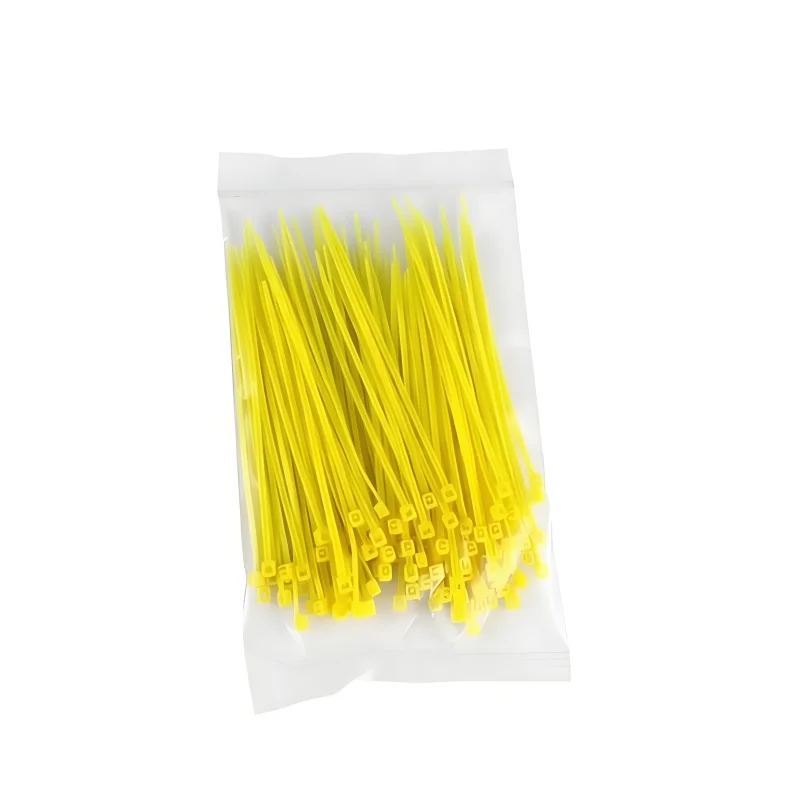
Slip the pre-made loops of your cable ties handcuffs over the hands and slide them down onto the wrists. Pull the tail of each tie smoothly to tighten. When securing zip ties handcuffs, do not yank or jerk the straps. Tighten them incrementally, ensuring the locking pawl clicks securely into place. If you are training with high-visibility options like colored wire ties, double-check that the blocks sit evenly between the wrists to minimize leverage and friction.
Checking for Correct Tightness and Circulation
Never overtighten handcuff cable ties. You must immediately check for proper circulation after securing the loops.
The Finger Test: Always ensure you can slip one finger comfortably between the restraint and the person’s wrist.
Visual Check: Look for signs of restricted blood flow, such as skin discoloration (turning blue or purple), extreme paleness, or immediate swelling.
Physical Response: Ask the person if they feel numbness, tingling, or severe pinching. If any of these signs occur, cut the restraints off immediately and start over.
Alternative Methods: How to Make Zip Tie Thumb Cuffs
While full-sized zip tie handcuffs secure the wrists, a smaller, more compact alternative involves using handcuff zip ties specifically tailored for the thumbs. This method relies on the same double-loop mechanical principle but utilizes downsized materials to restrict movement effectively without the bulk of standard law enforcement style restraints.
Preparing Smaller Cable Ties for Thumb Restraints
To create diy zip tie thumb cuffs, you need to select the correct material thickness and length. Standard heavy-duty ties are too wide and rigid for small joints, while flimsy standard ties will snap under pressure.
Size Selection: Opt for 6-inch to 8-inch intermediate cable ties with a minimum loop tensile strength of 40 lbs.
The Interlock Setup: Thread the tail of the first zip tie through the locking mechanism of the second tie, creating a interlocking figure-eight shape.
Pre-locking: Pull the tails slightly through the locking pawls until you have two distinct loops roughly the size of a thumb.
Applying Thumb Cuffs Correctly
When applying thumb cuffs made from cable ties as handcuffs, precision is critical to prevent injury.
Positioning: Have the subject place their hands together, palms facing each other or back-to-back, with the thumbs aligned parallel to one another.
Loop Placement: Slip one loop over each thumb, positioning the plastic bands between the first and second knuckles.
Tightening: Pull the tails firmly but smoothly. The restraint must be snug enough to prevent the thumbs from slipping out, but never tight enough to pinch the skin or restrict blood flow.
Safety Reminder: Smaller digits are highly susceptible to nerve damage. If you ever need to reverse this process quickly, knowing how to remove cable ties safely with flush cutters or a shim is vital to avoid cutting the skin. Always monitor the fingertips for any discoloration during use.
How to Safely Remove Cable Ties Handcuffs
Using Specialized Cable Tie Cutters Safely
Removing heavy-duty restraints requires precision to avoid cutting the skin. Standard scissors or knives are highly dangerous in tight spaces because they slip easily.
Snips and Side Cutters: Flush-cut side cutters or medical shears are the safest tools. They allow you to get underneath the strap without pressing a sharp blade against the wrist.
The Cut Point: Slide the flat side of the cutter tool between the locking block and the wrist. Cutting near the locking mechanism provides the most clearance and reduces the risk of injury.
Low-Profile Alternatives: If you regularly work with tight bundling or training scenarios, using specialized low-profile cable ties can make the removal process much smoother due to their sleek, non-protruding design.
Emergency Escape Techniques and Vulnerabilities
Standard plastic zip tie handcuffs are highly effective, but they do have specific structural vulnerabilities. Understanding these weak points is critical for safety testing and emergency escape scenarios.
Safety Warning: Attempting to break out of restraints can cause severe friction burns, skin lacerations, or nerve damage if done incorrectly.
The Shim Method: Because cable tie handcuffs rely on a tiny plastic ratchet inside the locking head, they can be defeated using a small, rigid piece of metal (like a safety pin or shim). Inserting the shim between the teeth and the locking pawl releases the mechanism without cutting.
The Kinetic Snap: Plastic becomes brittle under sudden, extreme force. By tightening the handcuff zip ties as much as possible, bringing your elbows back, and slamming the restraints down hard against your stomach or hips while flaring your elbows, the locking head will often snap under the pressure. This method does not work on reinforced or metal-lined restraints.
Introduction to Zip Ties What is a Zip Tie? A zip tie—also universally known as a cable tie, tie wrap, or hose tie—is a robust, one-piece fastener designed to securely bundle cables, wires, and hoses. Operating on a simple yet highly effective ratcheting mechanism, the strap features a series of integrated triangular teeth that engage […]
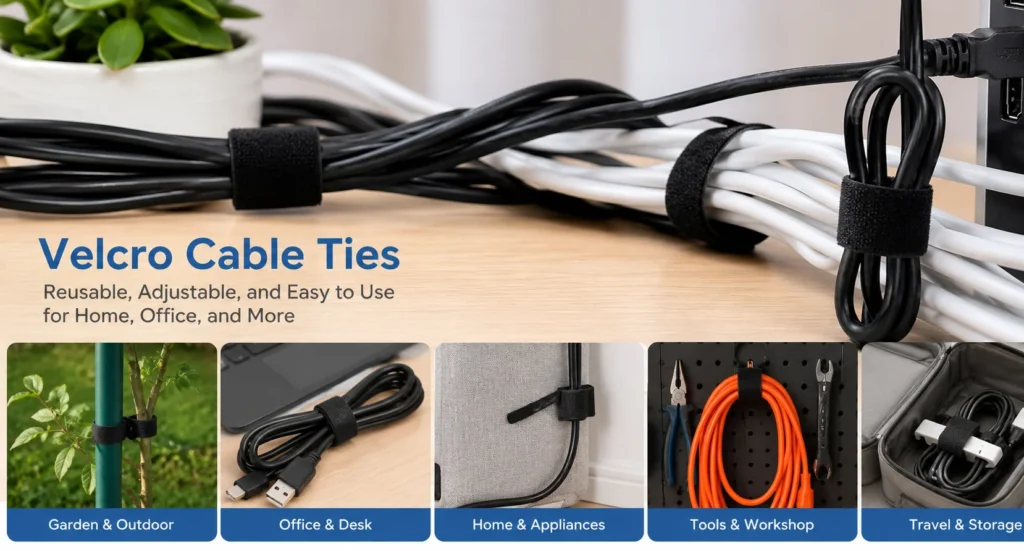
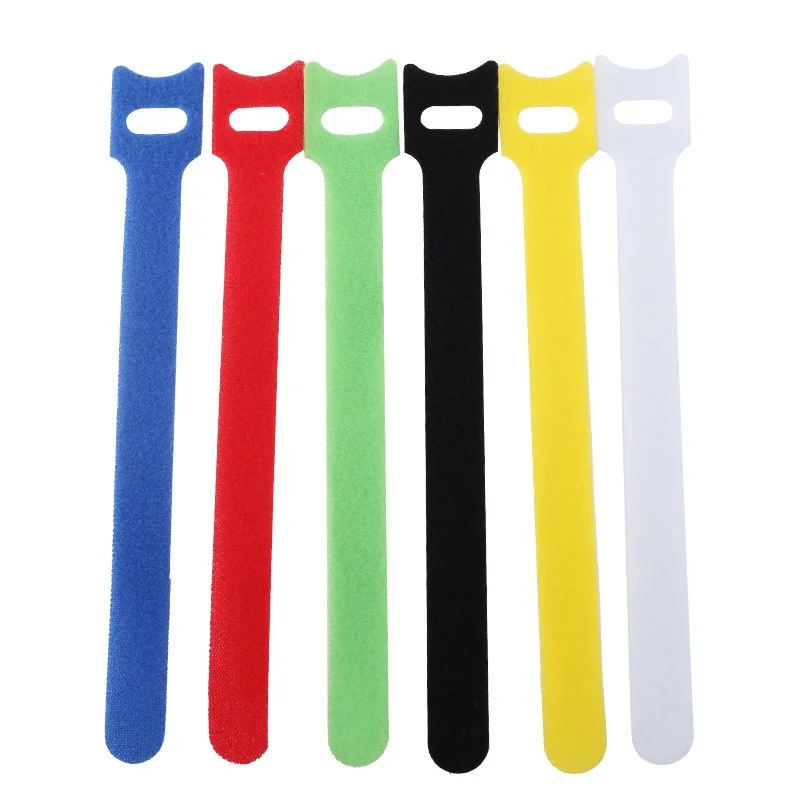
Understanding Velcro Cable Ties and Hook-and-Loop Fasteners What Are Velcro Cable Ties? Velcro cable ties are reusable fastening solutions designed to bundle, organize, and secure wires and cables. Made from durable nylon or polyester fabric, these ties feature a two-sided mechanism that grips itself without the need for adhesive. They are widely used across global […]
You might already know that industrial cable ties are engineered to be virtually unbreakable… But what happens when you urgently need to know how to safely remove cable tie handcuffs? Whether you are dealing with a survival emergency, removing makeshift restraints, or simply trying to avoid a dangerous injury, knowing the proper escape technique is […]
We use cookies to enhance your browsing experience, serve personalised ads or content, and analyse our traffic. By clicking "Accept All", you consent to our use of cookies.
Looking For High Quality Nylon Cable Ties At A Great Price?
Order now to experience cost-effective cable tie products that provide convenience and protection for your work and life.