Heat shrink tube is an essential component in modern electrical, automotive, and DIY wiring applications. It provides tight, dependable protection against environmental elements, mechanical stress, and electrical hazards.
What Is Heat Shrink Tube and How Does It Work?
Heat shrink tubing is a specialized thermoplastic sleeve engineered to shrink radially when exposed to a heat source. The manufacturing process uses cross-linked polymers—most commonly high-grade polyolefin—giving the material a shape-memory effect. When heated, the shrink tube contracts tightly around underlying wires, joints, or terminals, forming a protective, form-fitting seal.
Feature
Specifications & Mechanism
Primary Materials
Polyolefin, PVC, Fluoropolymers
Working Mechanism
Radial contraction (shrinks in diameter with minimal length loss)
Activation Temperature
Typically between 70°C and 125°C (158°F to 257°F)
Common Shrink Ratios
2:1, 3:1, and 4:1
Key Benefits for Home Repairs and DIY Projects
Whether repairing household electronics, fixing frayed charger cables, or building custom electrical setups, using a heat shrink sleeve offers clear advantages over standard electrical tape:
Superior Electrical Insulation: Completely covers exposed solder joints and bare conductors to prevent short circuits and electrical shocks.
Effective Strain Relief: Reinforces high-stress cable connections, dramatically extending the operational lifespan of flexible cords.
Environmental Sealing: Shields sensitive wire joins against moisture, dust, chemical exposure, and oxidation.
Professional Finish: Delivers a sleek, factory-quality appearance while making wire identification easy through color-coded tubing.
Choosing the Right Heat Shrink Tube for Your DIY Project
Selecting the proper shrink tube for your build makes all the difference between a clean, lasting repair and a loose, unsafe connection. I always recommend matching the material and size to your specific environment before heating anything up.
Understanding Materials and Types
The performance of your heat shrink sleeve comes down to the underlying shrink tube material. Different jobs require different physical properties:
Polyolefin: The industry standard. It is flexible, highly flame-retardant, and handles temperatures up to 135°C (275°F).
PVC: A cost-effective choice for lower-temperature applications, though less flexible than polyolefin.
Clear Shrink Tube: Excellent when you need visual inspection of soldered joints, labels, or color-coded wiring beneath the seal.
Adhesive-Lined (Dual-Wall): Features an inner meltable glue layer that melts when heated, sealing out moisture and creating a waterproof barrier.
Understanding how thermoplastics handle thermal stress helps prevent premature wear on your projects. If you want to dive deeper into how different plastics behave when exposed to thermal loads, understanding heat resistance and material properties gives crucial context for choosing reliable components.
Selecting the Correct Size, Diameter, and Shrink Ratio
Choosing the right heat shrink tube size ensures a tight, protective fit over your wiring splices. If the tube is too large, it won’t shrink down enough to grip the wire; if it is too small, you won’t be able to slide it over your solder joints or connectors.
Expanded Inner Diameter (ID): The inner diameter of the tube before heating. It must be slightly larger than the maximum diameter of your wire or connector so it slides on easily.
Recovered Inner Diameter (ID): The diameter after full heating. Ensure the recovered ID is smaller than the smallest part of your wire so it grips securely.
Shrink Ratio:
2:1 Ratio: Shrinks to half its original diameter. Ideal for standard wire splicing and everyday diy shrink tube fixes.
3:1 or 4:1 Ratio: Shrinks to one-third or one-fourth of its original size. Best for sliding over large connectors and shrinking down tightly onto small wires.
Comparing heat shrink tube sizes carefully before cutting saves material and guarantees a professional seal every time.
Essential Tools for Shrinking Tube at Home
Getting a clean, tight seal comes down to selecting the right heat source for your project. Whether you use specialized equipment or household items, precise temperature control is key to protecting your wiring.
Dedicated Heat Guns and Micro Torches
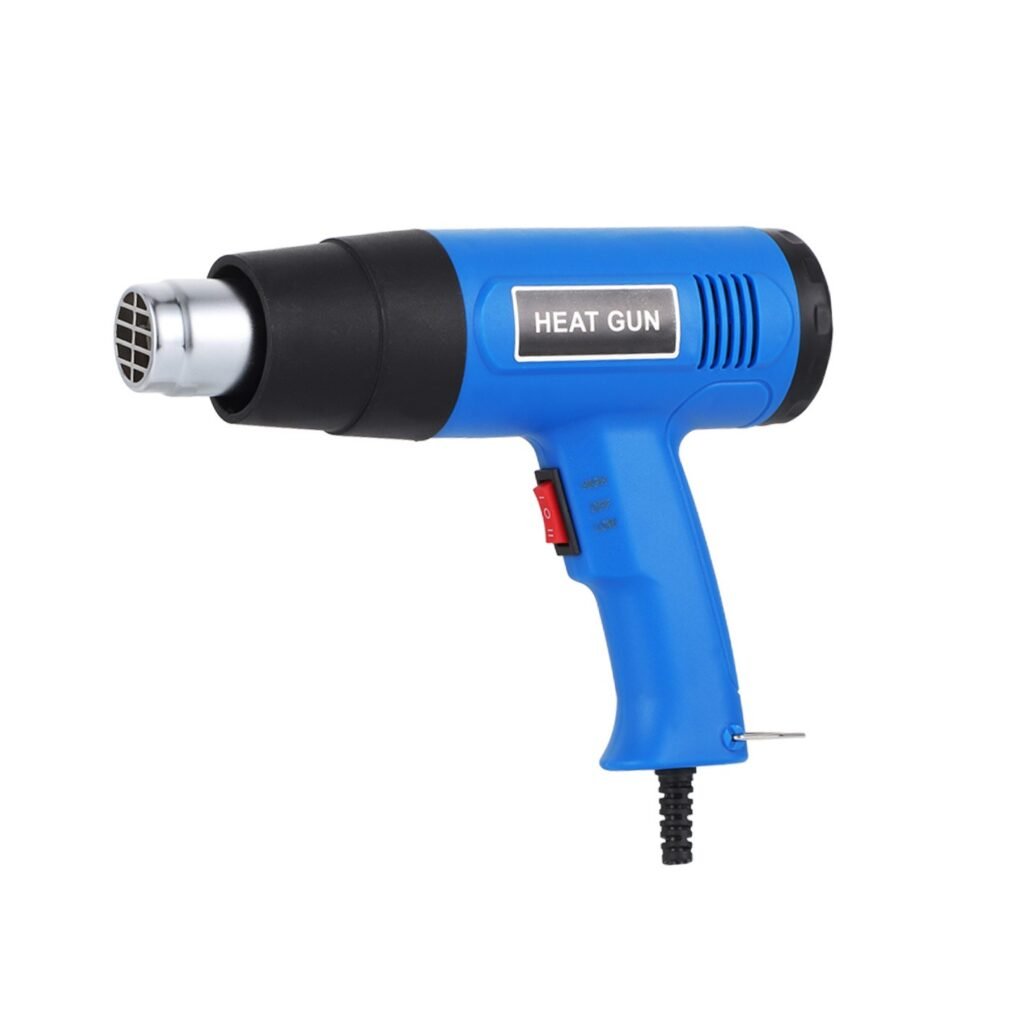
Using a dedicated heat gun for shrink tube projects is the gold standard for reliable electrical insulation. These tools deliver consistent, controllable hot air without an open flame, preventing scorching and uneven seals.
Electric Heat Guns: Best for controlled, uniform shrinkage across long cable runs. Models with adjustable temperature settings offer the best versatility for delicate wires.
Micro Butane Torches: Compact and fast for quick repairs. They heat up instantly, but you must keep the flame moving constantly to avoid charring the shrink heat tube.
Everyday Household Heat Sources
You don’t always need specialized shop equipment to complete a diy shrink tube project at home. Several everyday items can step in when standard tools aren’t available:
Heat Source
Best Used For
Pro Tip
High-Wattage Hair Dryer
Thin-walled plastic sleeves
Use a concentrator nozzle attachment to focus the airflow direct onto the joint.
Lighters or Matches
Quick emergency wire splices
Hold the tubing near the lower, blue part of the flame to minimize soot buildup.
Soldering Iron Barrel
Tight, precise electrical joints
Hold the side of the hot metal barrel close to the tubing without directly touching it.
Applying wire sleeve heat shrink properly ensures a long-lasting, weather-resistant, and professional seal for any electrical connection. Follow this straightforward step-by-step process to get tight, reliable coverage every single time.
Step 1: Measure and Cut the Tubing
Measure the Coverage Area: Determine the length of the bare wire, splice, or terminal you need to insulate.
Add Extra Length: Cut the heat shrink tube sleeving slightly longer than the exposed area. Leave at least a 1/4-inch to 1/2-inch overlap on both ends to account for longitudinal shrinkage.
Make Clean Cuts: Use sharp shears or a utility knife to make a straight, perpendicular cut. Ragged edges can cause the material to split under heat.
Step 2: Position the Tubing Over the Wire
Pre-load the Tube: Always slide the shrink heat tube onto one of the wire leads before joining, twisting, or soldering the conductors together.
Keep Away from Heat: Push the sleeve far down the wire away from the repair site so the heat from soldering does not trigger premature shrinking.
Center the Sleeve: Once the electrical connection is complete and fully cooled, slide the tubing directly back over the center of the joint, ensuring equal overlap on both sides.
Step 3: Apply Heat Evenly Around the Surface
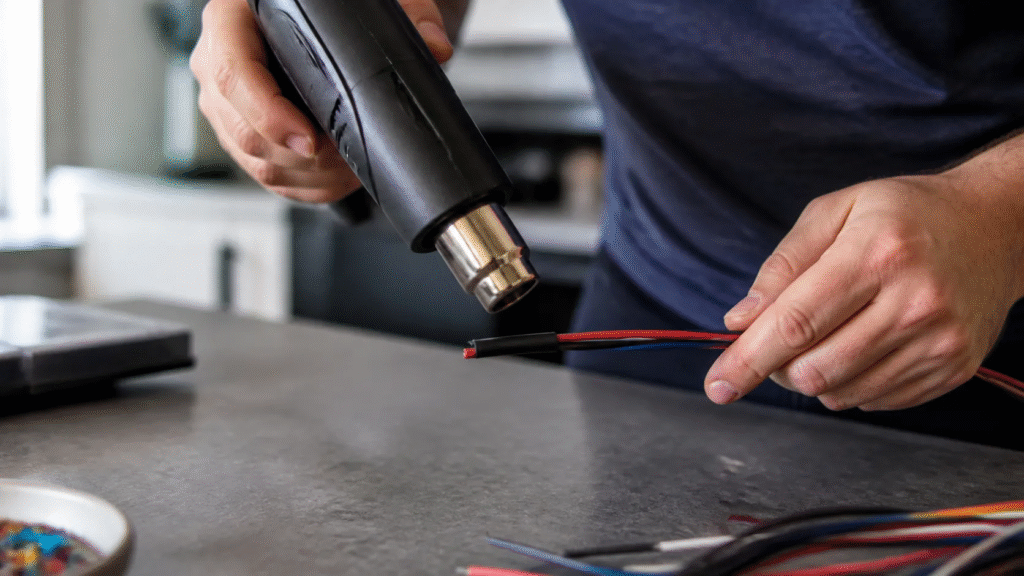
Use the Right Tool: A dedicated shrink tube heat gun is ideal. Set it to the recommended temperature based on your specific heat shrink tube material.
Work Center-Outward: Begin applying heat in the middle of the tubing and sweep toward the outer ends. This technique pushes trapped air out and prevents air pockets under the surface.
Rotate continuously: Keep the heat gun moving back and forth around the circumference of the tubing. Never hold the flame or hot air in one spot to prevent burning, melting, or uneven shrinking.
Step 4: Allow to Cool and Inspect the Connection
Let It Set: Allow the connection to sit undisturbed for a minute until the plastic fully hardens and sets.
Check the Fit: Ensure the tubing has shrunk tightly to the exact contour of the wire and underlying splice.
Inspect the Seal: Look closely for gaps, burnt edges, or splits. A perfect application shows a smooth, rigid jacket with adhesive squeeze-out at the edges (if using dual-wall tubing).
How to Shrink Heat Shrink Tube Without a Heat Gun
You do not always need a dedicated heat gun for shrink tube installation to achieve a clean, tight seal on quick wire repairs. When working at home, several everyday tools can safely deliver the heat required to collapse a high-quality shrink heat tube securely over splices and terminal connections.
Using Lighters or Matches Safely
A standard pocket lighter or match is the fastest option for localized diy shrink tube projects: Target the blue flame: Keep the tubing near the lower, cooler blue portion of the flame rather than the bright yellow top to avoid burning or leaving carbon soot. Keep moving: Sweep the flame continuously back and forth along the heat shrink sleeve without stopping in one spot. Maintain safe distance: Position the flame roughly one inch below the tubing, letting rising heat do the work.
Using a High-Wattage Hair Dryer
A high-wattage hair dryer rated at 1800 watts or higher generates enough heat for thin-wall polyolefin shrink tubing: Attach a nozzle: Use a narrow concentrator nozzle to focus the hot air stream directly onto the connection. Max temp settings: Set the hair dryer to its highest temperature and fan speed. Rotate the wire: Hold the nozzle close to the wire sleeve heat shrink and slowly rotate the cable until the tubing recovers completely.
Using a Soldering Iron Barrel
The hot metal barrel of a soldering iron offers precise radiant heat without an open flame: Proximity without contact: Hover the side of the heated metal barrel (not the tip) a quarter-inch away from the tubing surface. Even distribution: Turn the wire continuously so the heat shrinks the material uniformly on all sides without scorching.
Using Candles or Micro Flames
Candles and small micro-burners provide a steady, hands-free heat source for small-scale assembly: Quick passes: Pass the wire assembly through the lower edge of the flame in smooth, quick sweeps to prevent charring. Controlled application: Micro-flames give exceptional control when working in tight spaces where larger tools might melt surrounding wire insulation.
How to Make DIY Heat Shrink Alternatives at Home
When you run out of commercial sleeves, learning how to make heat shrink tube at home using everyday materials provides a fast emergency fix. While factory tubing uses cross-linked polymers, you can craft a functional diy shrink tube alternative using common household thermoplastics.
Selecting Suitable Household Plastics
Not all plastics contract when exposed to heat. To build a temporary diy heat shrink tube, choose thin thermoplastics that shrink predictably without melting immediately.
Material Type
Ideal Source
Shrink Performance
PET (Polyethylene Terephthalate)
Soda bottles, clear food containers
High contraction, forms a stiff jacket
Thin PE/PVC Film
Packaging shrink film, heavy-duty cling wrap
Moderate contraction, creates a flexible clear shrink tube seal
PP/PE Straws
Thin plastic drink straws
Low contraction, works best as a simple wire sleeve heat shrink jacket
Preparing and Wrapping the Plastic Film or Tubing
Proper preparation ensures your homemade heat shrink sleeve stays tight and covers the splice fully.
Clean the wire: Remove all dirt and oil from the wire surface to maximize friction.
Cut to length: Cut PET plastic strips or straw segments 1 to 2 inches longer than the wire joint.
Wrap tightly: If using plastic film, wrap it around the wire 3 to 5 times for sufficient thickness.
Secure loose ends: Hold temporary wraps in place or organize wire bundles using nylon cable ties before applying heat.
Heating and Shrinking Homemade Plastic Seals
Applying heat to homemade materials requires precise control to avoid burning through the DIY barrier.
Maintain distance: Hold your heat source 2 to 3 inches away from the plastic.
Apply indirect heat: Sweep a high-wattage hair dryer or lighter back and forth constantly across the surface.
Monitor contraction: Watch the plastic tighten snugly around the wire joint.
Cool and test: Allow the heat shrink tube diy connection to cool completely, then check for a firm, protective seal.
Safety Precautions and Common Mistakes to Avoid
Working with high heat and plastic materials around electrical wiring requires caution. Whether you use dedicated heating tools or improvised household flame sources, following proper safety protocol ensures clean, reliable insulation without fire hazards or damaged circuits.
Essential Household Safety Guidelines
Work in Well-Ventilated Spaces: Heating plastics, especially makeshift household films, can release harsh fumes. Always work near an open window or under an exhaust fan.
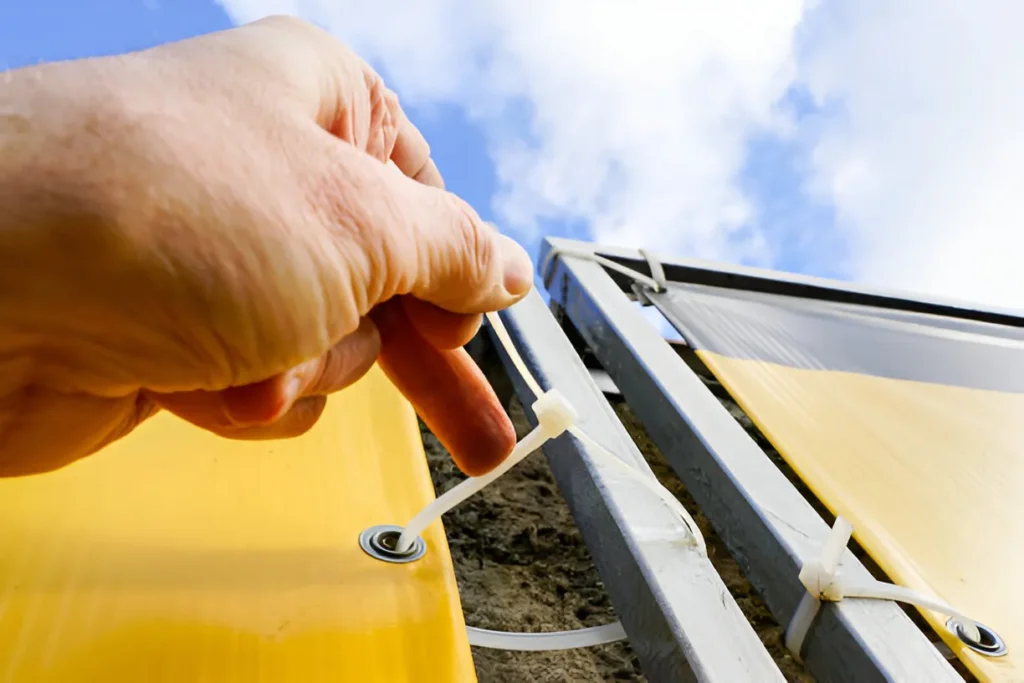
Secure Your Wiring: Keep loose leads tightly organized before applying heat. Securing messy wire bundles with durable nylon cable ties keeps your setup stable before sliding on a heat shrink sleeve.
Protect Hands and Surfaces: Use insulated pliers or tweezers to hold small wires near heat sources. Work over a heat-resistant mat and review basic guidance on how to tie cable ties for safety and strength to maintain a safe working area.
Keep Fire Suppression Nearby: Keep a wet rag or small fire extinguisher accessible whenever working with open flames or high-wattage heating elements.
Preventing Overheating, Charring, and Uneven Shrinking
Keep the Heat Source Moving: Never hold an open flame or heat gun for shrink tube stationary in one spot. Use continuous side-to-side sweeping motions to distribute thermal energy evenly.
Work Center to Edge: Always direct heat to the middle of the heat shrink tube sleeving first, then move outward toward both ends. This technique pushes trapped air bubbles out for a seamless fit.
Maintain Safe Clearance: Keep open flames at least 1 to 2 inches away from your shrink heat tube. Direct flame contact burns the outer layer and creates brittle spots.
Stop Once Sealed: As soon as the diy shrink tube molds tightly around the joint, remove the heat. Overheating degrades the plastic’s tensile strength and insulation ratings.
In modern domestic and industrial environments, the role of nylon cable ties cannot be underestimated. This seemingly simple tool is widely used in wire management, gardening, mechanical maintenance and even bundling of daily items due to its economical and practical use. However, when faced with the dazzling array of nylon cable tie choices on the […]
Ever wondered how to streamline your vehicle’s wiring system?Car zip ties offer an efficient solution for optimizing automotive wiring harness and component fixation.These versatile fasteners provide strength, durability, and ease of use, making them ideal for organizing and securing electrical components in vehicles.In this post, we’ll explore practical techniques to leverage nylon cable ties for […]
What Are Plastic Zip Tie Snow Chains? Definition and Key Design Features Plastic zip ties for snow chains are temporary, emergency traction devices designed to help vehicles regain grip in slippery conditions. Unlike traditional wraps, these snow tire zip ties consist of individual, heavy-duty plastic straps featuring integrated cleats or anti-skid studs. They are designed […]
We use cookies to enhance your browsing experience, serve personalised ads or content, and analyse our traffic. By clicking "Accept All", you consent to our use of cookies.
Looking For High Quality Nylon Cable Ties At A Great Price?
Order now to experience cost-effective cable tie products that provide convenience and protection for your work and life.



 EN
EN  AR
AR  ES
ES  PT
PT  FR
FR  RU
RU  DE
DE  KO
KO  JA
JA  IT
IT