Why You Might Need an Alternative to a Heat Gun
While an electric heat gun is the industry standard for activating heat shrink tubing, it is not always the most practical or accessible tool for every scenario. Resourcefulness is key in electrical maintenance, and understanding how to achieve a professional-grade seal with alternative heat sources ensures that your projects never stall due to a lack of specialized equipment.
Quick Fixes and DIY Home Projects
For the casual hobbyist or homeowner, investing in a dedicated heat gun for a one-off repair is often unnecessary. Many household tasks require only a small amount of heat shrink material to provide insulation or strain relief.
- Cost Savings: Avoid the expense of professional-grade tools for simple, low-frequency repairs.
- Space Efficiency: Eliminates the need to store bulky equipment for minor plastic heat shrink applications.
- Immediate Results: Use readily available household items to finish a project without waiting for a tool delivery.
Emergency On-the-Go Cable Repairs
Fieldwork and emergency situations often occur far from a reliable power source, making corded tools impossible to use. In these environments, the ability to apply cable heat shrink using portable heat sources is a critical skill.
- Remote Locations: Essential for automotive, marine, or outdoor repairs where electrical outlets are unavailable.
- Compact Solutions: Small, portable heat sources are easier to carry in a mobile toolkit or glove box.
- Rapid Response: Provides an instant fix for exposed wires, preventing short circuits and further equipment damage in real-time.
Top 4 Methods to Use Heat Shrink Tubing Without a Heat Gun
If you don’t have a professional heat gun in your toolbox, you can still achieve a tight, protective seal on your wires. I have found that several everyday tools work perfectly well for shrinking heat shrink material as long as you apply the heat evenly and stay patient during the process.
Method 1: Using a Hair Dryer for Gentle Heating
A standard hair dryer is the safest alternative for beginners. While it doesn’t reach the intense temperatures of a dedicated heat gun, it provides enough warmth for thin-walled plastic heat shrink used in basic electronics.
- Set to High: Use the highest heat and lowest airspeed settings available.
- Close Proximity: You will need to hold the nozzle very close to the tubing—usually within an inch.
- Patience is Key: It will take significantly longer than other methods, but it drastically reduces the risk of burning the wire insulation or the tubing itself.
Method 2: Using a Lighter or Matches
This is the most common “field repair” method. It works quickly for most heat shrink tubing sizes, but it requires a steady hand to avoid scorching the surface or leaving carbon soot behind.
- Use the Blue Flame: The yellow part of the flame produces soot; the blue base is cleaner and provides more consistent heat.
- Constant Motion: Never hold the flame in one spot. Sweep it back and forth rapidly across the length of the tubing.
- Distance: Keep the flame about half an inch away from the tubing to prevent the material from bubbling or melting.
Method 3: Using a Soldering Iron for Pinpoint Accuracy
When working in tight spaces where an open flame might damage nearby components, a soldering iron is an excellent choice. This is especially useful when you have just finished soldering a joint and the tool is already hot.
- The Hover Technique: Hold the hot barrel (the metal part above the tip) close to the cable heat shrink without making direct contact.
- Rotation: Slowly rotate the wire to ensure the heat reaches all sides for an even seal.
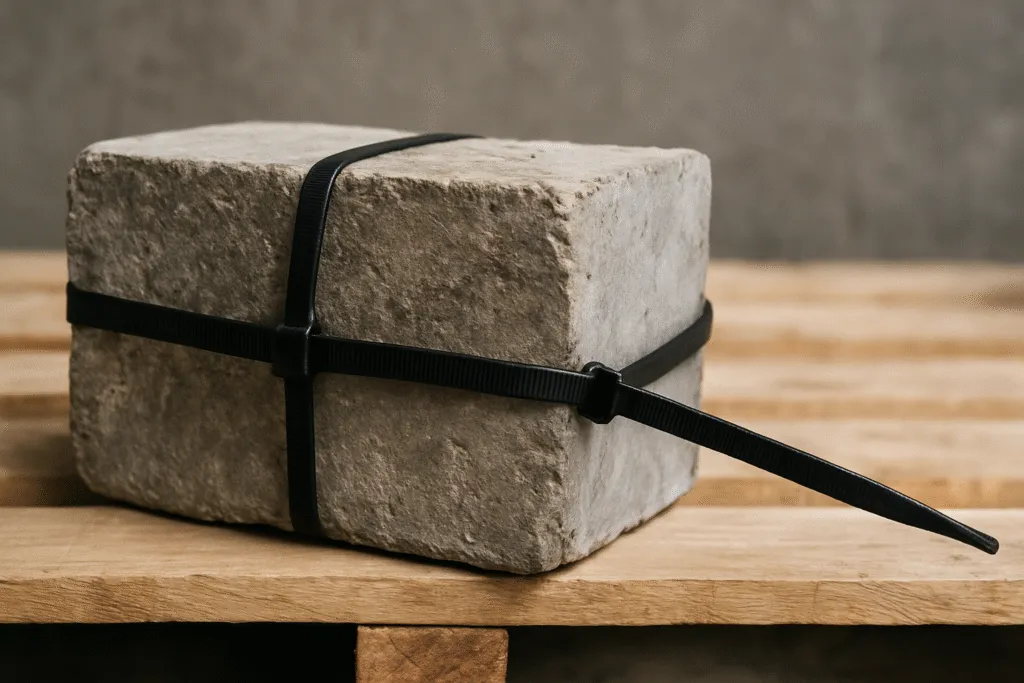
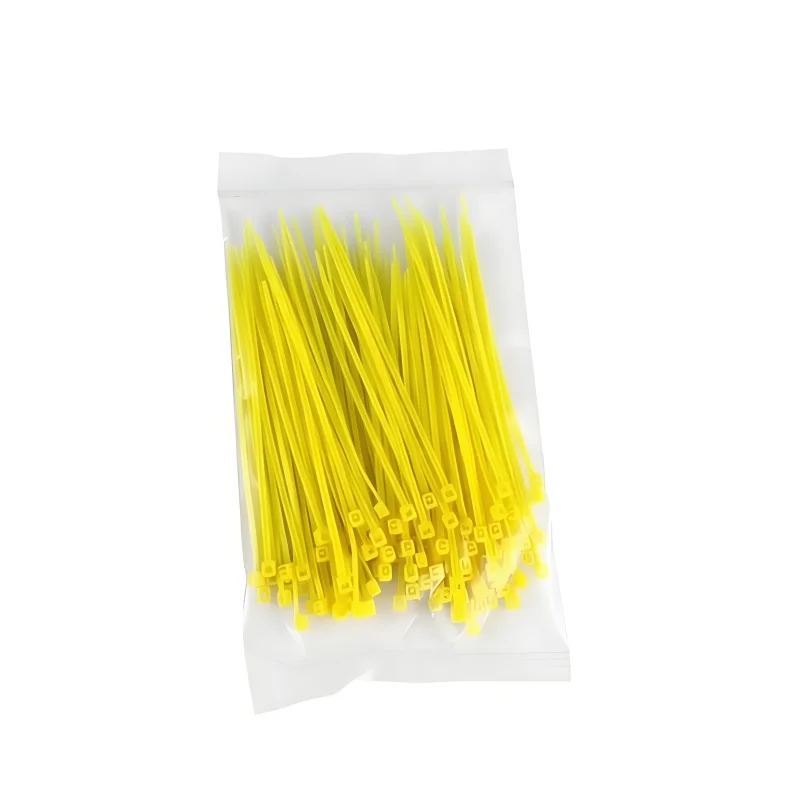
- Cable Management: Before shrinking, I often use various cable tie lengths to keep the surrounding harness organized and away from the hot iron barrel.
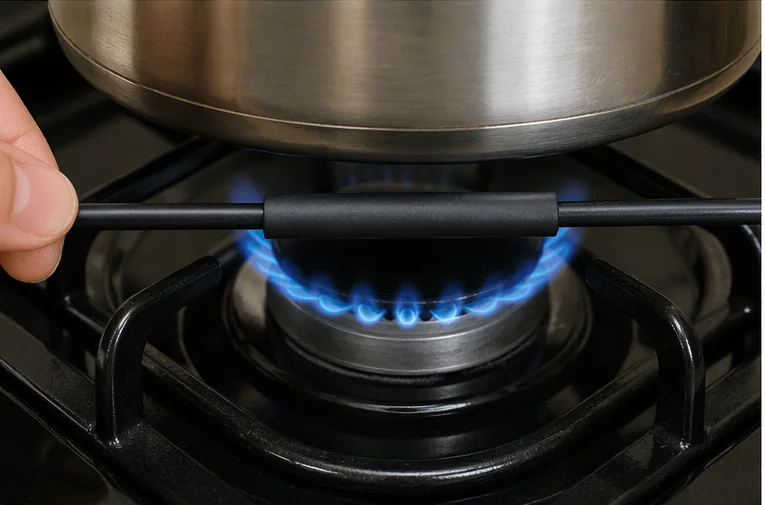
Method 4: Using a Micro Butane Torch
For heavy-duty or adhesive-lined tubing that requires a higher heat shrink temperature, a micro torch is the most effective tool. It provides intense, directed heat that can shrink thick-walled tubing in seconds.
- Low Setting: Always keep the flame at its lowest possible setting to maintain control.
- Quick Passes: Move the torch very quickly to avoid overheating the black heat shrink or damaging the internal copper strands.
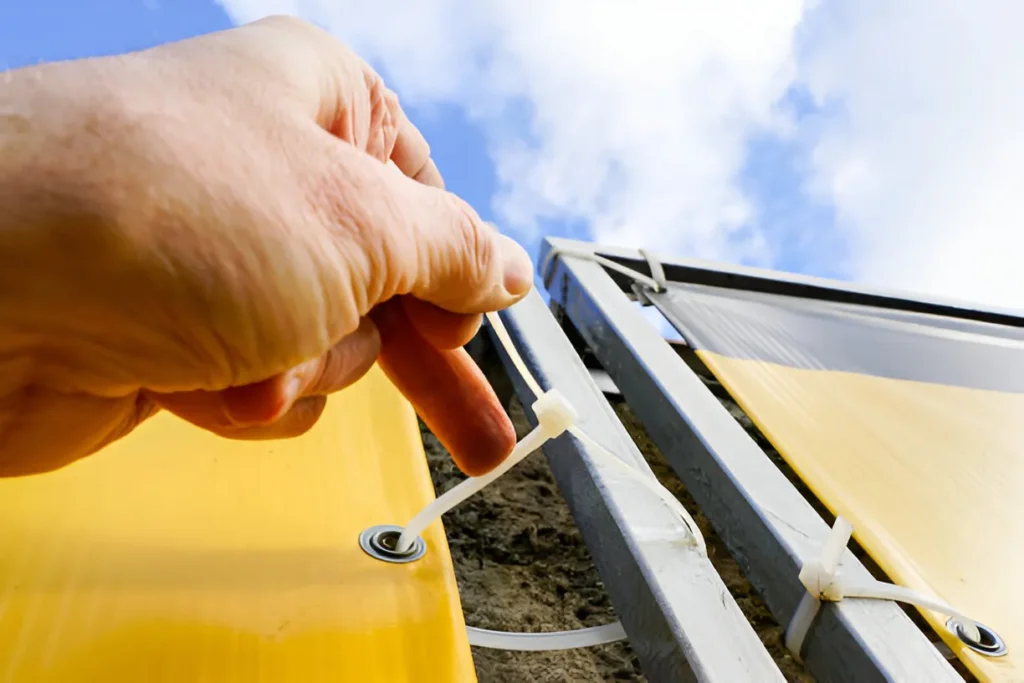
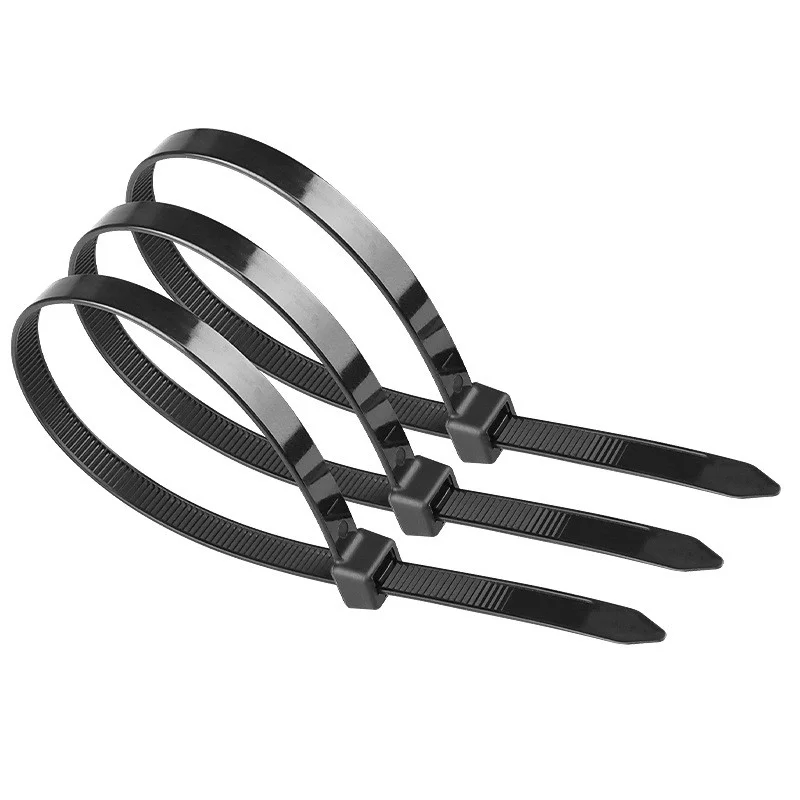
- Mounting: If you are securing the finished wire to a chassis or wall, consider using cable ties with a screw hole to create a professional, permanent installation once the tubing has cooled.
Alternative Heat Sources to Avoid or Use with Caution
The Risks of Using Open Flames Directly
Using an open flame from a lighter or match is the most common shortcut, but it requires extreme precision. The primary risk is uneven heating, which can lead to brittle spots or holes in the plastic heat shrink. Direct contact with the flame often leaves carbon deposits (soot) on the surface, which is especially noticeable on white heat shrink or colored tubing. More importantly, the high intensity of a flame can quickly exceed the safe heat shrink temperature, melting the tubing and damaging the delicate wire insulation underneath.
Why Standard Hair Dryers May Not Provide Enough Heat
I often see DIYers struggle with hair dryers because they are designed for safety on human hair, not for industrial applications. Most standard hair dryers max out at temperatures far below what is necessary to fully collapse the heat shrink material. While they might work for very thin, low-temp tubing, they usually result in a loose fit that doesn’t provide the mechanical protection or environmental seal required for professional-grade work. If you are managing complex wiring, I recommend ensuring your bundles are secure; sometimes, using different types of zip ties to organize cables before attempting to shrink the tubing can prevent the wires from shifting during the heating process.
- Soot and Charring: Open flames leave residue that ruins the aesthetic and can interfere with the seal.
- Inconsistent Shrinkage: Low-heat sources like hair dryers often leave “bubbles” or loose sections in the tubing.
- Safety Hazards: Using lighters near flammable workbenches or chemical cleaners is a significant fire risk.
Best Practices for a Perfect Heat Shrink Seal
Achieving a professional-grade seal is entirely possible even if you are figuring out how to use heat shrink tubing without a heat gun. I always emphasize that the secret lies in the preparation and technique rather than just the tools you use.
Selecting the Correct Tubing Size and Material
Choosing the right heat shrink tubing sizes is your first critical step. Most standard plastic heat shrink comes with a 2:1 or 3:1 shrink ratio, meaning it will reduce to half or one-third of its original diameter once heated.
- Size it right: The tubing must slide effortlessly over your splice and any wire connectors or wire terminals you are using, while still shrinking tight enough to grip the wire insulation firmly.
- Choose your material: Standard polyolefin is the most common heat shrink material for everyday repairs.
- Color code your work: Keep your wiring organized by using black heat shrink for standard connections, or utilize white heat shrink and green heat shrink to easily identify specific circuits and ground wires later.
Cutting and Positioning the Tubing Properly
A sloppy cut will ruin your cable heat shrink before you even apply heat. Jagged edges create stress concentrations that cause the tubing to split open as it contracts.
- Make clean cuts: Always use sharp scissors or a razor blade to ensure the ends of the tubing are perfectly smooth.
- Account for shrinkage: Tubing loses a small amount of length (longitudinal shrinkage) when heated. Cut the piece slightly longer than the exposed wire area.
- Overlap the insulation: Center the tubing over the repair. Make sure it overlaps the original wire jacket on both sides by at least a quarter of an inch to guarantee a secure, protective seal.
Techniques for Even Heating and Shrinking
When using heat shrink tubing without an electric heat gun, you must control the heat application carefully to avoid scorching the wire.
- Start from the center: Always apply heat to the middle of the tubing first, then slowly work your way out to the edges. This technique forces trapped air out and prevents bubbling.
- Keep it moving: Never hold your alternative heat source stationary. Continuously rotate the wire or move the heat source back and forth to distribute the heat evenly.
- Monitor the heat shrink temperature: Apply just enough heat to make the heat wrap for wires contract. If you see smoke or the tubing starts to discolor, pull the heat away immediately.
Crucial Safety Precautions for Heat Shrinking
Ensuring Proper Work Space Ventilation
Safety is my top priority whenever I am working with heat shrink material. When you learn how to use heat shrink tubing without a heat gun, you are often forced to use higher-intensity heat sources like lighters or butane torches. These sources can cause the tubing to off-gas or produce light smoke if the material gets too hot.
- Fresh Air Flow: Always work near an open window or in a garage with the door open to dissipate fumes.
- Avoid Direct Inhalation: Never lean directly over the wire while applying heat to avoid breathing in chemical vapors.
- Fire-Safe Zone: Clear your workspace of flammable liquids, paper, or debris before starting.
Protecting Surrounding Wires from Heat Damage
One of the biggest risks of using an open flame is damaging the insulation on adjacent wires. Unlike a precision tool, a lighter spreads heat in a wide radius, which can easily melt nearby plastic. I recommend using a temporary heat shield, such as a piece of folded aluminum foil, to mask off sensitive components.
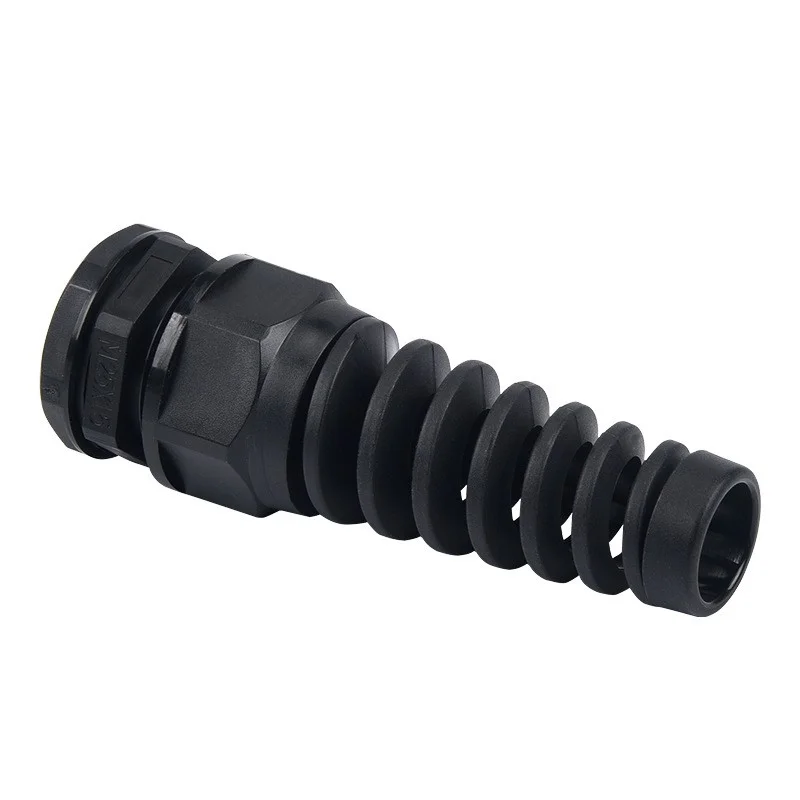
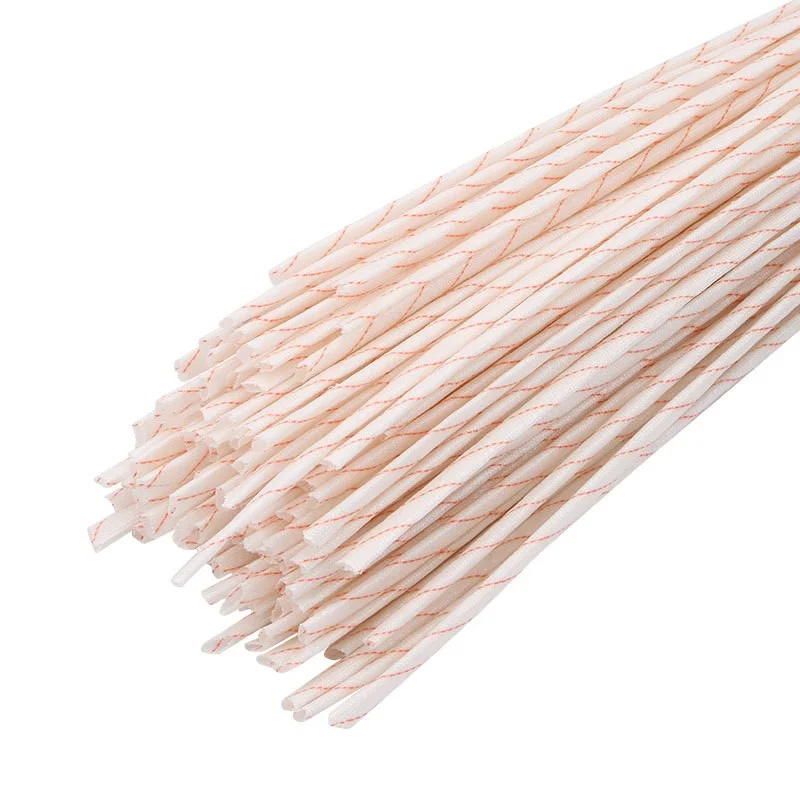
For those managing complex bundles, using a plastic spiral cable wrap is an excellent way to keep surrounding wires organized and shielded from accidental contact with your heat source. Closely monitoring the heat shrink temperature is vital; if the tubing begins to smoke or turn black, you are too close. Move the heat source back immediately to prevent compromising the integrity of the heat shrink tubing or the wire insulation beneath it.
Frequently Asked Questions (FAQs)
Can I Use Electrical Tape Instead of Heat Shrink Tubing?
While electrical tape works for a quick fix, it is not a permanent replacement for heat shrink tubing. Tape adhesive tends to dry out, unravel, or become gummy over time, especially when exposed to heat or moisture. Heat shrink provides a much tighter, more durable mechanical seal that protects the wire from environmental factors. For organizing larger bundles where tubing isn’t practical, I suggest using plastic zip ties to maintain a clean and secure setup.
What Temperature is Required to Shrink the Tubing?
The specific heat shrink temperature depends on the heat shrink material used. Most common polyolefin tubing begins to contract at around 90°C (194°F) and reaches full recovery at 125°C (257°F). If you are using alternative heat sources, you must ensure they reach these thresholds consistently to get a uniform seal without damaging the underlying wire insulation.
Will a Lighter Burn or Melt the Heat Shrink?
A lighter can easily burn or char the plastic heat shrink if held in one spot for too long. To prevent this, always use the blue part of the flame (the coolest part) and keep the lighter moving in a steady, sweeping motion. If you see the tubing turning black or bubbling, you are applying too much direct heat. Proper technique ensures the tubing shrinks smoothly without compromising its structural integrity.