Having the correct wall plug removal tool and equipment on hand prevents unnecessary damage to drywall, plaster, and masonry. Whether extracting a standard wall plug, a plastic hollow wall plug, or heavy-duty metal wall plugs, using targeted tools ensures a clean, efficient removal process.
Basic Hand Tools Needed
Manual tools offer the precision and leverage needed to extract most anchors without blowing out surrounding wall material.
Needle-Nose and Combination Pliers: Provide a firm grip on exposed rims or partially threaded screws to pull the wall plug anchor straight out.
Appropriate Screws: A standard wood or drywall screw slightly larger than the plug’s inner diameter allows for quick mechanical bite and leverage.
Claw Hammer or Pry Bar: Delivers controlled leverage to draw out stubborn anchors when paired with a wooden block to protect the wall surface.
Manual Screwdriver: Enables precise screw insertion to grip the plug without causing outward expansion deep in the wall.
Utility Knife: Useful for trimming flush collars when an anchor wall plug cannot be pulled cleanly.
Power Tools and Safety Gear
For flush, spinning, or stripped anchors, power tools and protective equipment are critical for safe extraction.
Equipment
Primary Function
Cordless Power Drill
Drives extraction screws quickly or drills out stuck anchor cores.
HSS Drill Bits
Matches the inner diameter of the plastic wall plug anchor to disintegrate stubborn plastic sleeves.
Safety Glasses
Shields eyes from flying plastic chips and wall debris during drilling.
Dust Mask
Prevents inhalation of fine drywall or masonry dust during extraction.
Work Gloves
Improves grip and protects hands against sharp metal fasteners and edges.
Step-by-Step Methods to Remove Standard Wall Plugs
Removing a standard wall plug without tearing chunks out of your drywall or masonry requires the right technique. Depending on how tightly the anchor is seated, we rely on four proven methods to extract or neutralize it cleanly.
Method 1: Using a Screw and Pliers
This is our primary method for removing wall plugs made of nylon or plastic:
Thread the screw: Insert a screw that matches the diameter of the plastic wall plug anchor and turn it by hand or with a screwdriver just 2 to 3 rotations deep. Do not drive it in completely, or the anchor will expand and lock tighter into the wall.
Grip firmly: Clamp a pair of standard or needle-nose pliers tightly onto the exposed screw head.
Pull straight out: Pull the pliers directly outward along the axis of the hole. Wiggling slightly from side to side helps break the grip of the anchor wall plug without widening the hole.
Method 2: Using a Screw and Claw Hammer
When a standard wall plug is wedged tightly inside solid masonry or brick, hand leverage alone might not be enough.
Thread the anchor: Drive a screw halfway into the wall plug anchor to establish a solid hold.
Protect your wall: Place a small scrap piece of wood, cardboard, or a folded cloth against the wall directly below the screw to protect the surface from pressure marks.
Leverage the plug out: Hook the claw of a hammer under the screw head, rest the hammer pivot on your protective block, and apply gentle downward pressure to lever the plug out smoothly.
Method 3: Drilling Out Stubborn Plugs
If a plastic hollow wall plug spins freely in place or is completely stripped, drilling it out is the fastest solution.
Select the bit: Fit your power drill with a high-speed steel (HSS) drill bit that matches the outer diameter of the plug.
Drill through the center: Align the drill bit with the center of the plug and run the drill at a moderate speed with light forward pressure.
Clear the debris: The drill bit will break apart the soft plastic wall plug anchor inside the hole. Once shredded, simply vacuum or pick out the remaining plastic shavings.
Method 4: Trimming with a Craft Knife
In hollow drywall where extracting the plug might tear the paper facing, pushing or trimming the collar is the safest route. Just as precision matters when learning how to remove cable ties safely and efficiently, careful cutting prevents surface damage.
Score the lip: Hold a sharp utility or craft knife flat against the wall and carefully slice off the raised outer rim of the plug.
Push it through: Use the tip of a screwdriver or punch tool to push the remaining sleeve deeper into the wall cavity until it falls behind the drywall board.
Ready for repair: The flush, hollow hole is now immediately ready for spackle or filler without any raised edges.
How to Remove Specific and Damaged Wall Plugs
Removing wall plugs becomes tricky when dealing with brittle plastics, heavy-duty cavity fixings, or hardened resin. When standard pulling techniques fail, you need specific extraction tactics that protect the surrounding wall structure from unnecessary damage.
Removing Broken or Stuck Plugs
When a plastic wall plug anchor snaps flush with the surface or gets jammed deep inside masonry, pulling it out directly is nearly impossible.
Use a Pilot Screw: Thread a narrow screw two or three turns directly into the remaining core of the broken plug. Grip the screw head with locking pliers and pull straight out.
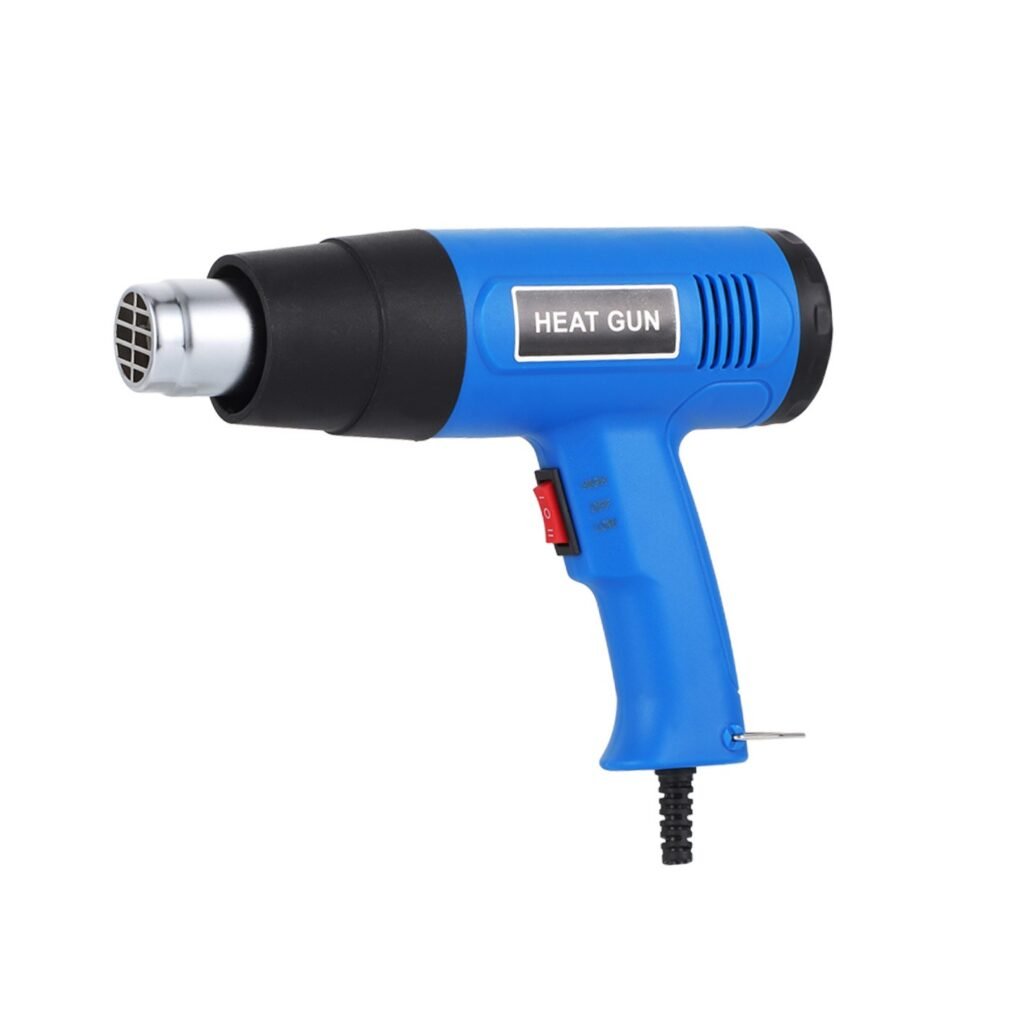
Warm the Plastic: For stubborn anchors, apply gentle heat to the head of an inserted screw using a heat gun or hair dryer. The heat softens the anchor wall plug sleeve, allowing it to slide out smoothly.
Core Drilling: If the plug is completely lodged, use a drill bit matching the plug’s inner diameter to bore out the center, collapsing the outer shell for easy cleanout.
Removing Metal and Hollow Wall Anchors
Metal wall plugs and expansion anchors designed for hollow cavities grip tightly behind drywall or masonry. Because their legs expand behind the wall, you cannot simply pull them outward without tearing the substrate.
Drill the Collar: Position a high-speed steel drill bit—slightly larger than the anchor’s screw hole—directly over the center of the outer metal flange.
Pop the Rim: Drill gently until the front lip separates from the main anchor body.
Push the Rest In: Once the rim falls away, tap the remaining metal sleeve into the wall cavity with a punch tool, letting it drop down behind the wall.
Removing Plugs from Drywall
Drywall requires extra care to prevent surface tearing or blowing out large chunks of gypsum.
Threaded Units: For self-drilling plastic drywall anchors, insert a matching screwdriver and rotate counterclockwise slowly while applying light inward pressure until the threads back completely out of the board.
Flush Expansion Plugs: If a plastic hollow wall plug will not budge, slice the outer collar off flush with a sharp utility knife, then tap the rest of the plug slightly below the drywall surface with a punch and hammer before spackling over it.
Proper Replacement: When replacing old fixings, understanding the fundamentals of installing plastic wall anchors ensures the next installation holds firmly without degrading the drywall core.
Removing Chemical Anchors
A chemical wall plug consists of threaded metal studs bonded directly into concrete or brick using heavy-duty resin. Because the cured chemical resin permanently fuses with the masonry, full extraction without breaking the wall is rarely practical.
Cut Flush: Use an angle grinder equipped with a metal-cutting disc or an oscillating multi-tool to slice the threaded stud flush with the wall face.
Recess the Stud: Use a cold chisel or punch to drive the cut stud roughly 1/4 inch below the wall plane.
Core Drilling (Alternative): If complete removal is strictly required for structural reasons, use a heavy-duty diamond core drill bit to drill out both the stud and the surrounding resin collar in one pass.
How to Repair and Fill the Hole After Removal
Once we finish removing wall plugs, restoring the wall surface to a clean, flat finish is straightforward. Whether repairing a tiny cavity left by a standard wall plug or a larger void from a heavy-duty anchor wall plug, following the right patching procedure prevents cracking and ensures seamless results.
Cleaning the Hole
Proper surface preparation creates a strong mechanical bond for the filler:
Clear out debris: Vacuum or brush away all loose plaster dust, crumbling drywall, and grit inside the hole.
Trim torn edges: Use a sharp utility knife to cut away any frayed drywall paper or protruding rim material so the edges sit completely flush with the wall.
Dampen masonry (if applicable): If working on solid brick or concrete, lightly mist the inside of the hole with water to prevent the dry masonry from drawing moisture out of the repair compound too fast.
Applying Filler and Sanding Smooth
Select the compound: Use standard lightweight spackle for small drywall anchor points, or a deep-gap masonry filler for solid walls.
Pack the cavity: Load a putty knife with filler and press it firmly into the void to eliminate trapped air pockets. Leave a slight mound over the hole to account for minor shrinkage as it cures.
Level the surface: Hold the putty knife at a 45-degree angle and draw it across the patch in one smooth motion to remove excess material.
Sand flush: After the filler dries completely, sand the area using 120- to 180-grit sandpaper until the patch sits perfectly level with the surrounding wall, ready for primer and touch-up paint.
Frequently Asked Questions About Wall Plug Removal
Can You Reuse Wall Plugs After Removal?
I strongly advise against reusing any plastic wall plug anchor or metal sleeve once extracted from a wall. During initial installation and subsequent extraction, the expansion fins, threading, and structural collar deform to create a tight friction fit. Reinserting a used anchor wall plug compromises load capacity and leads to fixing failure. For any new mounting project, always replace old fixings with fresh hardware, such as a specialized plastic butterfly anchor or standard wall plug designed for your specific base material.
How Do You Remove a Wall Plug with a Stuck Screw?
When a screw is stuck or stripped inside a wall plug anchor, standard extraction methods can cause unnecessary wall damage. Follow these direct steps to solve the issue:
Clamp with locking pliers: Grip the exposed screw head firmly with vice-grip pliers and rotate counterclockwise while pulling gently outward.
Apply outward leverage: If the entire plug spins inside the wall cavity, slide the edge of a flathead screwdriver behind the screw head. Apply firm outward pressure to stop the plug from spinning while turning the screw with your driver.
Cut the head: For completely rusted or seized screws in metal wall plugs, cut the screw head off flush using a rotary tool, then push the remaining sleeve into the wall cavity before patching.
What Should You Do If the Wall Is Damaged During Removal?
If removing wall plugs tears away drywall paper or creates a crater in masonry, repair the area systematically to restore structural strength:
Clean the perimeter: Scrape away loose plaster, ripped drywall paper, and loose masonry dust using a utility knife.
Apply deep filler: For holes deeper than half an inch, apply high-strength filler in successive layers, allowing each layer to dry completely to prevent shrinkage.
Sand and seal: Sand the final coat flush using 120-grit sandpaper, apply a dedicated wall primer to seal the patch, and match the surrounding paint finish.
Why You Might Need an Alternative to a Heat Gun While an electric heat gun is the industry standard for activating heat shrink tubing, it is not always the most practical or accessible tool for every scenario. Resourcefulness is key in electrical maintenance, and understanding how to achieve a professional-grade seal with alternative heat sources […]
At What Temperature Do Zip Ties Melt? Standard polymer zip ties begin to melt at 255°C (491°F), while high-performance metallic ties can withstand extreme thermal environments up to 1370°C (2498°F). However, physical melting is the ultimate point of complete destruction. Structural degradation, loss of tensile strength, and locking failure occur long before a tie reaches […]
What is a Cable Tie? Understanding the Anatomy Whether you call them zip ties, wire ties, or hose fasteners, cable ties are the unsung heroes of modern organization. Used globally across automotive, industrial, and residential sectors, these simple fasteners provide incredibly secure binding with minimal effort. As a premier wiring accessories manufacturer and supplier, WANDU […]
We use cookies to enhance your browsing experience, serve personalised ads or content, and analyse our traffic. By clicking "Accept All", you consent to our use of cookies.
Looking For High Quality Nylon Cable Ties At A Great Price?
Order now to experience cost-effective cable tie products that provide convenience and protection for your work and life.


 EN
EN  AR
AR  ES
ES  PT
PT  FR
FR  RU
RU  DE
DE  KO
KO  JA
JA  IT
IT