Industry Applications
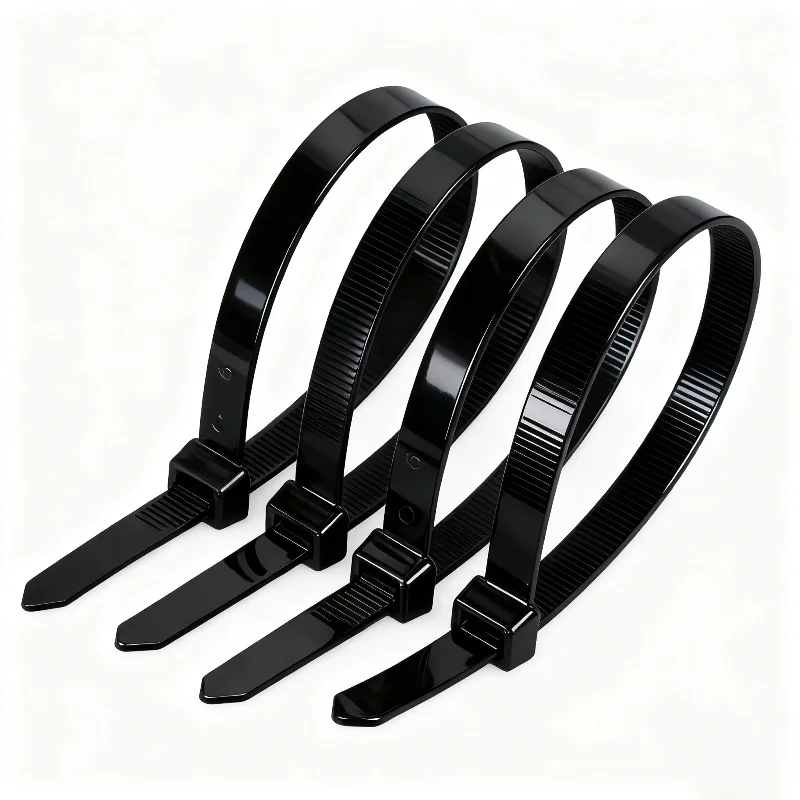
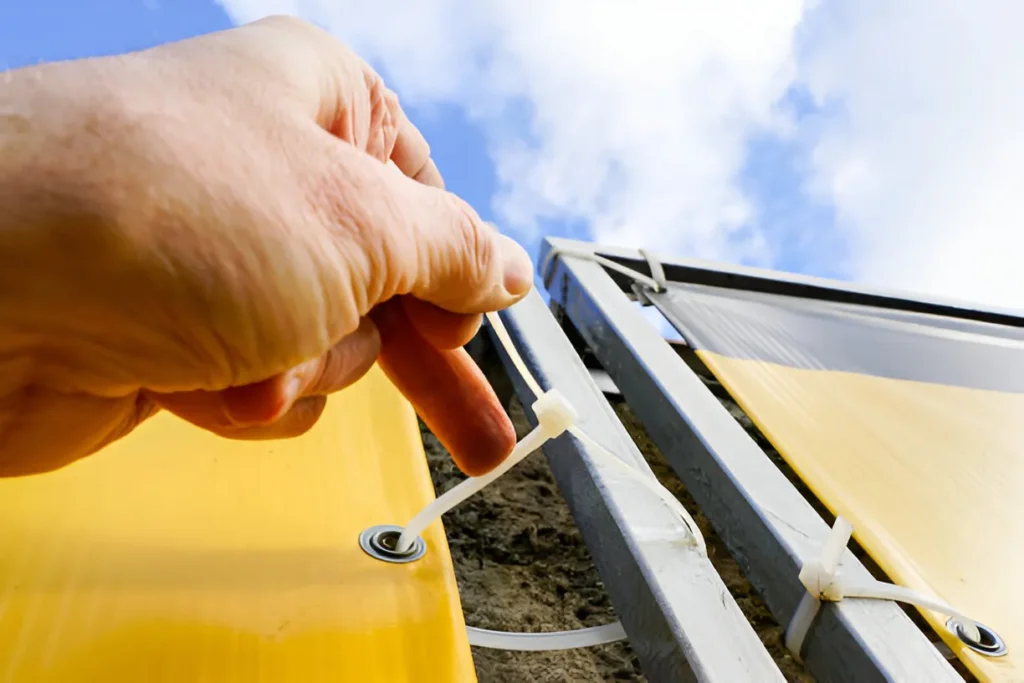
How to evaluate the durability and price effect of nylon cable ties
In modern domestic and industrial environments, the rol […]
阅读更多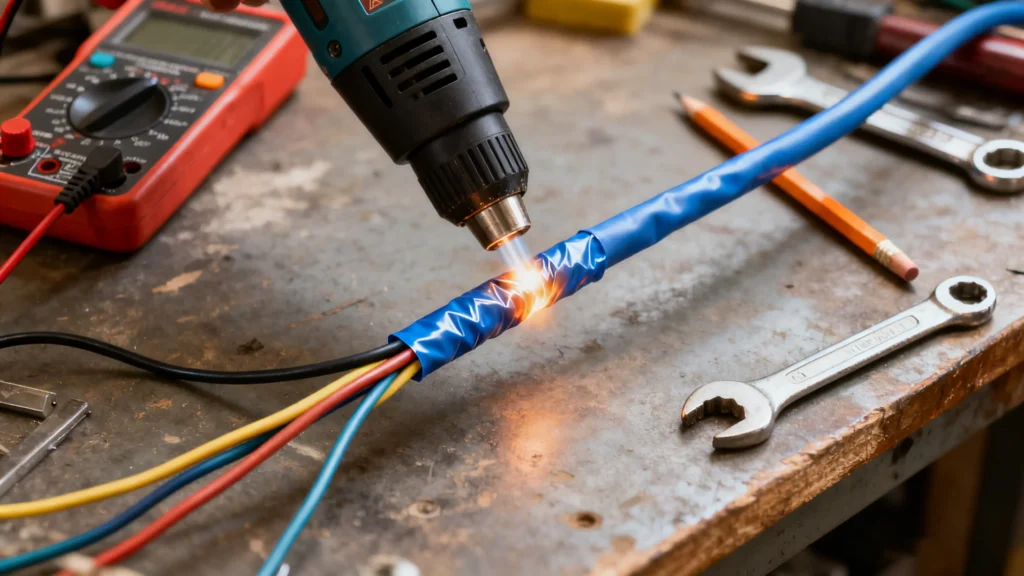
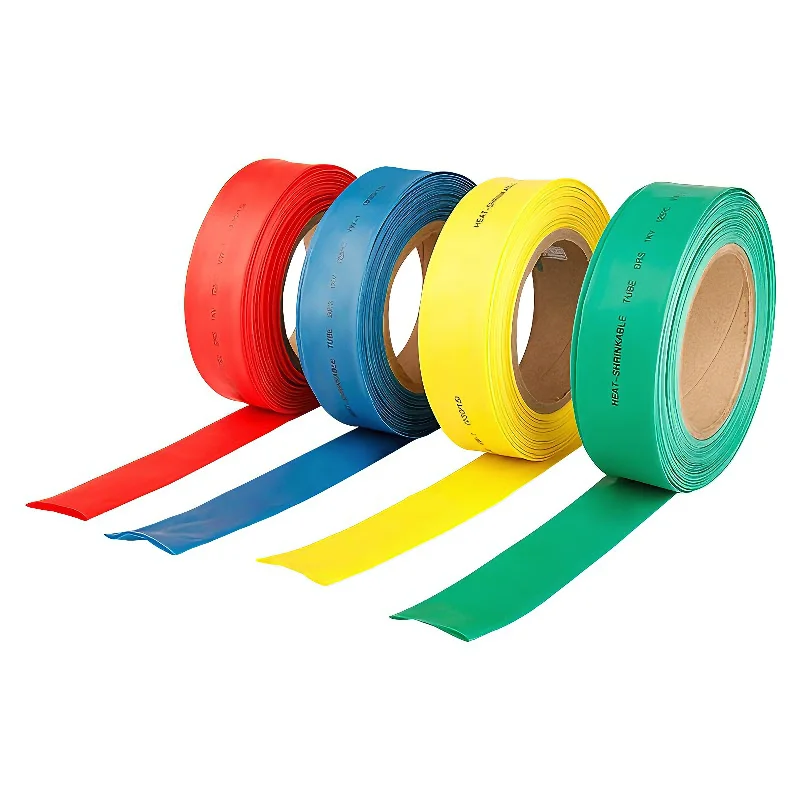
Heat shrink sleeves are a type of protective material widely used in electronics, electrical, industrial, and automotive fields. When heated, it shrinks according to a predetermined ratio, tightly fitting components such as wires, solder joints, or connectors, providing insulation, waterproofing, dustproofing, corrosion resistance, and mechanical protection. This article will explore the basic concept of heat shrink tube sleeve, how to choose the appropriate specifications based on needs, and the differences in shrink ratios in practical applications. Additionally, it will explain the correct steps for heating and installing heat shrink protection sleeves and focus on comparing the different characteristics between 2:1 single-wall heat shrink cable sleeves and 3:1, 4:1 dual-wall heat shrink sleeving with adhesive in their usage methods.
Based on structure and function, heat shrink sleeves for cables are mainly divided into two categories:
| Feature | Single-wall heat shrink wrap sleeves | Dual-wall adhesive heat shrink cable sleeve |
|---|---|---|
| Structure | Single layer polyethylene material | Double layer: polyethylene outer layer, heat melt adhesive inner layer |
| Adhesive | None | Included |
| Main Function | Basic insulation, mechanical protection, cable bundle organization, color coding | Enhanced sealing, waterproofing, moisture resistance, corrosion protection, stress relief |
| Advantages | Good flexibility, quick shrinkage, cost-effective | Excellent sealing performance, can fill irregular surfaces, provides strong bonding |
| Common Shrink Ratio | 2:1 | 3:1, 4:1 |
| Typical Applications | Wire repair, color coding, cable bundle organization, general insulation | Solder joint protection, outdoor equipment, automotive/electric vehicle wiring, maritime electronics, battery cables |
| Shrink Ratio | Shrinkage Ability | Applicable Range | Features |
|---|---|---|---|
| 2:1 | Shrinks to 1/2 of its original diameter | Standard wires, regular joints | Common single-wall, economical, fast shrinkage |
| 3:1 | Shrinks to 1/3 of its original diameter | Irregular parts, waterproof solder joints | Common dual-wall, strong adhesive sealing |
| 4:1 | Shrinks to 1/4 of its original diameter | Large joints, thick cables, irregular shapes | Strongest shrinkage ability, outdoor-level sealing |
Correctly choosing heat shrink cable sleeve sizes is key to ensuring effectiveness. The following formulas should be followed:
Before heating, ensure that the cable sleeve heat shrink is placed in the correct position on the wire or joint. Make sure the soldered area is completely cooled, and remove any oil, dust, or residual adhesive from the surface to avoid affecting the adhesion and sealing effect of the heat shrink sleeve.
The recommended heat sources in the following order are: heat gun (for uniform temperature control and safety), dedicated shrink sleeve heat gun, or industrial oven (for batch processing). Avoid using open flame tools such as lighters or candles, as they provide uneven heat and can easily cause scorching, deformation, or damage to the heat shrink wire sleeve.
When heating, it is recommended to start from the middle of the wire sleeve heat shrink and gradually move towards both ends to expel air inside and avoid bulging. Keep the heat source continuously moving and maintain a distance of approximately 3-5 cm from the tube to ensure even heating. For round objects, rotate the workpiece while heating to ensure uniform shrinkage. When the surface of the heat shrink tube becomes smooth and fits tightly around the object being covered, and a small amount of hot melt adhesive appears at the edges of dual-wall tubes, the shrinkage is complete.
After shrinking, let the heat shrink protective sleeve cool naturally for a moment. Do not bend or pull on the joint area during this time to avoid affecting the final sealing and insulation effect.
The 2:1 single-wall sleeve for wire heat shrink is easy to operate, quickly shrinks after heating, and requires no observation of the adhesive status. As long as it is uniformly heated and tightly fits the substrate, it is suitable for general insulation protection, color coding, and lightweight wire harness bundling.
This model has an inner layer with hot-melt adhesive, which requires slightly more heating time to melt the adhesive fully. It is recommended to start heating from the middle and slowly move to both sides, ensuring uniform heating to ensure complete sealing. When the adhesive starts to seep evenly from the edges, it indicates that an ideal sealing state has been achieved. Typical applications include outdoor cables, solder joint sealing, and waterproof treatment for electronic devices.
The 4:1 model offers a higher shrinkage ratio, especially suitable for large-sized joints or irregularly shaped components. Heating should be done in sections: start from the thicker end and gradually move towards the middle and thinner end to ensure the tube shrinks to its smallest inner diameter. It is essential to confirm that the adhesive fills all gaps to achieve waterproofing with the desired IP rating. Common uses include vehicle wire harnesses, large connectors, automotive/motorcycle battery cables, and outdoor humid or maritime environments.
Heat guns provide controllable airflow and uniform heating, making them the most reliable tool for processing precision electronic components and professional sealing scenarios.
Designed for industrial environments, with high heating efficiency, suitable for workshop batch processing of wire harnesses, but requires stable power and generates higher noise.
Ideal for large-scale processing of small, regular parts, ensuring uniform heating for consistency in product quality.
Only recommended for temporary treatment of very fine wire gauges, as it cannot reach the required temperature (shrinkage typically requires 90–120°C) and the heat is dispersed, making it difficult to achieve complete and uniform shrinkage.
Open flames, such as from lighters, can easily cause scorching and deformation of the tube heat shrink, affecting insulation performance and posing safety risks. These should be strictly avoided.
A: The primary cause is that the heat source is too close or the heating time is too long, especially when using open flames.
A: This is typically due to insufficient heating. Continue to heat evenly until the internal adhesive layer fully melts and seeps out.
A: It is not recommended. Ordinary hairdryers usually cannot reach the required temperature (shrinkage typically requires 90–120°C).
A: It is recommended to wait at least 30 seconds for it to cool and fully set, ensuring the packaging effect.
In modern domestic and industrial environments, the rol […]
阅读更多
Moisture significantly impacts nylon wire ties. This ar […]
阅读更多
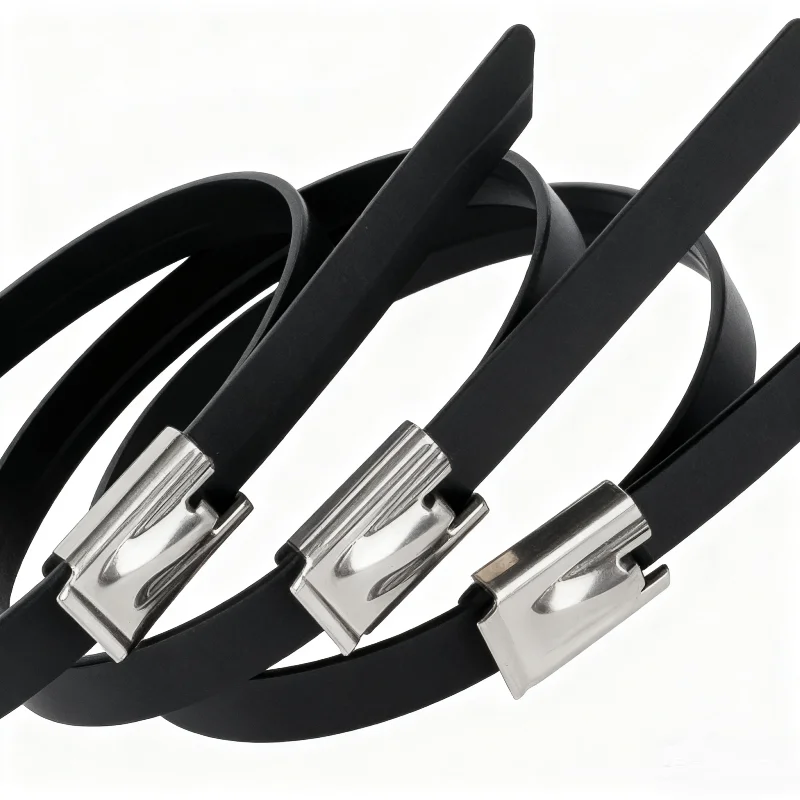
You might already know that industrial cable ties are e […]
阅读更多