Product Blog
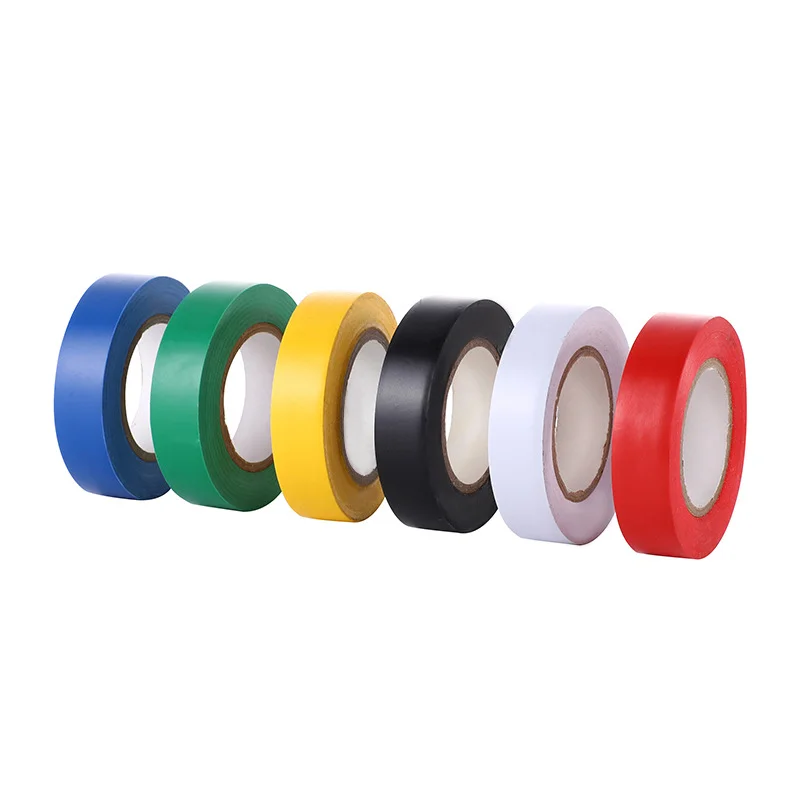
Cable Zip Ties for Outdoor Use
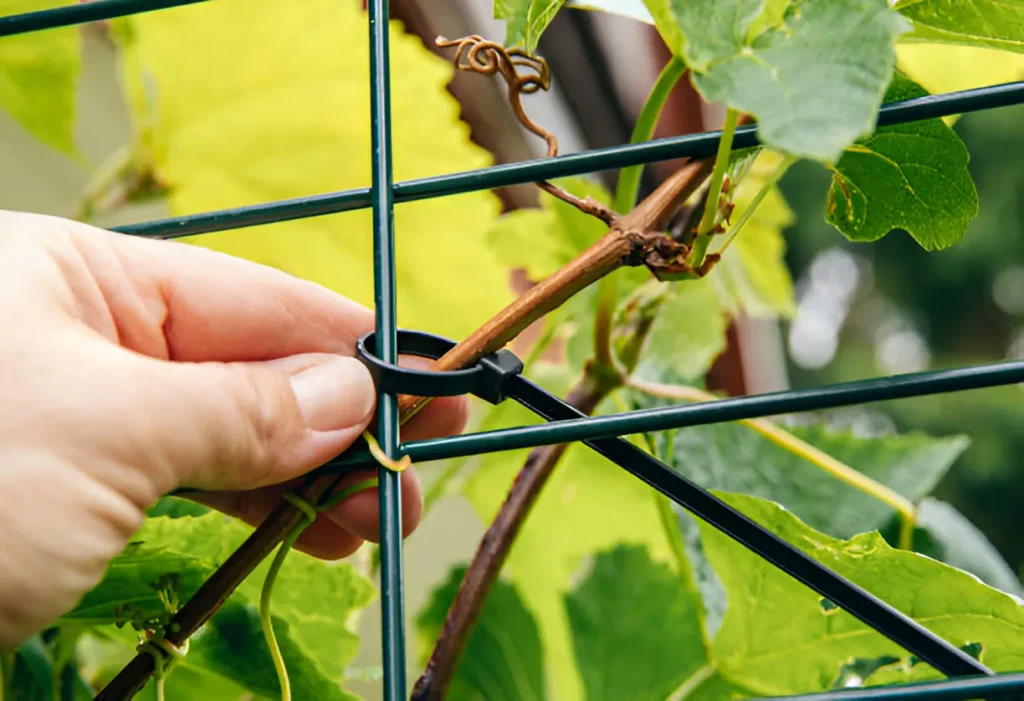
The applications for cable ties are numerous and the in […]
阅读更多
If you have ever watched a heavy picture frame pull a standard screw right out of a hollow wall, you already know why finding the right fastener matters. So, what is plastic butterfly anchor technology, and why is it essential for hollow walls? As manufacturers of premium fastening solutions, we know that standard friction plugs simply do not cut it for thin paneling. We engineered these anchors to solve the exact problem of drywall blowout.
The mechanics behind plastic butterfly anchors are simple but highly effective for hollow wall applications. Instead of just gripping the crumbly inside of a drilled hole, these drywall expansion tubes anchor themselves securely to the back of the wall itself.
Here is the exact breakdown of the design and function:
Understanding the limits of your hardware saves you time and prevents damaged walls. I always tell my clients that knowing exactly where and how to use a butterfly anchor plastic fitting is just as important as the installation itself.
These hollow wall anchors are engineered specifically for thin, hollow spaces where standard screws strip out and fail. They perform exceptionally well in:
A high-quality winged drywall anchor is your go-to solution for reliable, medium-duty holding power. I regularly recommend them for:
Here is the hard truth about load capacities: the weak point usually isn’t the plastic butterfly wall anchors—it is your wall. The absolute maximum weight limit is almost always dictated by the structural strength of the drywall itself. If you overload a localized area, the gypsum board will crumble and pull out long before the heavy-duty plastic toggles actually break. Always respect the limits of your plasterboard before hanging anything near the maximum rated load.
When setting up your space, choosing between a plastic butterfly anchor, a standard wall plug, and metal toggle bolts comes down to the wall material and the load. As a manufacturer, I always advise matching the hardware to the exact job to prevent costly wall damage.
Here is a quick comparison to help you decide:
| Feature | Plastic Butterfly Anchors | Standard Wall Plugs | Metal Toggle Bolts |
|---|---|---|---|
| Best Wall Type | Hollow (Drywall/Gypsum) | Solid (Concrete/Brick) | Heavy-duty Hollow walls |
| Weight Capacity | Medium | Low | High |
| Hole Size Required | Moderate | Small | Large |
| Removability | Permanent (Wings stay inside) | Fully Removable | Drops behind the wall |
Getting a reliable hold with our plastic butterfly anchors comes down to a clean and precise installation. Whether you are mounting light shelving, hanging mirrors, or securing wall brackets for releasable cable ties to manage complex wiring systems, following these exact steps ensures maximum load capacity.
A solid wall plug installation always starts with selecting the proper drill bit.
Once the hole is perfectly prepped, it is time to get the winged drywall anchor securely seated.
The final step is what actually activates the holding power of the anchor behind the wall.
Even with the best preparation, you might run into minor snags during your projects. Here is how we handle the most common issues when installing or taking out butterfly plug fixings.
Sometimes, a plastic butterfly wall anchor will spin freely in the hole before the wings have a chance to deploy. This usually happens if the drilled hole is slightly too large or if the gypsum board has crumbled.
One of the biggest mistakes I see during renovations is trying to yank deployed plastic butterfly wall anchors straight out. Because those wings are flared open behind the board, pulling them out will tear a massive chunk of your drywall.
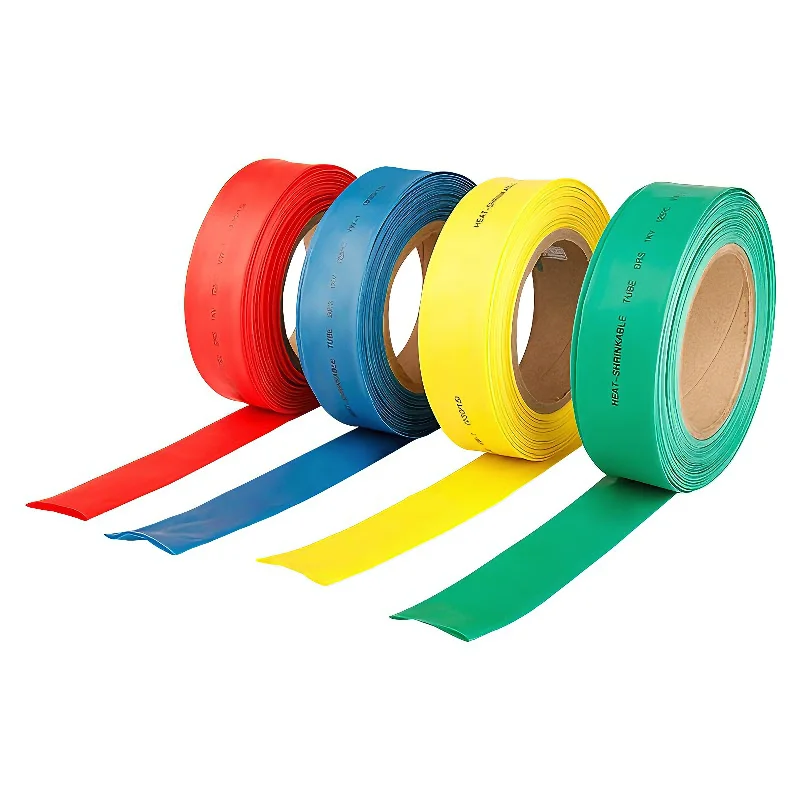
When we set up residential or commercial spaces—especially for electrical routing where you might also use a heat shrink tube to bundle and insulate hidden wires—managing these drywall expansion tubes properly is critical. Knowing how to troubleshoot a stubborn anchor and execute a clean wall anchor removal keeps your walls intact and your projects moving efficiently.
As a trusted wiring accessories manufacturer, we know that a fastening job is only as strong as the materials behind the drywall. We don’t cut corners with cheap, brittle plastics. Instead, we engineer our butterfly shaped expansion tubes using advanced polymers to guarantee a secure, permanent hold every time.
We prioritize premium engineering plastics over standard materials to ensure absolute stability:
A reliable butterfly plug needs to survive tough, fluctuating environments. We formulate our plastics to feature:
We are built to scale with your project demands. Whether you need reliable, off-the-shelf inventory for retail shelves or highly specific custom molds for a massive construction build, we supply high-volume orders. We partner directly with global contractors, hardware retailers, and industrial project managers to deliver consistent, top-tier fastening solutions at scale.
At WANDU, we work with contractors and builders daily. Here are the most common questions we get about installing and using plastic butterfly anchors in the field.
Generally, no. Once you install a butterfly screw wall plug and drive the screw in, the plastic wings permanently expand and lock against the back of the drywall. If you remove the screw later, the anchor usually either drops behind the hollow wall or loses its structural integrity. For a safe, secure hold, always use fresh plastic butterfly wall anchors for your next mounting job.
For most standard butterfly wall anchor plastic fixings, a 5/16-inch or 3/8-inch drill bit is the sweet spot. You need the hole just wide enough to squeeze the folded wings through without crushing or tearing the drywall paper. Always verify the exact specs on the packaging. Nailing the right size is critical for safety and project budgeting—much like evaluating specs in our cable tie price guide when mapping out secure wiring accessories.
It is all about the feel of the drill. When driving the screw into a butterfly plug, you will notice three distinct stages:
If your screw spins endlessly and never tightens up, the wings have not caught properly. You can usually fix this by gently pulling the screw outward while turning it to force the wings flat against the drywall.
The applications for cable ties are numerous and the in […]
阅读更多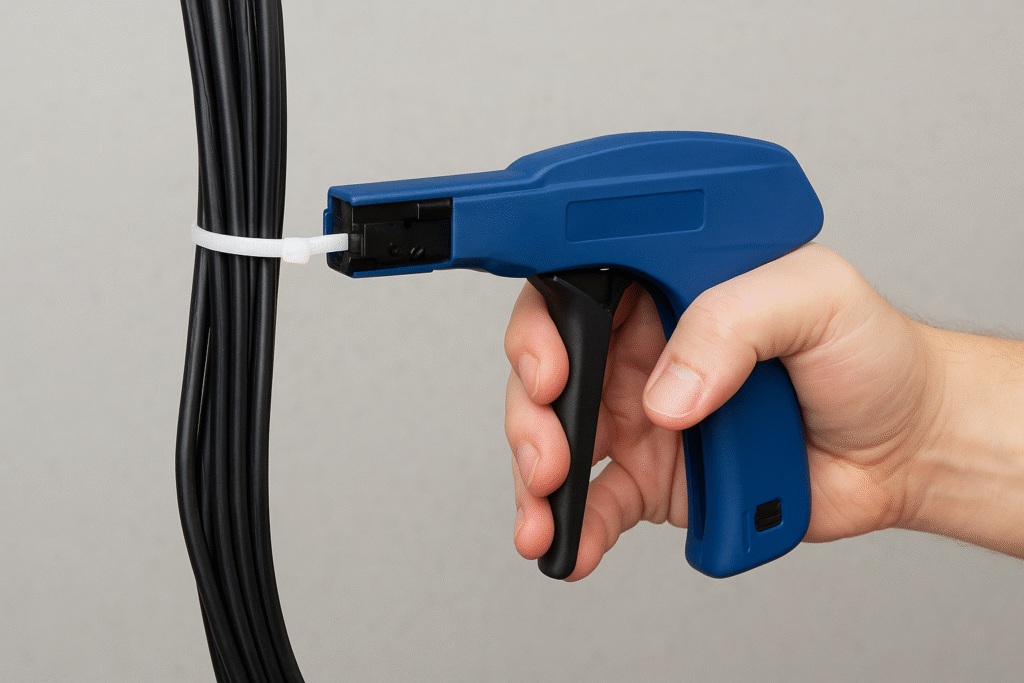
1. What is a Cable Tie Gun? Cable tie gun is a professi […]
阅读更多
Nylon tie wire breakage is a frequent problem in indus […]
阅读更多