How to untie a cable tie?Ever wondered if those seemingly permanent cable ties can be undone without cutting?Surprisingly, it’s possible to untie zip ties with the right technique. This method allows for reuse and adjustment, reducing waste and increasing flexibility.Learn the step-by-step process to safely and quick release cable ties, opening up new possibilities for cable management and organization.
What are cable ties and why would you untie them?
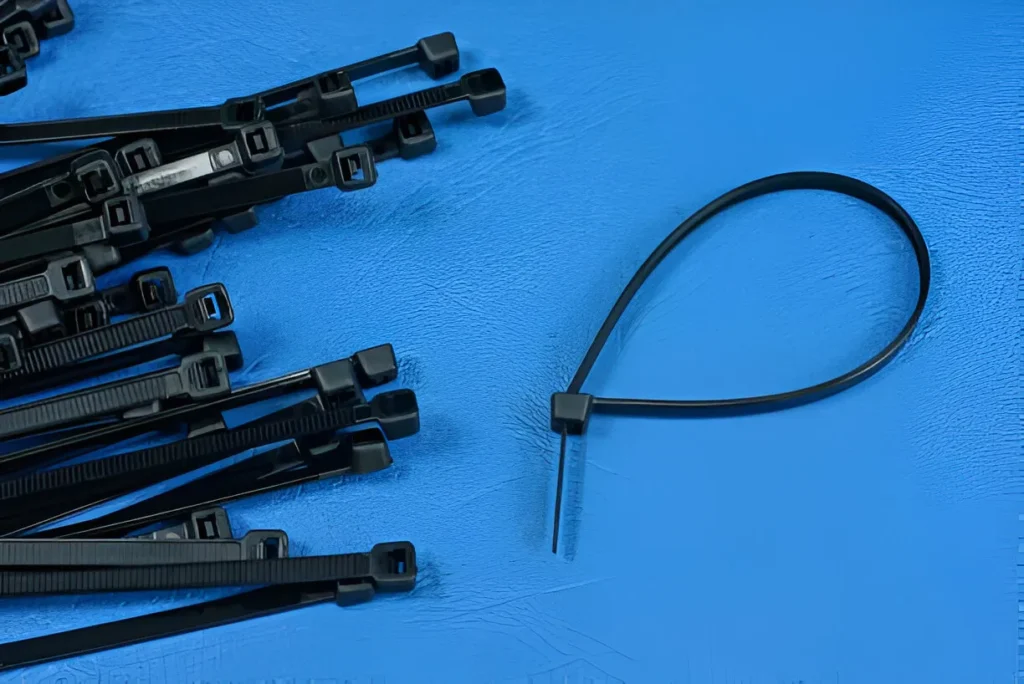
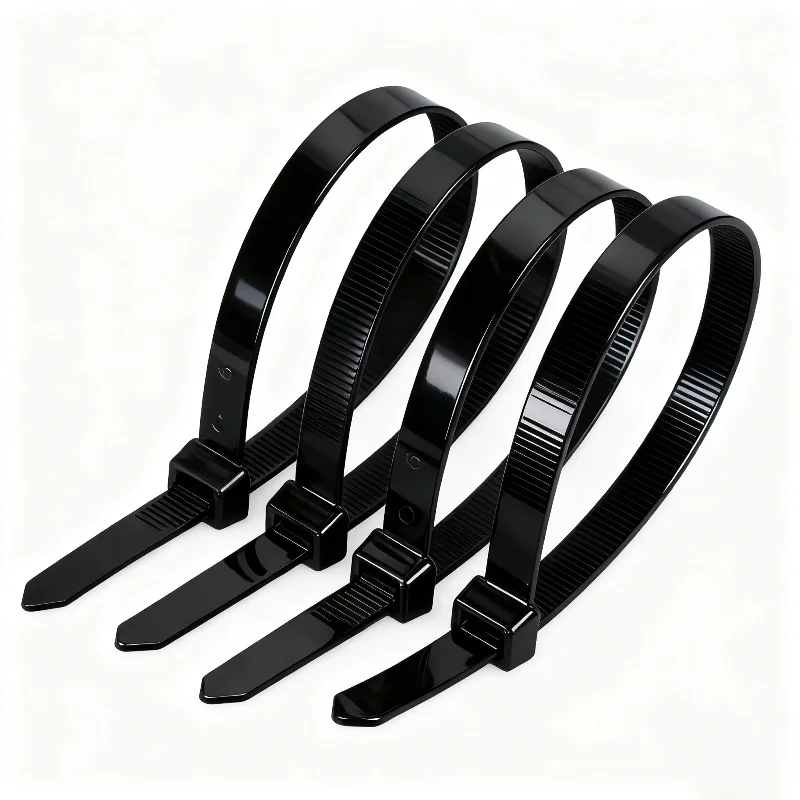
Cable ties, also known as zip ties, are versatile fasteners used to bundle and secure cables, wires, and other items. Made of durable nylon or metal, these ties feature a flexible strap with ridges that lock into a ratchet mechanism in the head. Once tightened, zip tie are designed to remain securely fastened.
There are several reasons to untie cable tie without cutting them. Reusing ties reduces waste and saves money. Untying allows for adjustments to cable bundles or temporary installations. In some situations, cutting tools may not be available or safe to use. Learning how to untie a cable tie extends their usefulness and provides more flexibility in various applications.
Anatomy of a Cable Tie
Key Components
Cable ties consist of three main parts: the strap, the head, and the locking mechanism. The strap is a long, flexible band with ridges or teeth along one side. The head houses the locking mechanism and forms one end of the tie. Inside the head, a small pawl or tab interacts with the strap’s ridges to create a secure hold.
Locking Mechanism Function
The locking mechanism operates on a simple yet effective principle. As the strap is inserted into the head, its ridges slide past the angled pawl. The pawl’s shape allows movement in one direction but catches on the ridges when pulled in the opposite direction. This design enables the tie to be tightened easily but prevents loosening under normal conditions, ensuring a secure hold on bundled items.
How to Untie a Cable Tie for Single-Use
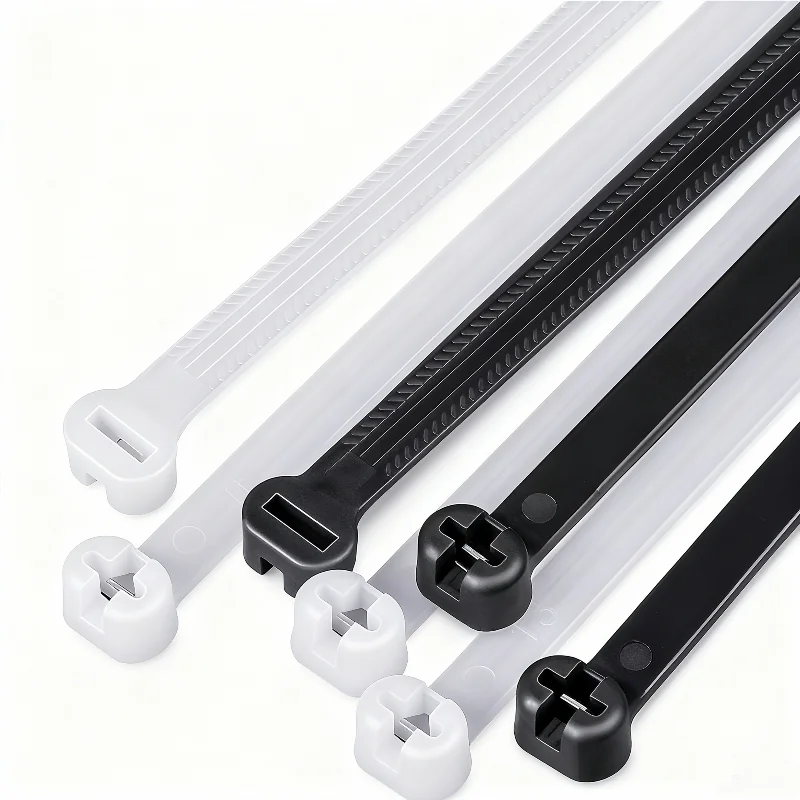
Locating the Locking Tab: Examine the head of the cable tie closely. The locking tab is typically a small, rectangular piece inside the head. It may be visible through a small opening or slot. This tab engages with the ridges on the strap to create the locking mechanism. Identifying its location is crucial for the untying process.
Creating Space Around the Tab: Grasp the loose end of the cable tie strap. Gently bend it backwards, away from the head of the tie. This action creates a small gap or space around the locking tab. The extra space allows for easier access to the tab with a tool. Be careful not to apply too much force, as this could damage the tie.
Depressing the Locking Tab: Select a small, pointed object such as a pin, nail, or flat-head screwdriver. Insert the chosen tool into the space created in the previous step. Apply gentle pressure to depress the locking tab. The goal is to disengage the tab from the strap’s ridges. Maintain steady pressure while proceeding to the next step.
Releasing the Strap: While keeping pressure on the locking tab with your tool, grasp the loose end of the strap. Slowly and steadily pull the strap out of the locking mechanism. The strap should begin to slide out as the tab is held away from the ridges. Continue this process until the tie is completely open. Exercise patience to avoid damaging the tie.
Troubleshooting Difficult Tabs: If the locking tab proves difficult to depress, try these troubleshooting tips: Apply a small amount of lubricant to the tab area. Use a thinner tool for better access. Gently wiggle while depressing the tab to help quick release zip ties. In some cases, further tightening the tie slightly before attempting to release it can create more slack, making the process easier.
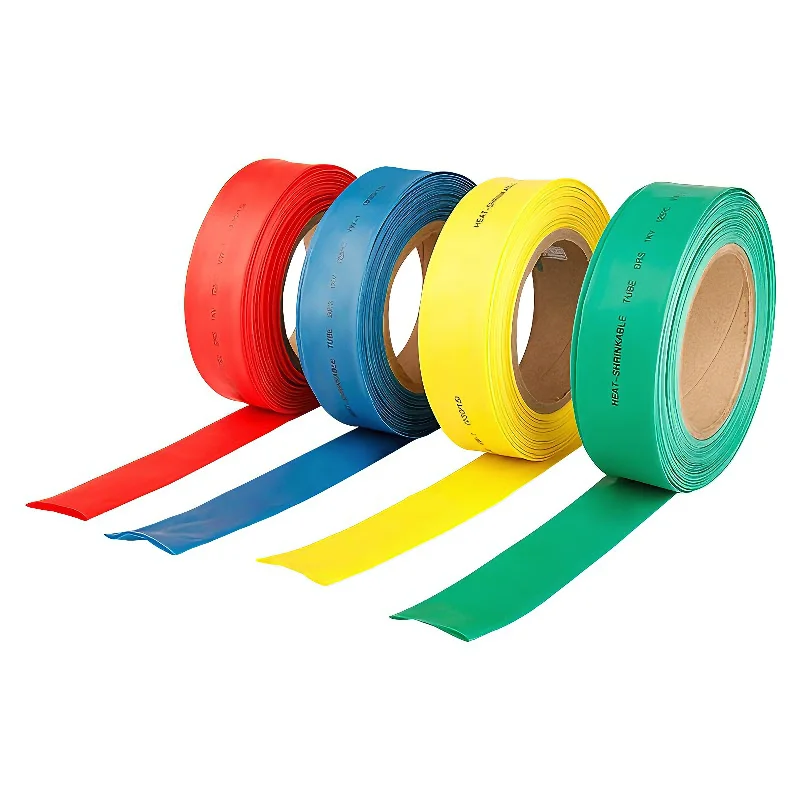
Heat Stabilized nylon Cable Ties
How to Release a Zip Tie for Reusable
Types of Zip Ties with Release
Reusable cable ties come in several varieties. Trigger zip ties that release feature a small lever that, when pressed, disengages the locking mechanism. Pawl release ties have a movable pawl that can be manually lifted to free the strap. Velcro ties use hook-and-loop fasteners for easy adjustment and quick release tie wraps. Each type offers unique benefits for different applications.
Releasing Trigger Releaseable Cable Tie
To open a trigger releaseable cable tie, locate the small lever on the head of the tie. Press this lever firmly while gently pulling the strap out of the locking mechanism. The tie should release easily, allowing for quick adjustments or removal. These ties are ideal for situations requiring frequent access or changes to cable management.
Opening Pawl Release Cable Ties
Paw release zip tie require slightly more manipulation. Find the small, movable pawl inside the tie’s head. Use a thin, flat tool to lift this pawl away from the strap’s teeth. While holding the pawl up, carefully pull the strap out of the locking mechanism. This type offers a secure hold with the option for intentional release.
Unfastening Velcro Ties
Velcro ties are the simplest to release. Grasp the end of the tie and pull it away from the main body. The hook-and-loop fastener will separate, allowing for easy adjustment or removal. These ties are excellent for temporary setups or situations where quick changes are necessary.
Pros and Cons: Reusable vs Single-Use
Reusable ties offer cost savings and reduce waste over time. They allow for adjustments and are ideal for temporary installations. However, they may be less secure than single-use ties and can wear out with repeated use. Single-use ties provide maximum security but generate more waste and require cutting for removal.
Tips for Reusing Cable Ties
Inspect reusable ties before each use. Look for signs of wear such as stretching, fraying, or damage to the locking mechanism. Discard any ties showing these signs to ensure reliable performance. Avoid reusing ties indefinitely, as their strength diminishes over time. For applications requiring frequent adjustments, dedicated reusable ties are the best choice.
When vs How to Untie a Cable Tie
Choosing Between Cutting and Untying
Cutting cable ties is preferable for permanent installations where readjustment is unnecessary. This method offers speed and efficiency in high-volume applications. Untying, however, allows for readjustment and reduces waste. It’s ideal for temporary setups or situations where cables may need future modifications. Consider the longevity and flexibility requirements of your project when deciding between these approaches.
Appropriate Scenarios for Each Method
Cut cable ties in scenarios such as final assembly of electronic devices or permanent bundling of cables in fixed installations. Untie zip ties in situations like temporary cable management during events, prototype development, or when working with expensive or delicate cables that require careful handling. The choice depends on factors including time constraints, environmental considerations, and the potential need for future adjustments.
Safe Cutting Techniques
When cutting is necessary, use proper tools such as flush cutters or cable tie guns. These tools provide clean cuts and minimize the risk of damaging underlying cables. Hold the cutter perpendicular to the tie and cut as close to the locking mechanism as possible. This technique reduces the length of remaining plastic, enhancing safety and aesthetics.
Trimming Sharp Edges
After cutting, inspect the cut end of the cable tie for sharp edges. Use small, fine-grit sandpaper or a nail file to smooth any rough spots. For larger installations, consider using cable tie guns with built-in flush cutters that automatically trim the excess plastic. These precautions prevent accidental injuries and protect nearby cables from abrasion.
In Conclusion
Untie a zip tie offers flexibility and reduces waste. With proper techniques, both single-use and reusable ties can be released safely. Consider the application when deciding between cutting and untying.
In modern industrial production, electronic equipment assembly, home organization, and even aerospace fields, plastic self locking zip ties, as an efficient and convenient fastening tool, have long become indispensable basic consumables. With extremely simple operation, reliable fixing performance, and wide environmental adaptability, they have completely changed the complexity and inefficiency of traditional bundling methods. This […]
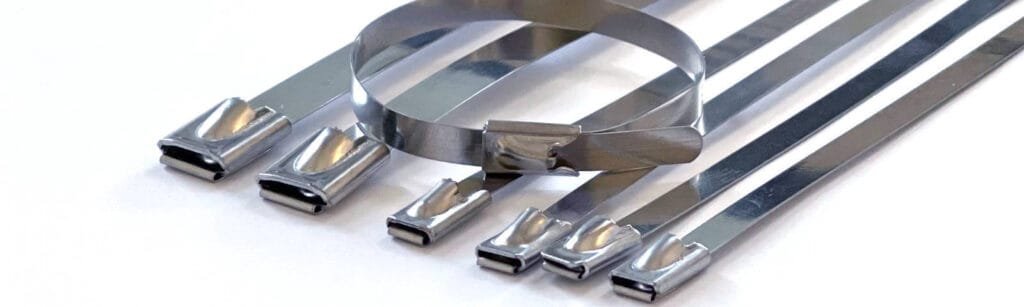
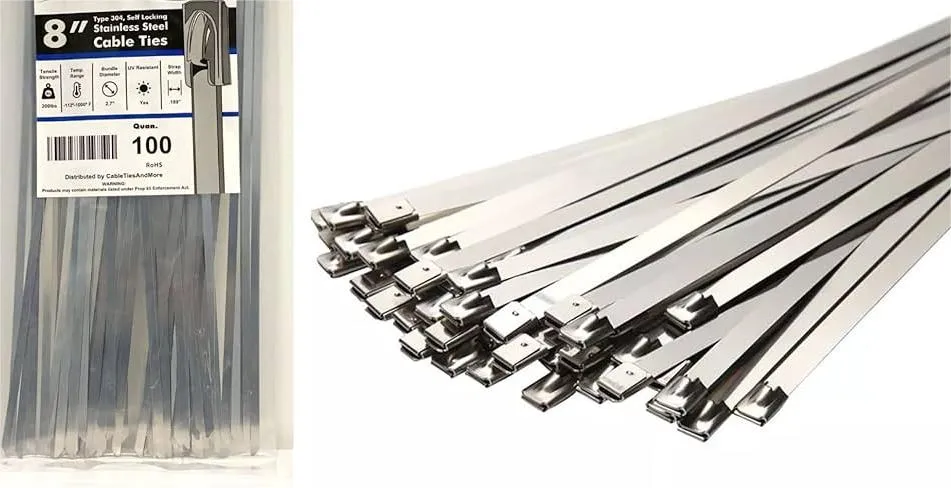
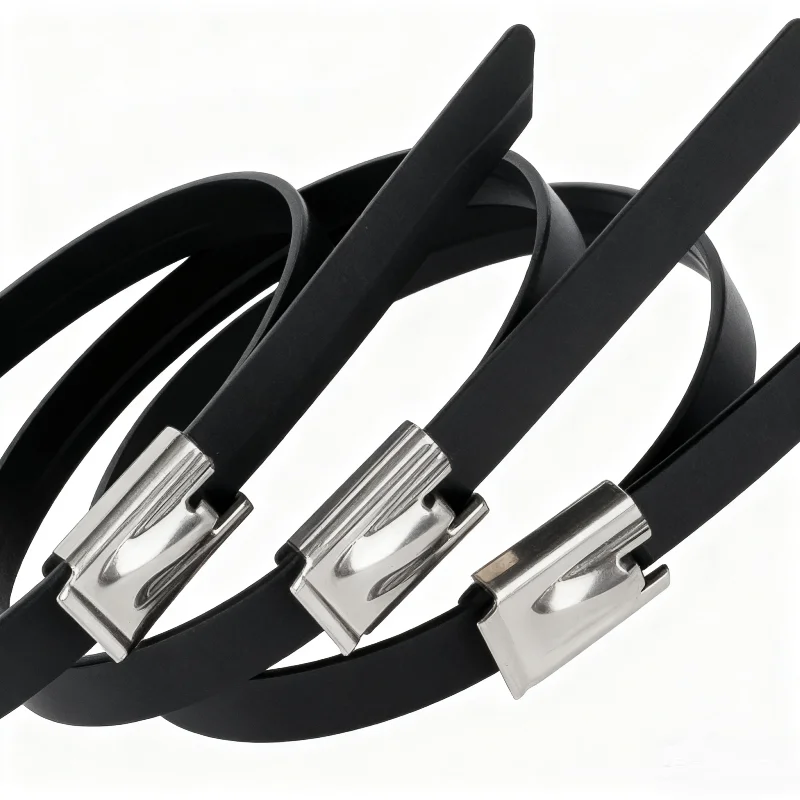
The two most common types are nylon and metal cable ties. When it comes to securing cables, wires, and hoses across industrial, commercial, or home environments, cable ties play a vital role. Nylon cable ties are popular because they are affordable, strong, and versatile. However, in certain situations, cable ties metal offer clear advantages. Stainless […]
Metal cable ties are the strongest cable ties on the market offering unparalleled strength. But what are they made from and who uses them? What is a metal cable tie? A metal cable tie is a fastening device used to bundle and secure cables, wires, or other objects. cable ties metal are typically made from […]
We use cookies to enhance your browsing experience, serve personalised ads or content, and analyse our traffic. By clicking "Accept All", you consent to our use of cookies.
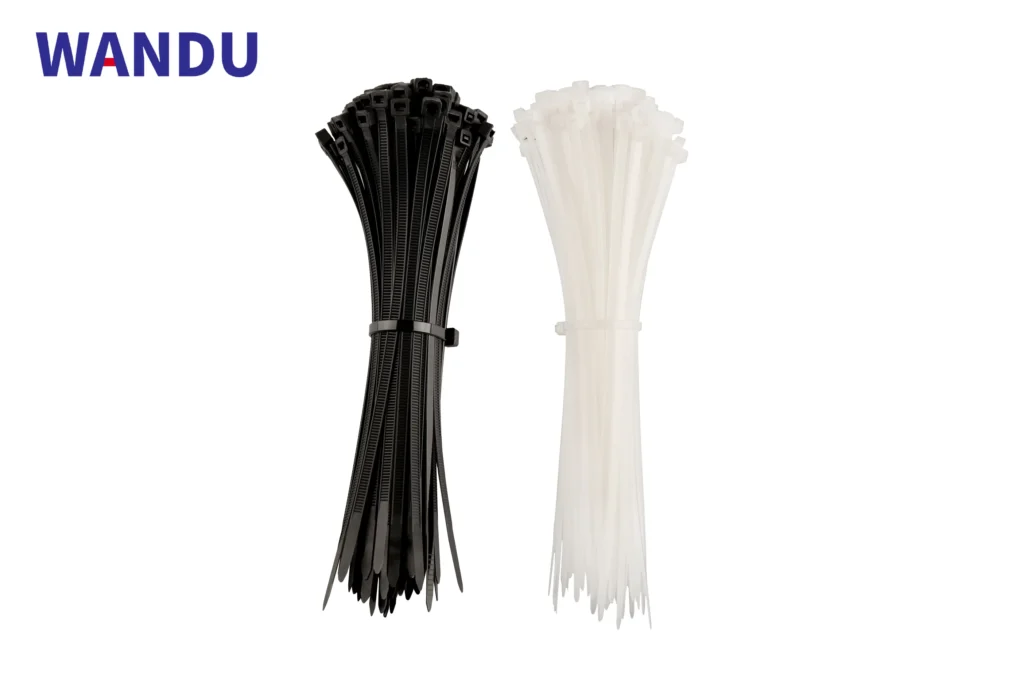
Looking For High Quality Nylon Cable Ties At A Great Price?
Order now to experience cost-effective cable tie products that provide convenience and protection for your work and life.